Blog

  • How to Build a Weekly Social Posting Routine with Grok Bot and Postiz

    How to Build a Weekly Social Posting Routine with Grok Bot and Postiz

    The first article in this series, 7 Grok Bot Tips to Schedule Posts, Filter Upwork Jobs, and Research Faster, mapped seven practical Grok Bot tips: scheduling posts, filtering Upwork jobs, researching faster, and extending the Bot when you need product creative. This piece goes deeper on one of those tips. It is a setup and optimization guide for a weekly social-posting routine with Grok Bot and Postiz — written as an illustrative week, not as a client case study, and without any claim of official partnership with xAI or Grok Bot.

    Facts about Grok Bot come from public pages on x.ai/bot and docs.x.ai, including the documentation on skills and routines and the cloud computer and apps. Facts about Postiz come from Postiz’s official Grok Bot page. We checked those sources on 12 November 2026 (Asia/Saigon, UTC+7).

    Key takeaways. A useful posting routine does not “post while you sleep” with no one watching. It fills a week of drafts, asks you to approve them, and only then schedules through Postiz. Effectiveness is something you measure on your own calendar — coverage, review time, and how often you send a draft back — not a promised lift in likes. The technical core is a simple agent loop: a skill that holds your voice and rules, tools on the Bot’s cloud computer, a routine that runs on a schedule, and a human in the loop before anything goes live. The first version of that loop will be messy. The third version is usually the one that sticks.

    The same man sits at the table at night under a warm lamp, looking pensive at a mostly empty notebook. Hook text: Sunday night used to feel heavy.

    The Sunday-night feeling of an empty calendar

    Meet Khoa — an illustrative solo shop owner, not a real named client. Khoa sells a small catalog of physical products and has promised himself, more than once, that the brand will “show up consistently” on X, LinkedIn, and Instagram. On Sunday night the feeling is familiar: a tight chest, a blank week, and a half-written caption in the Notes app. Monday morning is supposed to be for packing orders. Instead it becomes an hour of staring at a cursor, then a rushed post at noon, then silence until Thursday.

    The emotion is not laziness. It is the weight of a job that never quite ends. There is always one more hook to try, one more image to crop, one more “I will do the rest tonight.” By Friday the week looks accidental. Khoa knows what he wants — a calm Monday review, not a Monday rescue — but he has been treating the calendar as a place to improvise, not as a queue.

    Now picture the after. Sunday night, Khoa closes the laptop on purpose. Monday at 8:15 he opens a short summary from his Bot: six drafts already placed in Postiz for the week, each with a channel, a time, and a note about the image still missing on two of them. He spends twenty minutes rejecting one hook, tightening another, and approving the rest. The tightness in his chest is gone, replaced by a quieter feeling: the week is already in motion, and he is still the person who decides what goes out. That after is the point of the setup below. Your week will not look exactly like his. The feeling you want — a review instead of a rescue — can.

    The same man calmly writes in a notebook beside a closed laptop, measuring the week by hand. Hook text: Measure your week, not vanity.

    What effectiveness looks like, and how to measure your own week

    It is tempting to judge a posting system by likes, comments, or “reach.” Those numbers move for many reasons, and we will not invent a percentage improvement and pretend it came from a real shop. Effectiveness, in this workflow, is closer to operations than to vanity metrics. You can start measuring this week, with a notebook or a Sheet, using four questions:

    • Coverage. How many of the slots you actually wanted this week were filled with a reviewed draft by a time you chose — for example Tuesday noon?
    • Review time. How many minutes did you spend approving, editing, or rejecting, once the Bot had done the first pass?
    • Rework. How many drafts did you send back, and for what reason — off-voice, weak hook, wrong product, missing image?
    • Empty-folder failures. How often did the routine run and find nothing to schedule, or try to invent a post from thin air?

    Khoa’s illustrative targets, which you should replace with your own, look like this. Before the routine, a typical week might have two posts that went out and three days of silence. After a few iterations, a “healthy” week might be six weekday slots filled and reviewed by Tuesday, a review session that fits in a short coffee, and no more than one or two drafts sent back. If a week falls short, the measurement tells you whether the problem was an empty idea folder, a vague skill, a timezone mistake, or a habit of skipping the approval step. That is more useful than a screenshot of a good day on one platform.

    One more rule of honesty: do not let the Bot congratulate you with made-up engagement forecasts. Ask it to report what it scheduled, what it could not schedule, and what is waiting on you. The feeling of effectiveness is not “the machine posted for me.” It is “I can see the week, and I still hold the last click.”

    The same man reviews a stack of printed pages with a pen, laptop facing away. Hook text: The Bot drafts. You approve.

    How the loop works: skills, routines, and a human in the loop

    Under the hood, this is a small agent loop, not a magic button. You give the Bot a job and a boundary. It uses tools. It brings work back for approval. Then, and only then, something enters the public calendar.

    Grok Bot is an AI teammate with a persistent cloud computer — a browser, files, and a terminal — so work can continue after you close your laptop. Official documentation describes two complementary pieces. A skill is a reusable set of instructions: when to use it, required inputs, the steps, how to check the result, what to return, and what needs your approval. A routine tells one Bot when to run that work, on a schedule or when an event happens. Routines run in the cloud while your laptop is closed. The same docs page (updated 9 November 2026) publishes rate limits: all of your routines together can run up to 300 times an hour, and each routine up to 200 times an hour. A weekly or daily posting queue does not need to come close to those limits.

    Postiz is the tool layer for social calendars. Postiz publishes an official Grok Bot plugin. In a Bot chat you can run /add-plugin postiz, or add it from the Plugins sidebar or the marketplace listing, then store your POSTIZ_API_KEY as a Bot secret — not in ordinary chat. The plugin installs a CLI and a skill on the Bot’s cloud computer. From there the Bot can list connected channels, draft posts, attach media, apply platform settings, and pick a time. Postiz’s own guide is clear that the Bot should ask you to approve before anything is published, and that coverage includes 30+ platforms such as X, LinkedIn, Instagram, YouTube, and TikTok.

    Context and memory matter as much as the tools. The Bot will not reliably “remember your brand” from a long chat last month. Put the durable rules in a skill, and put the week’s raw material in a folder or a connected Sheet: approved ideas, product names you may mention, images already cleared, and a simple slot plan (for example two posts on weekdays, none on Sunday). The cloud computer is shared across every Bot on your account — files, sign-ins, and browser sessions included — so a Postiz secret belongs in a secret card or the plugin prompt, never in a file sitting in /workspace and never in Slack.

    The human-in-the-loop step is not a formality. It is the difference between a teammate and an unsupervised poster. In this design the routine may draft and even place items into Postiz as drafts or as scheduled items awaiting confirmation, but it must not publish unattended. If you ever feel the system is “so good we can skip review,” that is usually the week a wrong price, a tired joke, or a photo from the wrong SKU would have gone out.

    The same man writes a setup checklist in a notebook at the apartment table, laptop closed. Hook text: Set it up once. Run it weekly.

    Setup experience: from a Postiz key to the first scheduled week

    The first setup is a morning of careful work, not a five-minute trick. The payoff is that you do it once, then improve the skill instead of reinventing the week.

    1. Connect Postiz the official way. Create or open your Postiz account, connect the channels you actually use, and copy a public API key from Postiz’s developer settings. In Grok Bot, add the official plugin and, when prompted, store the key as a Bot secret. Do not paste it into the chat “just this once.” Then ask the Bot to list your connected channels. If that list is wrong, stop and fix Postiz itself before you write any captions.

    2. Make a boring, reliable inbox for ideas. On the Bot’s cloud computer, create a small folder — for example /workspace/content/drafts — or a connected Google Sheet with columns for idea, product, channel, asset path, and status. Put three or four already-approved ideas in it before you ask the Bot to schedule anything. An empty inbox is the most common reason a first routine hallucinates a week of off-brand posts.

    3. Write a narrow skill, not a manifesto. Say which channels are in scope, what the week’s slot plan is, where to read ideas, what voice to use, what claims are banned, and the hard rule: never publish without explicit approval. Ask the Bot to show you the skill text and save it. Run it once by hand, on a single draft, while you watch.

    4. Schedule one test item, then a weekday routine. Pick a harmless test post, a quiet channel, and a time far enough out that you can still cancel it. Walk through listing channels, attaching media, and scheduling only after you approve the exact text. When that feels safe, attach a routine — for example weekdays at 8:00 in your timezone — that checks the inbox, fills empty slots, and sends you a summary. Official docs are clear that routines keep running when your laptop is closed. Set the timezone explicitly; this is a frequent pitfall.

    Pitfalls we see in the first week (and that Khoa hits in this illustrative run). The API key leaked into a chat transcript. The routine ran at the wrong local time because nobody named a timezone. The Bot treated “schedule” as “publish now.” The drafts folder was empty, so the Bot invented topics. Two posts landed in the same hour on the same channel. An image path was wrong, and the item was scheduled without media. A second Bot on the same account could see files on the shared computer. None of these are reasons to give up. They are reasons to tighten the skill, as the next section does on purpose.

    The same man studies three pages laid in a row, the middle one crossed out and rewritten. Hook text: V1 was messy. V3 just works.

    The optimization journey: three versions of the same routine

    If the first run feels disappointing, that is normal. A posting system is a process you revise. Here is an illustrative v1 → v2 → v3, using Khoa’s week as the example. Your wording will differ; the shape of the revisions is what matters.

    Version 1 — “Post something every weekday.” The prompt is short and optimistic. The Bot, eager to be useful, invents five captions from general advice, offers to publish the first one immediately, and ignores the difference between X and LinkedIn. Khoa’s feeling after v1 is a familiar irritation: this is faster than a blank page, but it is not his brand, and he does not trust it. The measurement, if he is honest, is poor coverage of his ideas and a high rework rate. Almost every draft comes back.

    Version 2 — Voice, inbox, and approval. Khoa pastes a short voice paragraph into the skill, points the Bot at the drafts folder, and adds the sentence “Never publish. Schedule only after I approve the exact text, time, and channels.” The week gets better. The Bot stops inventing products he does not sell. Review time drops because the drafts at least sound like him. New problems show up: the routine still runs when the folder is empty and then improvises; two posts sit too close together; the Monday summary is a wall of prose he does not want to read on his phone.

    Version 3 — Constraints, a fallback, and a short report. The skill now names the slot plan (for example 09:15 and 16:30 on weekdays, nothing on Sunday), a minimum gap between posts on the same channel, and a fallback: if fewer than three approved ideas are waiting, do not invent replacements — send a short note that the inbox is thin and stop. The Monday message becomes a compact table: slot, channel, first line of the hook, media yes/no, status awaiting approval. Khoa can review it in a sitting. In this illustrative v3 week, six slots are filled by Tuesday, one draft is sent back because the hook overclaimed a product benefit, and the empty-folder path is finally a message instead of a surprise post. That is what “optimized” means here: fewer surprises, a shorter review, and a calendar you still own.

    When you revise, change one constraint at a time and keep a dated copy of the skill. If you later want the same Bot to pull product images from a real catalog, that is a different layer — the one we sketched in the first tips article, and in What Grok Bot Is, and How Orauria Extends It for Product Creative, where Orauria’s Studio and MCP tools can extend Grok Bot for product creative. As of 12 November 2026, adding Orauria as a custom Remote HTTPS connector inside Grok Bot is documented design, not an independently verified recipe, so do not treat it as a finished how-to. The path you can use today is to open Studio in the Bot’s cloud browser, or to hire Orauria to build it if you want a connector, a skill, or a creative Bot built around your catalog and your approval rules.

    What to try this week

    You do not need a perfect twelve-week content engine. Connect Postiz the official way, store the key as a secret, put three approved ideas in a folder, and run the skill once with you in the loop. Measure coverage and review time for a single week. Then write v2 of the skill — voice, inbox, no unattended publishing — and only then attach a weekday routine. If the loop needs to include packshots, ratio variants, or a handoff to a second Bot, send a brief to hire Orauria.

    Use Grok Bot for the teammate layer: the queue, the reminder, the first draft. Use Postiz for the calendar. Keep a person on the last click. The Sunday-night feeling gets lighter when the week is already in motion, and when you can still say no.
  • 7 Grok Bot Tips to Schedule Posts, Filter Upwork Jobs, and Research Faster

    7 Grok Bot Tips to Schedule Posts, Filter Upwork Jobs, and Research Faster

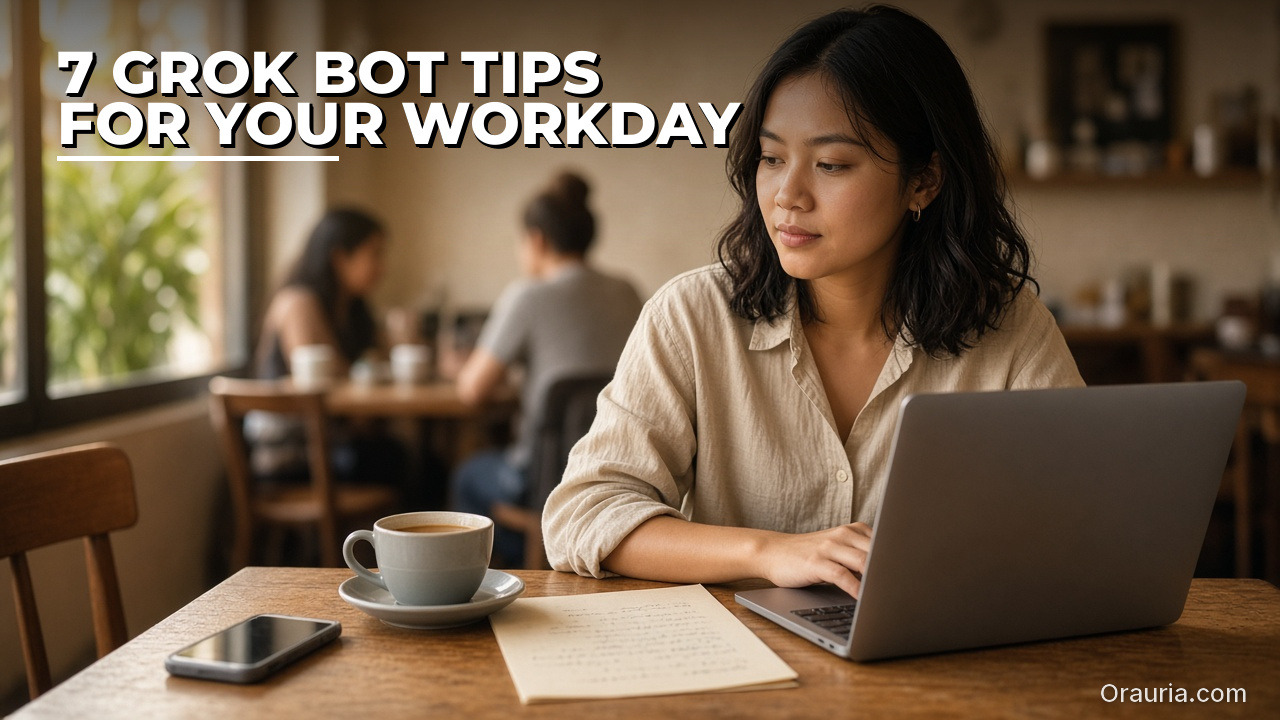
    If you freelance, sell products, or run a one-person marketing stack, a lot of the week disappears into three jobs that never quite end: planning the next social posts, scanning Upwork for work you can actually do, and researching a client, a keyword, or a competitor before you reply. Grok Bot is built for that kind of work. It is an AI teammate with a persistent cloud computer — a browser, files, and a terminal — so it can keep going after you close the laptop. Official pages on x.ai/bot and in the Grok Bot documentation describe skills, routines, Connect apps, and custom connectors, plus channels on desktop, mobile, Slack, and X. We checked those docs, together with official Postiz and Upwork materials, on 12 November 2026 (Asia/Saigon, UTC+7).

    This article opens a practical-tips series. It is not a partnership announcement, and it does not claim that Orauria is an official partner of xAI or Grok Bot. The first six tips stay inside features Grok Bot already documents, or that official plugins provide. The last tip is where Orauria comes in: when a scheduled post needs product images or a short video, you can extend the Bot with Orauria’s Studio and MCP tools — as a user-side integration, not a joint product.

    Key takeaways. Use Postiz to draft and schedule social posts, and keep a human in the loop before anything goes live. Use an official Upwork connector to filter jobs and draft pitches — then review them yourself before you spend Connects. Use web research and the cloud computer to turn a long reading pile into a short, sourced brief. Save a good run as a skill, put it on a routine, and talk to the Bot from Slack or X. When the work needs sell-ready product creative, attach Orauria.

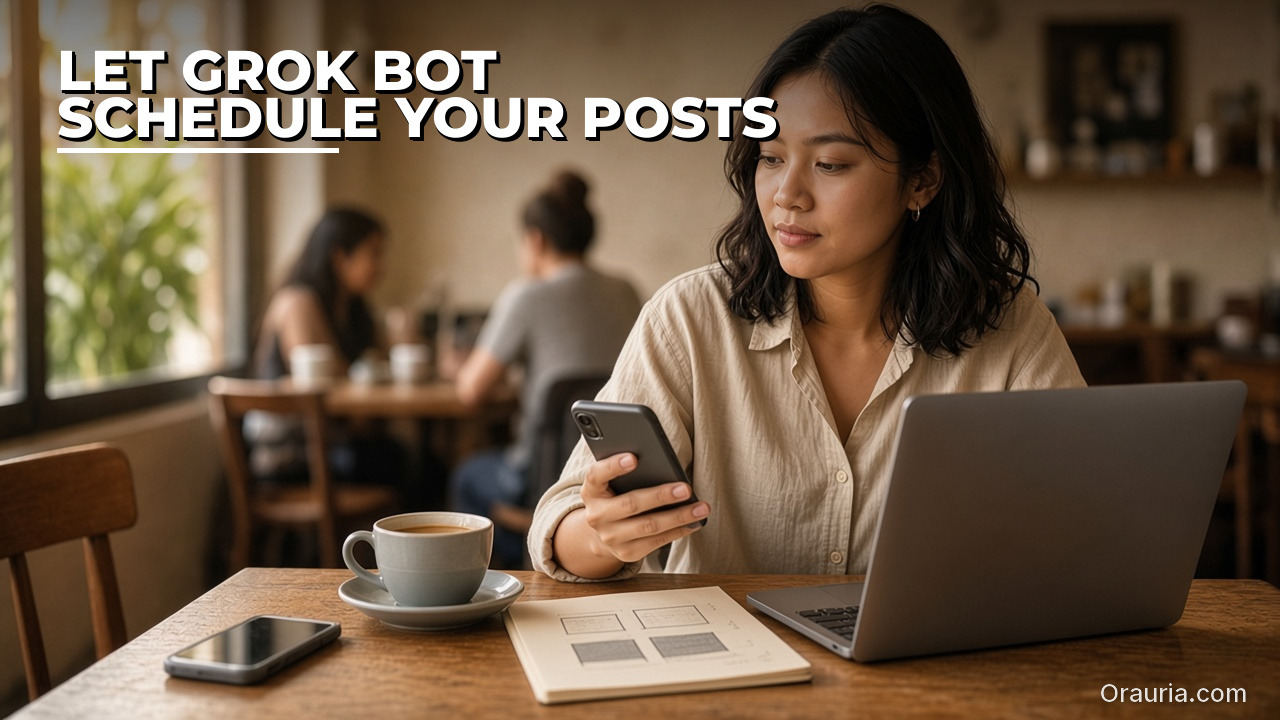
    The same freelancer sits in a cafe, checking her phone beside a notebook of sketched post squares and an open laptop. Hook text: Let Grok Bot schedule your posts.

    Let Grok Bot plan and schedule your social posts

    Most people start by asking a chatbot for captions, then paste them into a scheduler by hand. With Grok Bot you can keep the draft and the calendar in one place. Postiz publishes an official Grok Bot plugin for this. In any Bot chat you can run /add-plugin postiz, or add it from the Plugins sidebar or the marketplace listing. When you are prompted, store your POSTIZ_API_KEY as a Bot secret — not in ordinary chat. Postiz’s guide describes what happens next: the plugin installs a CLI and a skill on the Bot’s cloud computer, and the Bot can list your connected channels, draft posts, attach media, apply platform settings, and pick a time. It should ask you to approve before anything is published. Postiz says that coverage includes 30+ platforms, among them X, LinkedIn, Instagram, YouTube, and TikTok.

    The useful habit is not a one-off “post this now.” It is a queue. Keep approved copy and images in a folder on the cloud computer, or in a connected Sheet or Drive file. Then ask the Bot to build a week of slots — for example two posts a day, weekdays only — and to schedule drafts via Postiz for you to review. You can also save that as a routine, so every weekday morning the Bot checks for new drafts, books them into the calendar, and sends you a summary. Official Grok Bot documentation is clear that routines run in the cloud while your laptop is closed. Leave the last mile to yourself: captions, timing, and brand still need a person.

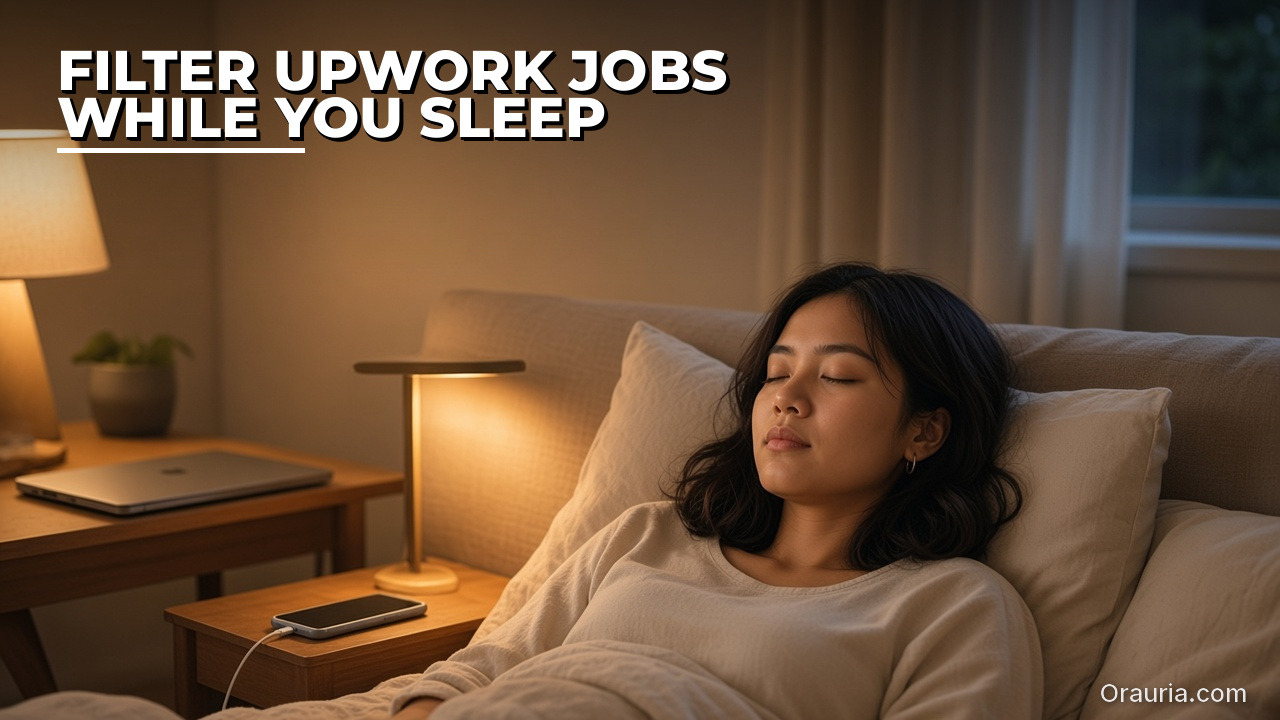
    The same freelancer sleeps in a quietly lit bedroom, with a phone charging on the nightstand and a closed laptop on a nearby table. Hook text: Filter Upwork jobs while you sleep.

    Filter Upwork jobs while you sleep

    Scanning Upwork at midnight is a poor use of a freelancer’s attention. A better pattern is a Bot that already knows what you sell, your minimum budget, and the clients you will not take, and that leaves you a shortlist in the morning.

    Grok Bot can connect to Upwork through a plugin, and Upwork documents its own MCP server for supported AI agents. Prefer that official path over asking the Bot to click through the site in a browser. Some sites block automation, and a browser login is a weaker, easier-to-break setup — and a poorer fit for Upwork’s terms — than a documented connector.

    A practical routine looks like this. Every few hours, or once in the morning and once in the evening, the Bot searches for jobs that match your skills, drops anything below your budget floor, scores the rest, and writes the good ones to a Google Sheet or a Doc. For the best two or three, it can look at the client’s public profile or website and draft a short pitch in your voice. Upwork’s own MCP FAQ is explicit on the next step: an AI agent can help you draft a proposal, but you review the details and explicitly confirm before it is submitted. Do not let a routine auto-submit. Connects cost money, and a weak pitch sent at 2 a.m. is worse than no pitch.

    The same freelancer sits at a tidy home desk, circling notes in a notebook beside a coffee cup and a laptop. Hook text: Research in 5 minutes, not 5 hours.

    Research in minutes, not hours

    The hook is a little sharp on purpose. A Bot will not always finish serious research in five minutes, and we will not pretend it will. What it can do is collapse the first pass — the tab explosion of “open twenty pages and maybe write notes later” — into a brief you can actually use.

    Grok Bot’s cloud computer includes a browser, so it can search the web and open pages when there is no app connector. The computer-and-apps documentation also says Bots can search and read what is public on X without you connecting an X account; that access is read-only. For your own DMs, bookmarks, or home timeline, you add the X plugin and sign in. When a connector exists for the place you want the notes to land — Google Docs, Sheets, Drive, Notion — use it. Structured tools beat a pile of untitled files in /workspace.

    Give the Bot a tight brief: the question, the audience, which sources to prefer or avoid, the output shape (a one-pager with links and a “still uncertain” list), and when you need it. Ask it to quote or link rather than invent. Then you read the brief, not twenty tabs. That is the real win: not a promise about the clock, but a shorter path from a question to a decision.

    The same freelancer files an index card into a standing organizer at a tidy desk, with a notebook and laptop nearby. Hook text: Save the workflow. Reuse it every week.

    Turn a good run into a skill

    A tip only sticks if you do not have to re-explain it every Monday. Grok Bot’s skills and routines documentation (updated 9 November 2026) splits this into two parts. A skill is a reusable set of instructions: when to use it, required inputs, the steps, how to check the result, what to return, and what needs your approval. A routine tells one Bot when to run that work — on a schedule, or when something happens in Slack, email, or a webhook.

    After you have had one clean run — a week of scheduled posts, a useful Upwork shortlist, a research brief you did not have to rewrite — ask the Bot to save the process as a skill. Put your constraints in the skill, not in a long chat: brand voice, banned claims, budget floor, “never publish or submit without me.” Then attach a routine only when the trigger is clear. The same docs page publishes rate limits: all of your routines together can run up to 300 times an hour, and each routine up to 200 times an hour. That is plenty for a freelancer’s daily queue; it is not a reason to fire the Bot at every new email.

    The same freelancer walks a sunlit city sidewalk, looking at her own phone, a tote bag on her shoulder. Hook text: Message the Bot from Slack or X.

    Meet the Bot in Slack or on X

    You do not have to open the Grok Bot desktop app to use these tips. Official materials say you can work with Bots on desktop, on mobile, in Slack, and on X. That matters when the work arrives where you already live. A mention in a Slack channel can start a job-filter pass. A message on the go can ask for a research brief before a call. Grok Bot also documents an email address for your Bots at mail.grokbot.com, and routines can start from an email or a webhook as well as from a clock.

    Treat public channels with the same care you would give a shared computer — because, in a way, you are. Do not paste API keys, Postiz secrets, or Upwork credentials into a Slack thread or an X message. Official Grok Bot guidance is to use a Vault, a Secure Form, or a secret card for passwords and keys. And remember the sharing model: every Bot on your account uses the same cloud computer, including its sign-ins and files. A convenience in Slack should not become a leaked key.

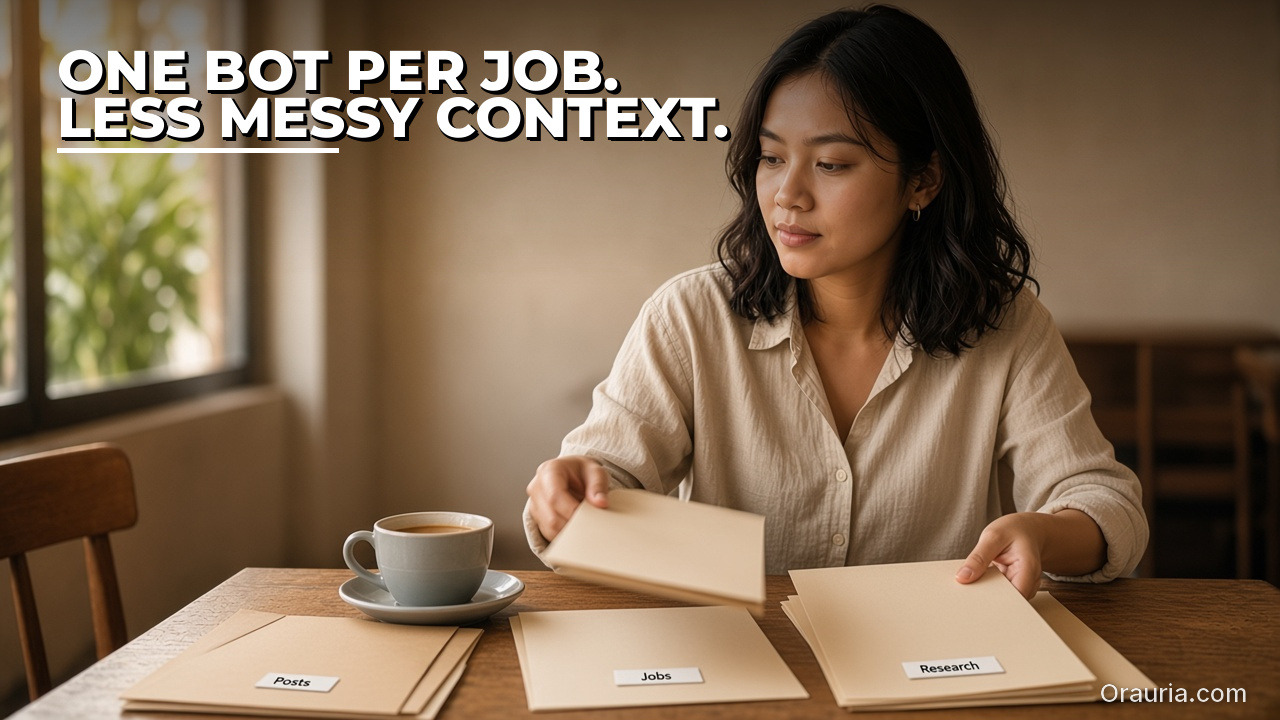
    The same freelancer sorts three plain folders labeled Posts, Jobs, and Research on a wooden table. Hook text: One Bot per job. Less messy context.

    Give each job its own Bot

    If the same Bot is writing Instagram captions, scoring Upwork jobs, and researching a competitor, context gets messy. Official Grok Bot materials describe running more than one Bot, letting them message each other, working in a group chat, and handing work along for you to approve. A simple split works well: one Bot owns the social queue (Postiz), one owns the job filter (Upwork), one owns research. They can still pass files to each other because they share the same cloud computer — which is also the caution. Cookies, sign-ins, and files are visible to every Bot you run. Separate Bots are a way to keep prompts and memory clean, not a security wall. Do not put a credential on the machine if another Bot should not see it.

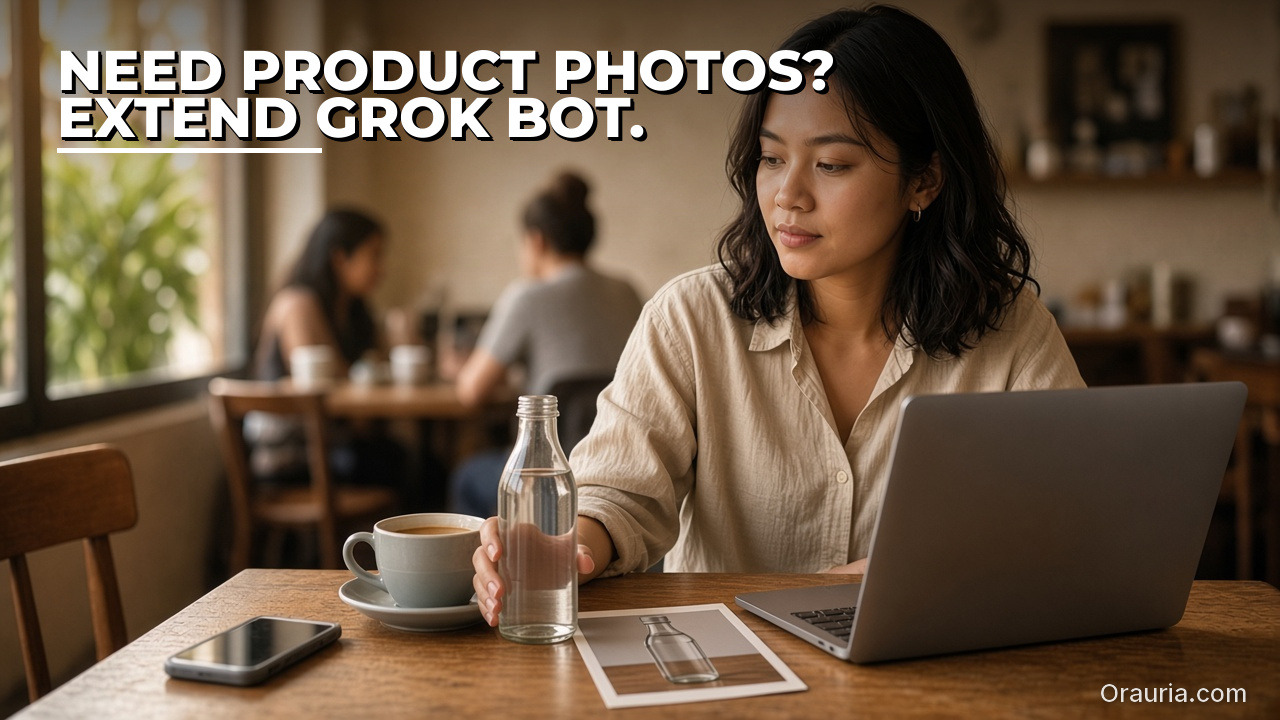
    The same freelancer holds a simple glass bottle next to a printed product photo at a cafe table. Hook text: Need product photos? Extend Grok Bot.

    When you need product creative, extend Grok Bot with Orauria

    Scheduling a post is only half the work if you sell a physical product. You still need packshots, ratio variants, and sometimes a short video. Grok Bot will not become a product studio on its own. That is a boundary, not a slight. For the creative layer, Orauria already ships Studio and an MCP server whose published tools include generate_image, generate_video, chat, list_models, get_wallet, and get_task. Calls use the same credit wallet and prices as Studio. If you are new to the product, start with What is Orauria or the MCP setup page.

    There are two ways this can fit. The intended default is to add Orauria as a custom Remote HTTPS connector, with an API key in an Authorization header — the shape Orauria already documents for Cursor, Claude, and Codex, and the shape Grok Bot documents for custom connectors. As of 12 November 2026, that path is documented design. Orauria’s MCP page does not yet include a Grok Bot recipe, and we have not published an independent end-to-end test inside Grok Bot. Until that test exists, do not treat this as a finished how-to. Keep the API key in the connector header or a secret card, never in ordinary chat. The second path is available today: a Bot can open orauria.com in its cloud browser and use Studio the way a person would, especially when you need a visual UI.

    If you want a connector, a skill, or a creative Bot built around your catalog and your approval rules, that is a software project. Hire Orauria to build it — the same team that already shipped Studio and the MCP server. The framing stays the same as in our earlier guide, What Grok Bot Is, and How Orauria Extends It for Product Creative: this is how to use Orauria with Grok Bot, not a claim of official partnership.

    What to try first

    You do not need all seven tips this week. Pick one queue that already hurts — the social calendar or the job board — connect the official plugin, run it once with you in the loop, and save the skill if the run was clean. Keep research briefs short and sourced. Keep keys out of chat. When the posts need product images, bring Orauria in, and if you want that wired into a routine instead of a one-off, send a brief to hire Orauria.

    Use Grok Bot for the teammate layer: schedules, shortlists, and first-pass research. Use Orauria when the work has to look like a product you can sell. Keep a person on the last click.

  • Integration Architecture: MCP, the Cloud Computer, and Studio

    In the first article of this series, we mapped what Grok Bot is — from public xAI docs — and what Orauria already ships for product images and video. This piece is an architecture note for a tech lead or technical founder who will attach the two systems or hire a team to do it.

    It is not a partnership announcement, and it is not a click-by-click tutorial. Grok Bot facts come from public pages on x.ai/bot and docs.x.ai, checked on 11 November 2026 (Asia/Saigon). Orauria facts come from Orauria’s own site, especially the MCP page. We describe three layers that fit those documents. We do not claim an official partnership with xAI. We do not claim that Orauria’s MCP server has been verified end-to-end inside Grok Bot. A connection tutorial will be published only after that test.

    Key takeaways. Treat the connection as three layers: a contracted MCP tool path, a browser path on the Bot’s cloud computer, and an orchestration layer of skills, routines, and multiple Bots. MCP is the intended default because a tool call is easier to repeat and test than a click path through a web UI. Grok Bot documents a custom Remote HTTPS connector — server URL, optional HTTP headers — or a Command type. Orauria documents a Bearer API key and six tools that bill a Studio credit wallet. Whether Grok Bot will accept and store Orauria’s Authorization: Bearer header has not been independently verified here. Workflow Builder, Fashion Poses, upscale, and Chrome extensions are not MCP tools. And because the cloud computer is shared across every Bot on an account, API keys belong in a connector header or a secret card — never in ordinary chat, and never in /workspace.

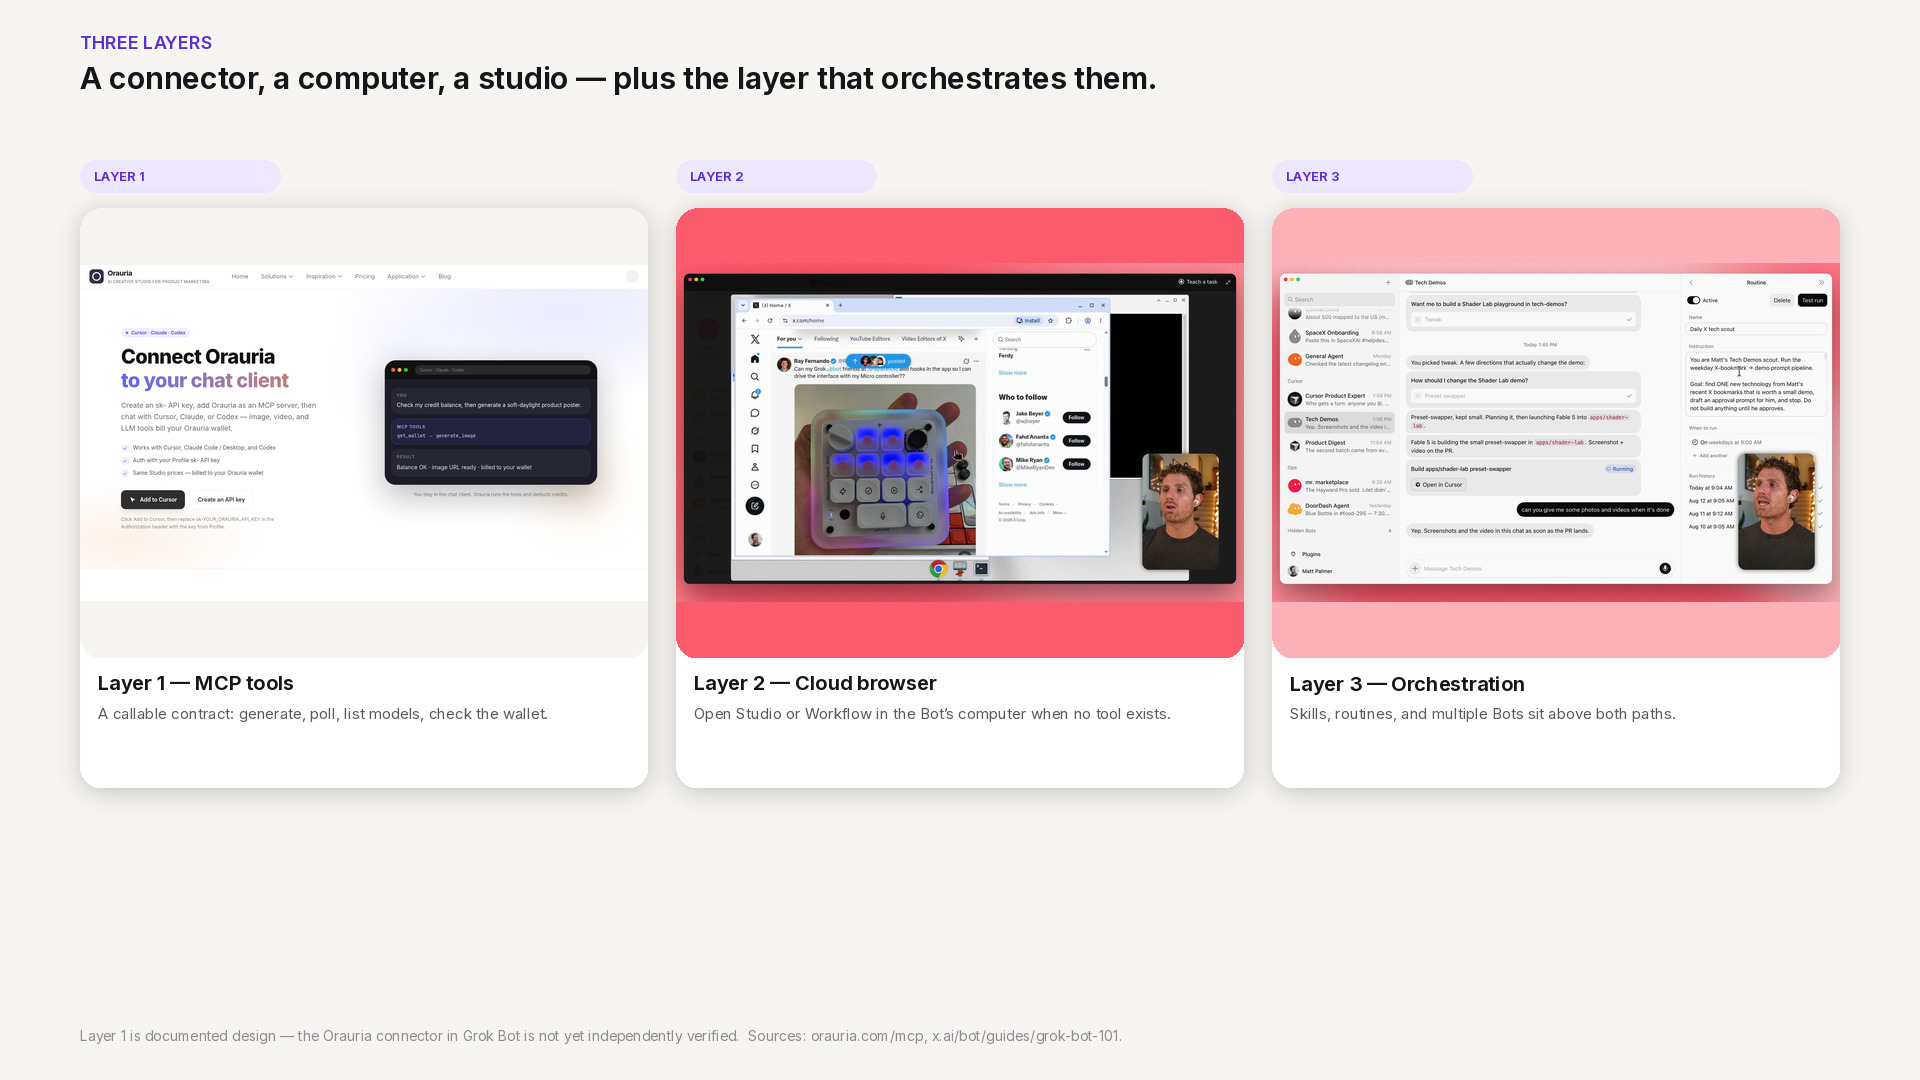
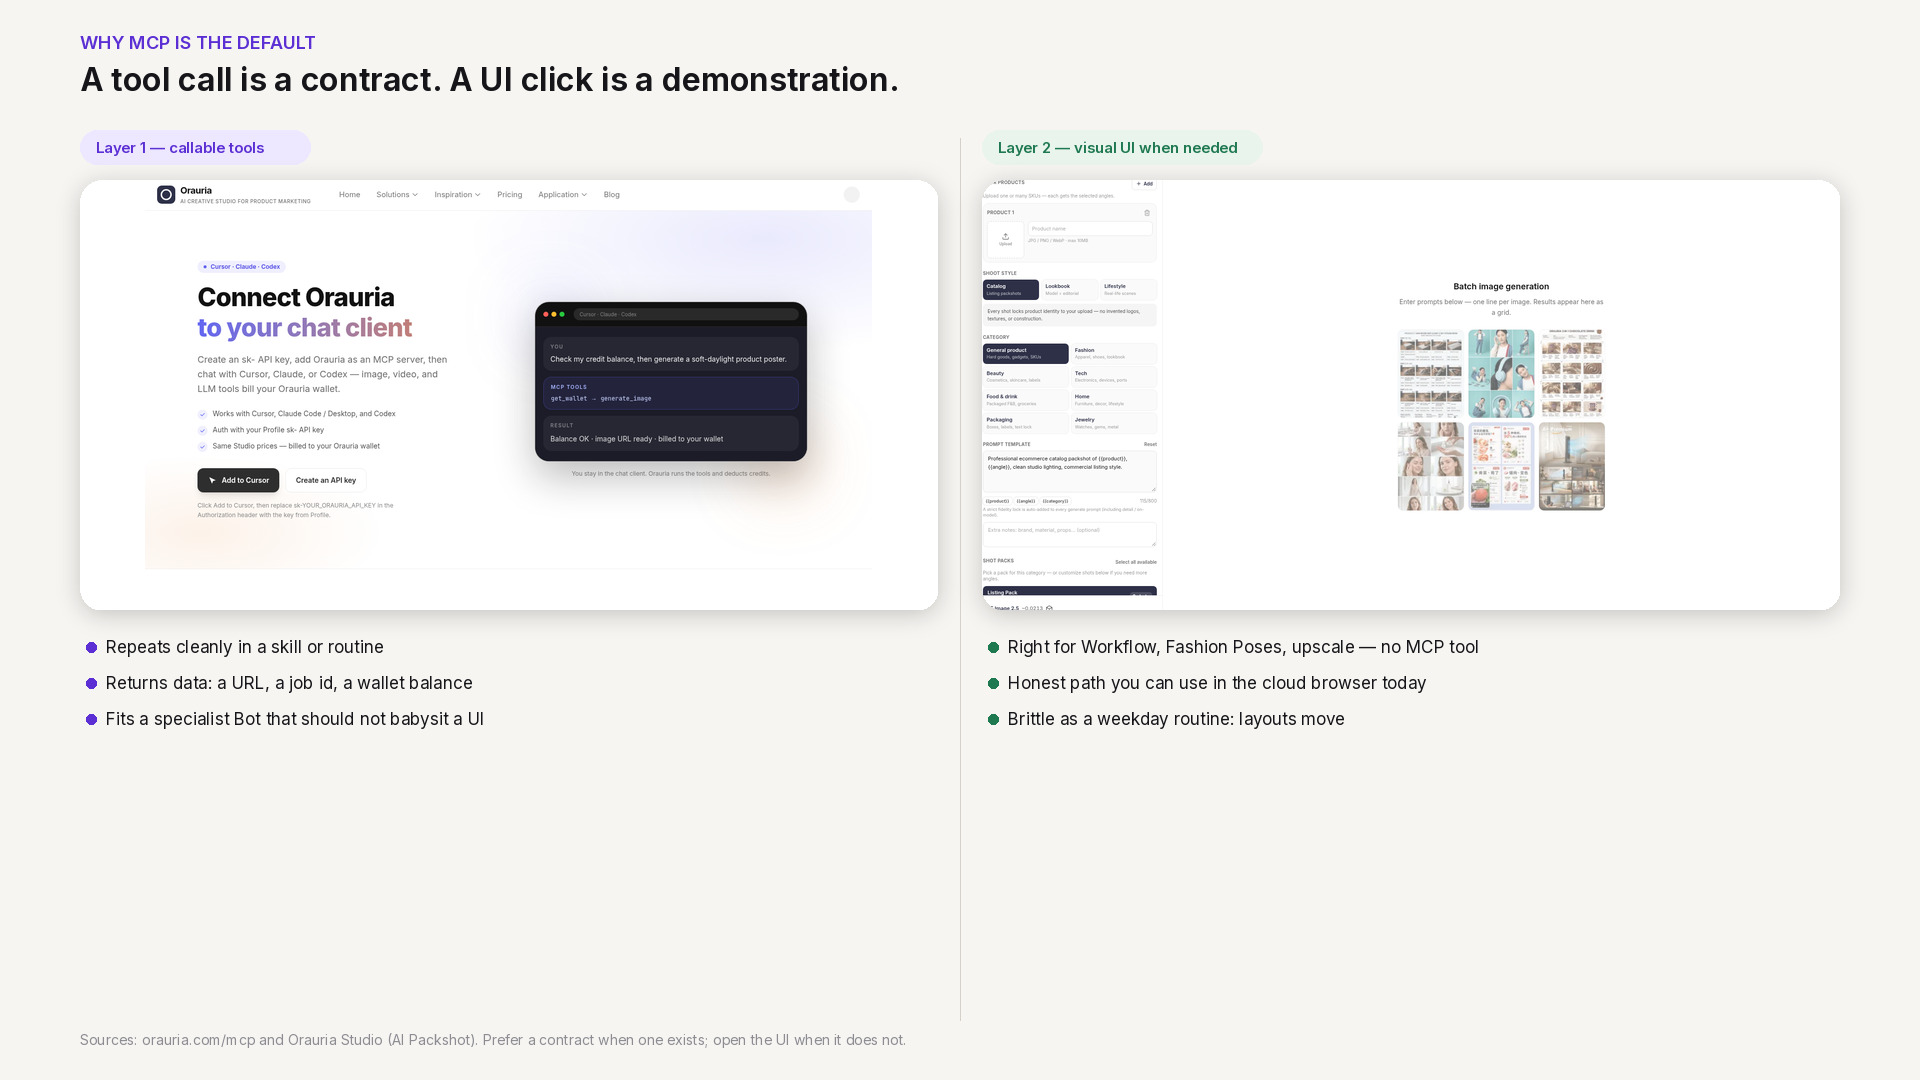
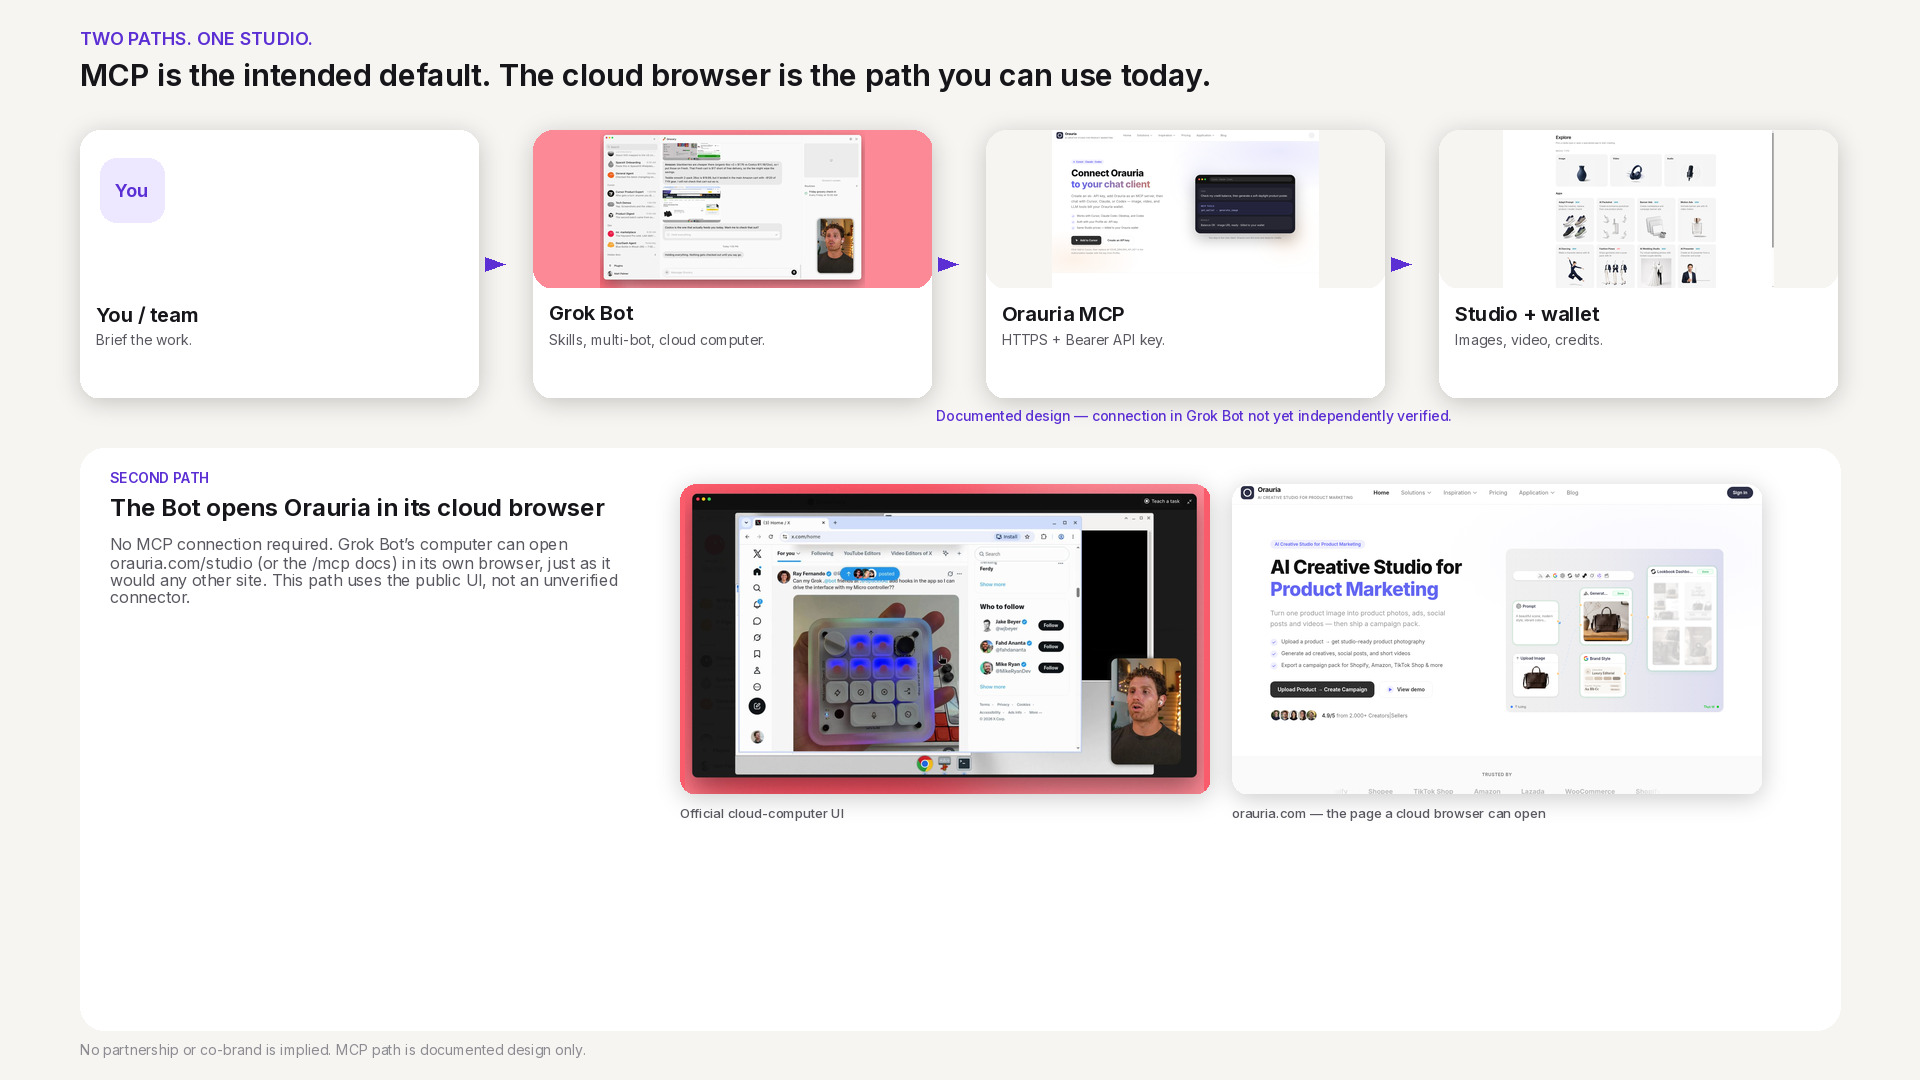
    Three layers for connecting Grok Bot to Orauria: documented MCP tools, the cloud-computer browser, and skills or routines that orchestrate both. The MCP path is documented design, not independently verified.

    Three layers: MCP, the browser, and orchestration

    A useful architecture starts by naming the layers, not the vendor logos. When a merchandising brief arrives, which contract does the Bot actually call — and what happens when that contract is not enough?

    Layer 1 is the tool path. Model Context Protocol gives a Bot a small, explicit set of functions it can call over a documented interface. On Orauria today, that set is public: generate_image, generate_video, chat, list_models, get_wallet, and get_task. A call has a typed result you can inspect — an image URL, a job id, a credit balance — which is what you want if a routine or a specialist Bot will run the same step tomorrow.

    Layer 2 is the browser path. Every Bot on a Grok Bot account shares a persistent cloud computer with a browser, a filesystem, and a terminal. When a job needs a visual UI that MCP does not expose — a node canvas in Workflow Builder, a Fashion Poses board, a click-through in Studio — the Bot can open the public site in that browser, the same way it would open any other page. This path is available today. It is also harder to test, easier to break when the UI moves, and a poorer home for a standing routine.

    Layer 3 is orchestration. Grok Bot’s skills, routines, and multi-bot chats sit above both paths. One Bot can write a brief; another can call image tools or watch a job; a routine can fire on a schedule. The collaboration model is documented. Wiring it to Orauria still waits on a verified connector, and on skills we will only publish after they run for real.

    If you only remember one sentence from the opening guide, let it be this: MCP is the intended default; the browser is the escape hatch; skills and routines are how you stop doing the same handoff by hand.

    Two-column comparison: calling a documented Orauria MCP tool versus clicking through Studio in a cloud browser. The tool path is repeatable; the browser path is visual but brittle for routines.

    Why MCP is the preferred path

    There is a reason we keep calling MCP the default, even though the browser path is the one you can use this afternoon. The difference is whether the work can survive contact with a calendar.

    A UI click is a demonstration. You watch the Bot open Studio, choose a model, wait, and download a frame. That is useful for a one-off, and it is the honest answer for any Studio surface that has no MCP tool. It is a weak foundation for a routine that should run every weekday at 09:00, or for a specialist Bot that should generate a packshot set without you watching the computer preview. Layouts change. Buttons move. The Bot has to see, infer, and click again. You can recover, but you cannot write a tight skill around that recovery.

    A tool call is a contract. get_wallet returns a balance. list_models returns the current catalog. generate_image, when it succeeds, returns a URL you can file or hand to the next step. get_task lets you poll an asynchronous job — video especially — until it finishes or fails in a way the Bot can report. Success and failure are data, not a screenshot of a spinner. That is also why MCP is the better home for a team of Bots: a merchandising Bot and a retouching Bot can share named tools without sharing a click script or the same brief.

    The browser path is not second-class. It is the right tool for the remainder: Workflow Builder’s node canvas, any Fashion Poses or upscale flow, and any review that is simply faster in a visual UI. The rule is narrow: prefer a callable contract when one exists; open the UI when it does not. Do not pretend a missing contract is already there because the page looks impressive.

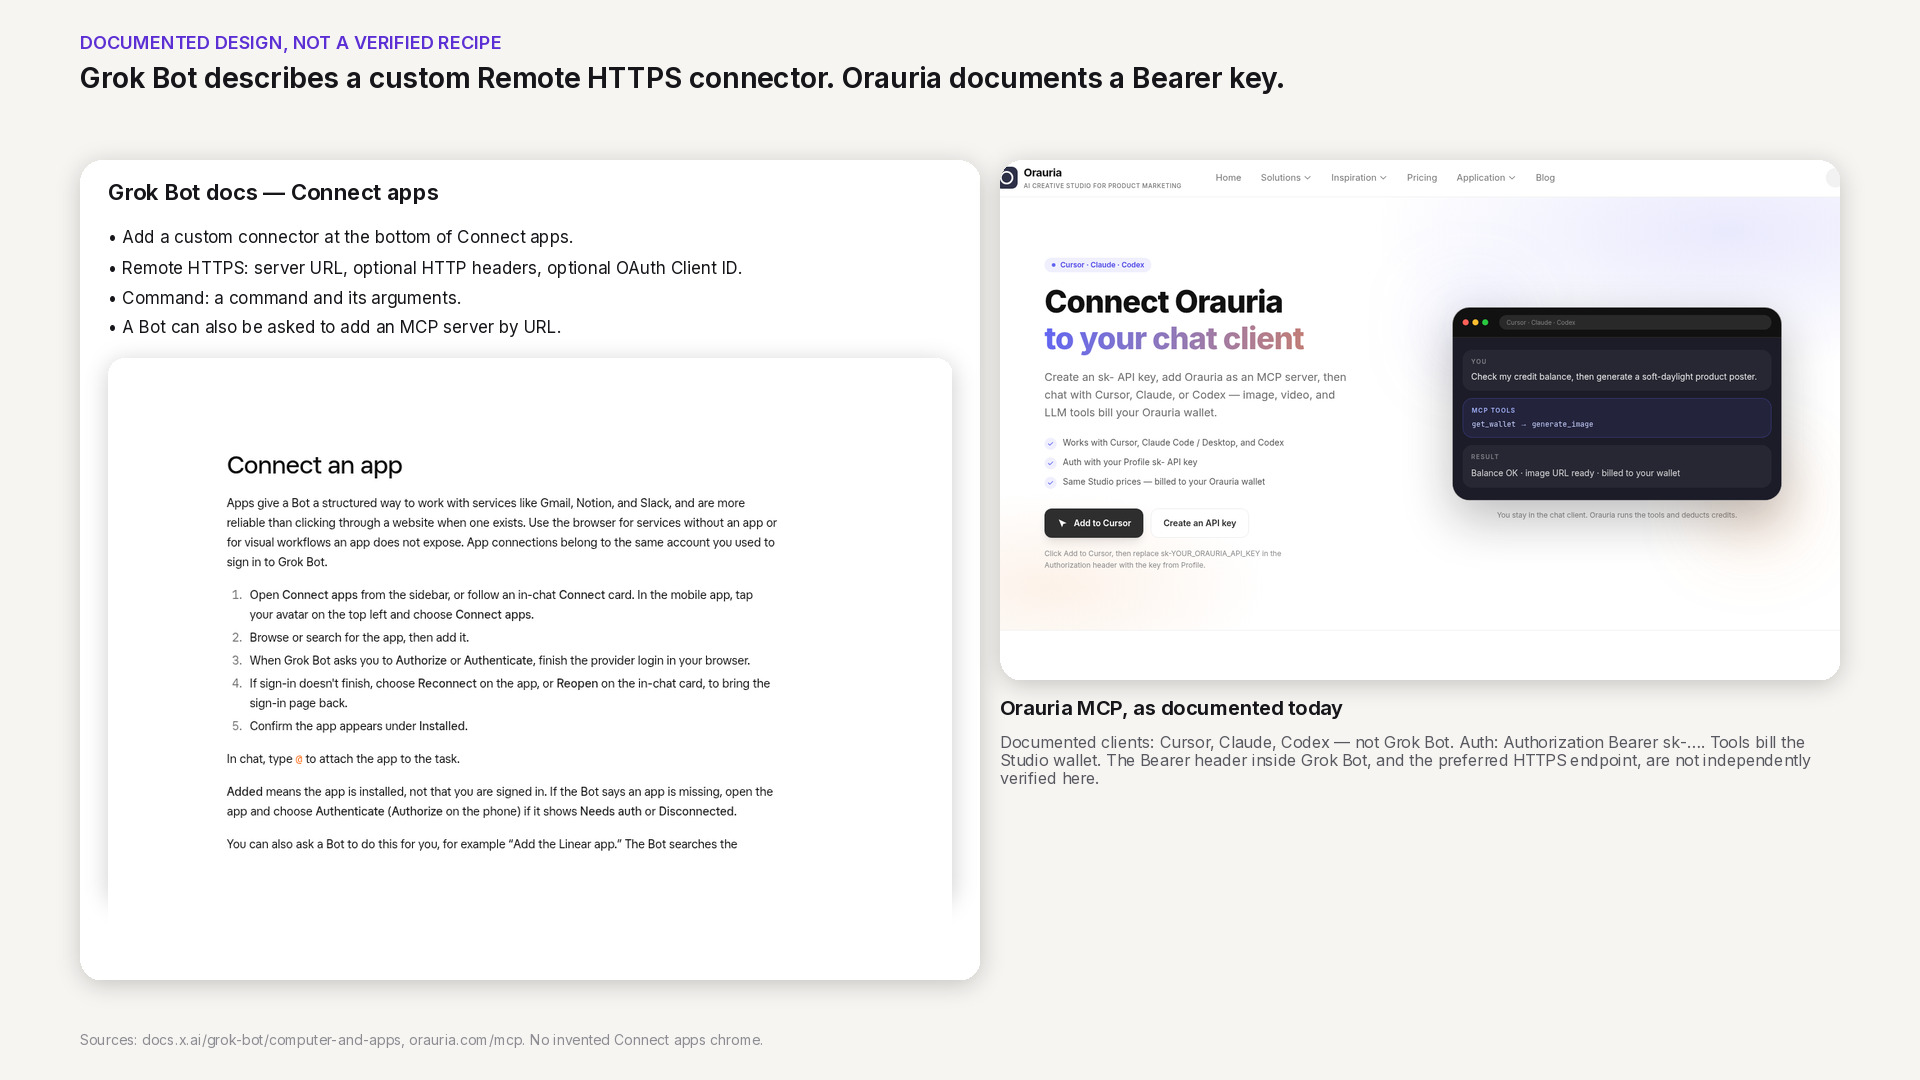
    How Grok Bot documents a custom Remote HTTPS connector — server URL and optional headers — beside Orauria’s MCP authentication model. The Bearer header in Grok Bot is not yet independently verified.

    Custom connectors, as Grok Bot documents them

    Grok Bot’s public computer-and-apps documentation describes how to add a custom connector in the desktop app. You choose Add a custom connector at the bottom of Connect apps, give it a name, and pick a type. Remote HTTPS takes a server URL, with optional HTTP headers and an OAuth Client ID — a Client Secret field appears once you enter one. Command takes a command and its arguments. You then save the plugin. The same documentation says you can also ask a Bot to add an MCP server that is not in the catalog, by URL, or by a command that runs on its computer.

    That shape is what we mean by “documented design.” It is the interface Grok Bot already publishes for third-party MCP servers. It is not, by itself, a verified recipe for Orauria.

    Orauria’s side of the contract is also public, and narrower than a casual reader might hope. The MCP page documents how to connect Cursor, Claude, and Codex today. Auth is a Bearer token: an sk-… API key created in your Orauria profile, sent as Authorization: Bearer. Tools bill the same Studio credit wallet you see on the pricing page. The technical endpoint is written in places as http://orauria.com/api/mcp; HTTPS should be preferred, and that exact URL has not been independently confirmed here. Documented clients, as of the date on this article, do not include Grok Bot.

    Put the two documents side by side and a plausible mapping appears: a custom Remote HTTPS connector would carry Orauria’s server URL and an Authorization header, and a Bot would call list_models or get_wallet without pasting a key into the transcript. Two things remain unverified. First, whether Grok Bot will accept, store, and actually send that Bearer header on each tool call. Second, whether the HTTPS endpoint we would prefer is the one that should be entered, given the http:// form still visible in docs. A later tutorial will record those results with real, redacted screenshots. Until then, do not treat the mapping as a setup guide, and do not paste a key into chat to “just try it.”

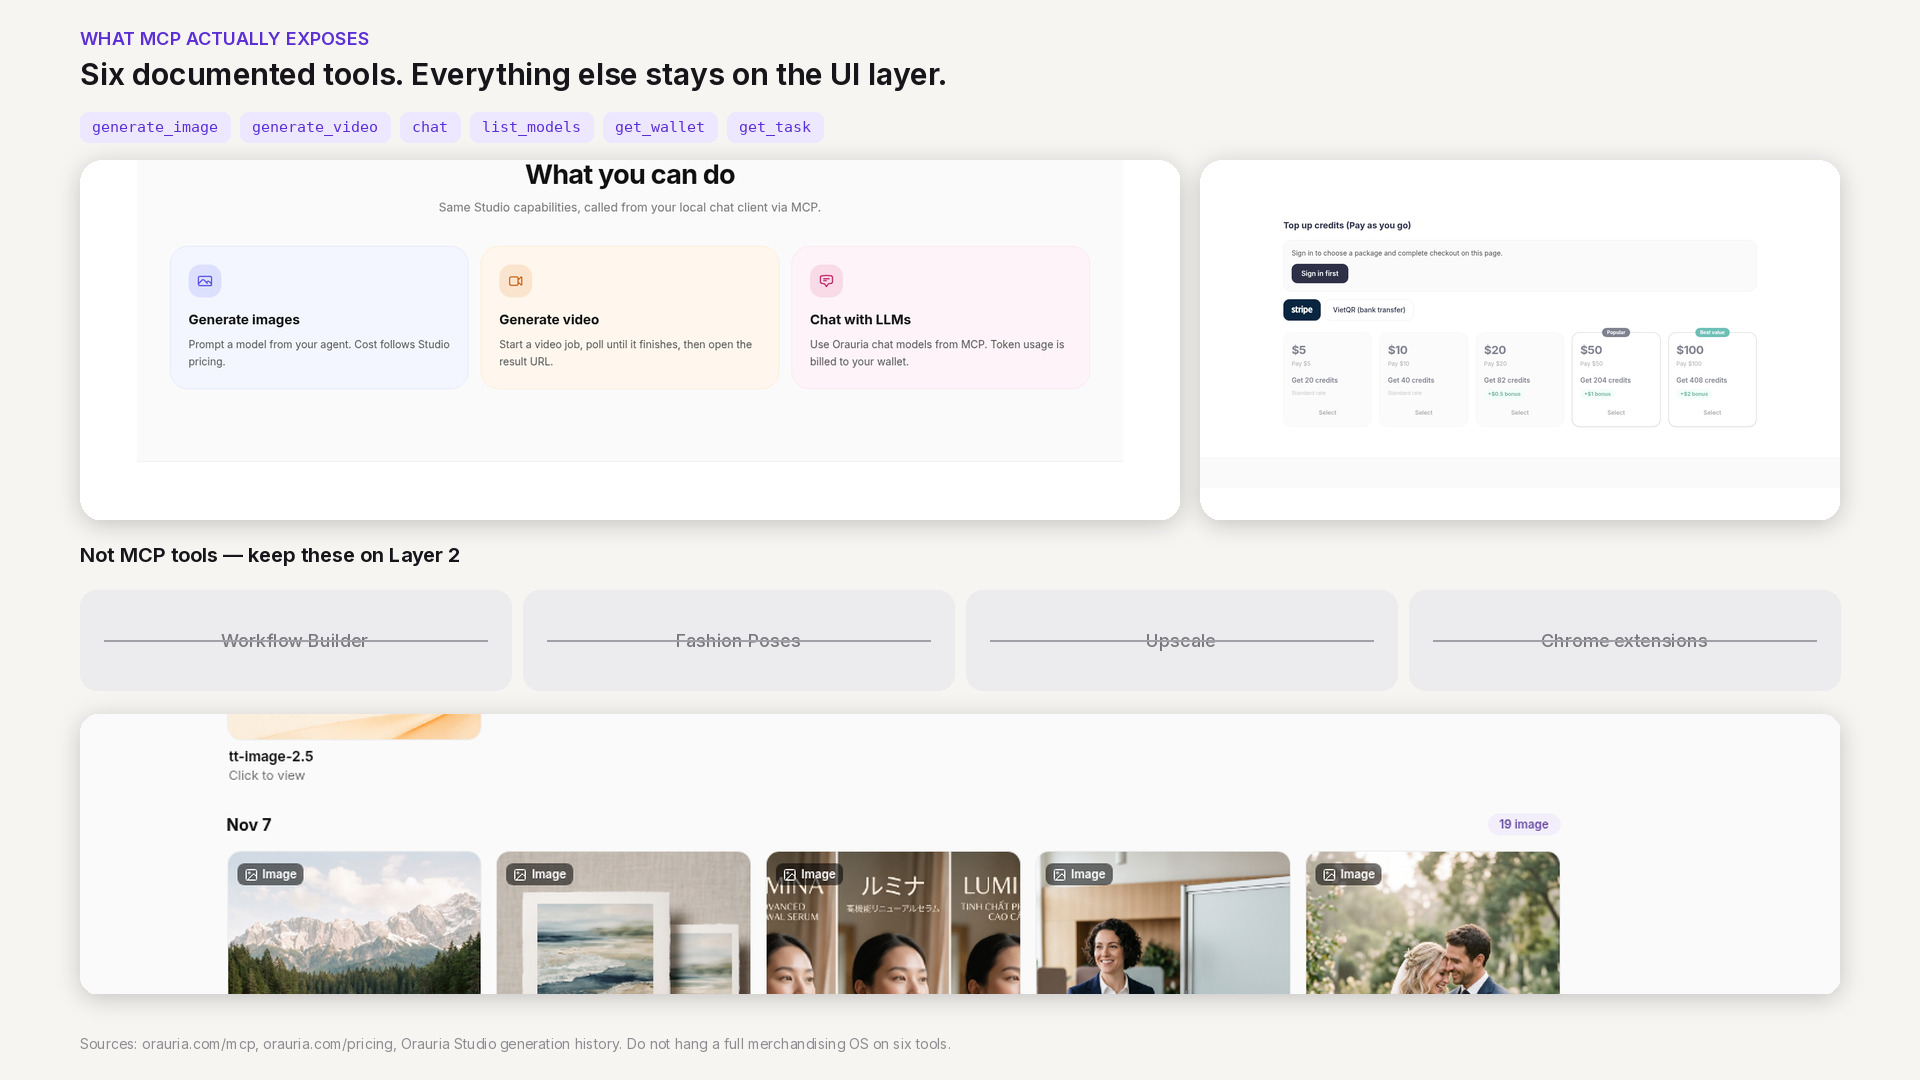
    The six documented Orauria MCP tools beside Studio features that are not MCP tools: Workflow Builder, Fashion Poses, upscale, and Chrome extensions, plus a credit-wallet crop from pricing.

    The current boundary of Orauria’s MCP tools

    Architecture goes wrong when it draws boxes around products that do not yet have an interface. Orauria is a creative workspace for product marketing — Studio, Workflow Builder, specialized apps, and a credit wallet. Only a slice of that surface is callable through MCP.

    The six tools have clear jobs. list_models tells a Bot which image, video, or chat models it can use. get_wallet is the gate before you spend: read a balance, and stop cleanly if the wallet is empty. generate_image and generate_video create the work and bill that same wallet at Studio prices. get_task is how you wait on a long job — particularly video — without guessing. chat calls Orauria’s billed chat models through the same server. That is a complete, if thin, pipeline for “brief in, media URL out,” as long as the brief fits those tools.

    What is not in the list matters as much. There is no MCP tool to run a Workflow Builder graph, and none for Fashion Poses, upscale, or the Chrome extensions. Those are real Studio capabilities, and they remain Layer 2: the Bot can open them in its cloud browser, or a person can open them in their own. They are not contracts you should put in a skill and promise will fire unattended.

    If you are designing a system, or briefing a vendor to extend one, keep this boundary visible. The honest diagram is smaller than a single box labeled “Orauria.” MCP covers generation, model discovery, wallet checks, job polling, and chat. Everything else is UI, a future tool, or a custom server someone has to build — which is exactly the kind of work a custom AI team can take on, but not something this architecture should pretend already ships.

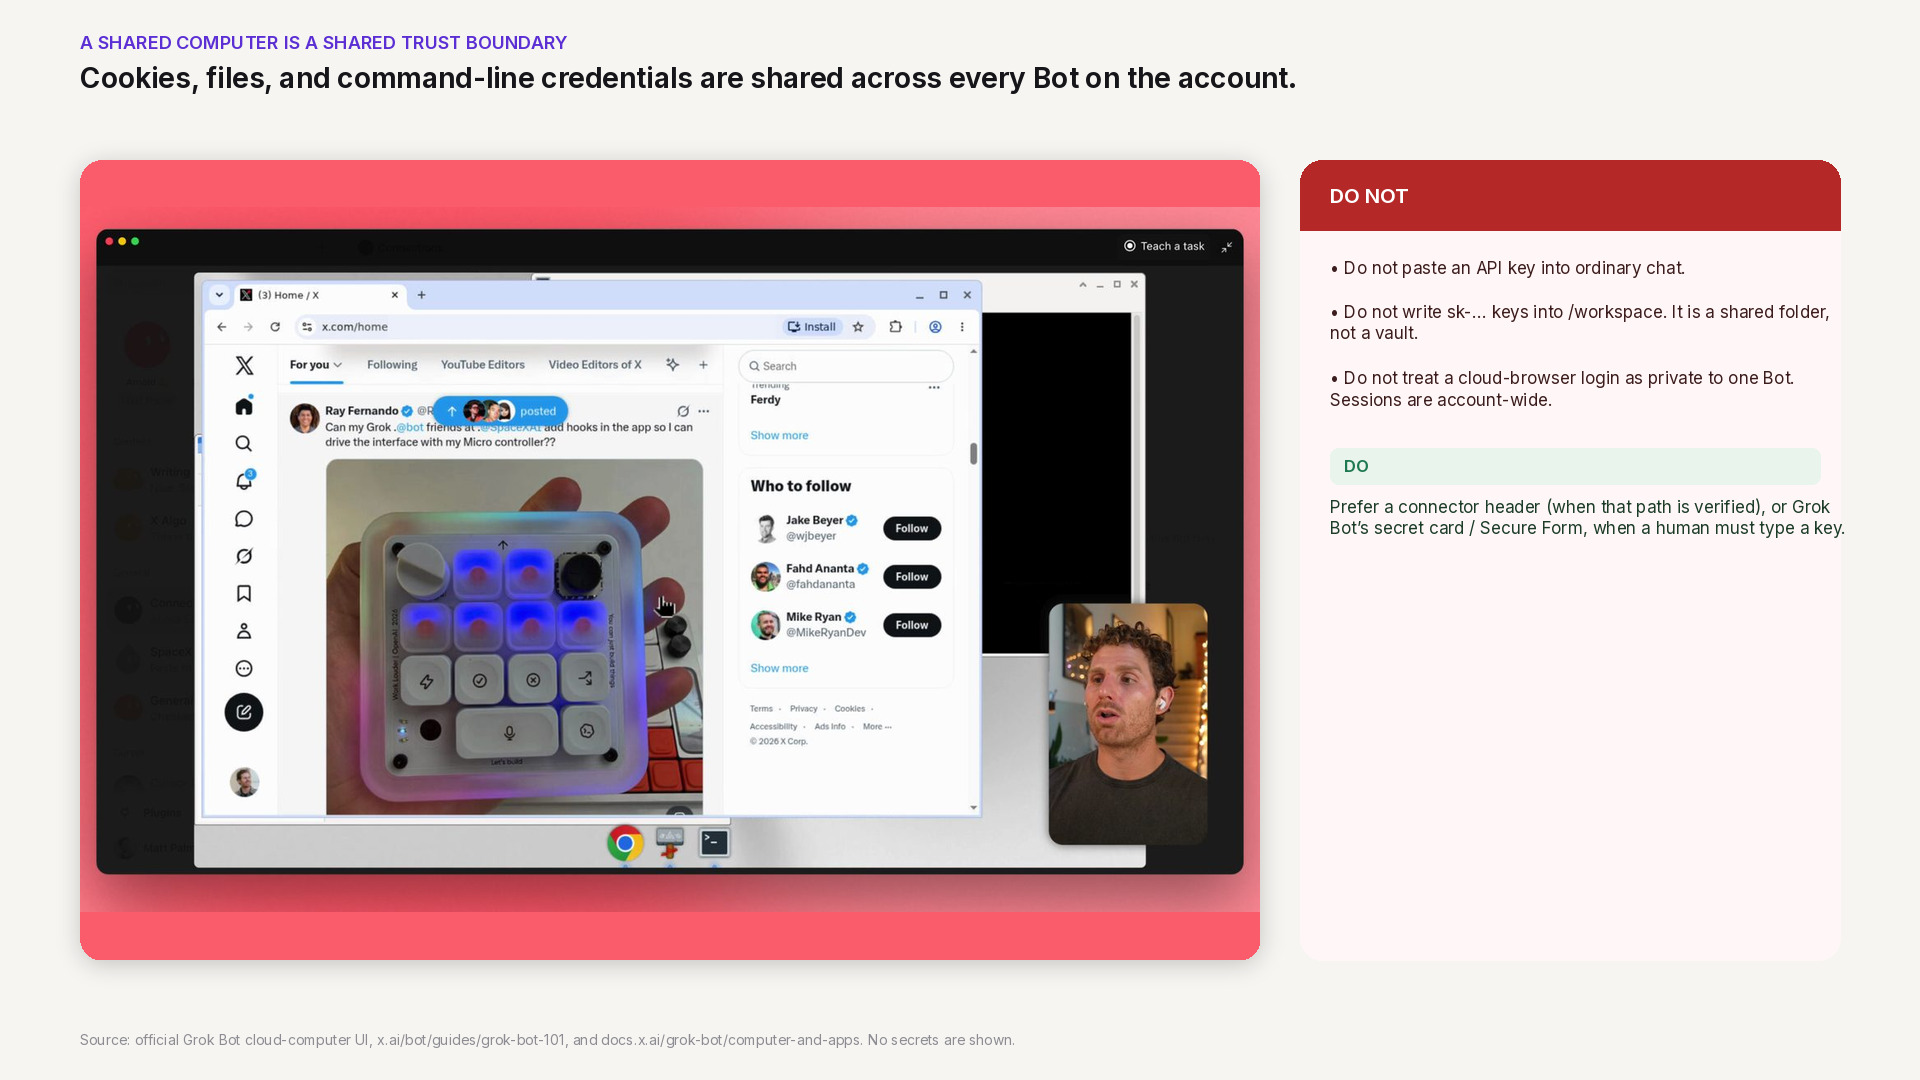
    Official Grok Bot cloud-computer UI with a warning that sessions, files, and CLI credentials are shared across Bots on the account. API keys do not belong in ordinary chat or in /workspace.

    A shared cloud computer, and the credential risk

    Grok Bot’s documentation is blunt about the computer. Every Bot on your account uses the same one. Browser cookies and signed-in sessions are shared. Files are visible to every Bot. Command-line credentials are shared. One Bot can continue from work another Bot saved. The computer is assigned to your user account, not to an individual Bot. Isolation between users is strict; isolation between your own Bots is not.

    That design is what makes handoffs between Bots possible. It is also a credential hazard if you treat the computer like a private laptop. A store login you complete so one Bot can download a reference pack is available to the next Bot that opens a browser. A file in /workspace is not a vault. An API key pasted into a prompt, saved in a scratch file, or typed into a page the Bot is watching can leak into a transcript, a log, or another role’s context.

    The safer pattern follows both products’ public advice. Orauria’s key should live as a connector header — if and when that path is verified — or be entered through Grok Bot’s secret card or Secure Form when a human has to type it. It should not be pasted into ordinary chat, and it should not be written to /workspace. If you sign into orauria.com in the cloud browser for Layer 2 work, remember that the session is account-wide: do not leave a privilege on that computer that a less trusted Bot should never have. We will return to vaults and key rotation later in this series. The point already belongs on the architecture diagram: a shared computer is a shared trust boundary.

    Design tradeoffs, and what to do next

    Three decisions follow from the documents we have, and they are enough to brief a build.

    First: MCP-first. If a step has a documented tool — generate, poll, list models, check the wallet — that is the path a skill or routine should call. It is the path you can test, and the path a specialist Bot can share without inheriting a click script.

    Second: use the UI when the tool does not exist. Workflow Builder, Fashion Poses, upscale, and the Chrome extensions stay on Layer 2 until they have contracts of their own. The cloud browser is a valid, documented way to reach them. It is not a substitute for a missing tool in an unattended routine.

    Third: do not inflate the diagram. Do not label Orauria as an official Grok Bot app. Do not assume the Bearer header already works. Do not hang a full merchandising OS on six tools. The thinness is a feature. A small, billing-aware MCP is something you can reason about, hire against, or extend without pretending the rest of Studio is already an API.

    To see how that MCP is documented for the clients it already supports, start at orauria.com/mcp. If you need a connector, a workflow, or a pipeline that does not yet exist as a tool, send a brief to Orauria’s custom AI team. A step-by-step tutorial for attaching Orauria to Grok Bot will come only after we have run that connection ourselves. Until then, this architecture is the map: three layers, a clear boundary, and no keys in the wrong place.

  • What Grok Bot Is, and How Orauria Extends It for Product Creative

    What Grok Bot Is, and How Orauria Extends It for Product Creative

    If you already brief work, sort a calendar, or watch a Slack channel in Grok Bot, you have felt the difference between an assistant that talks and an agent that can act. Product creative is still a different job. Listing images, ratio variants, and short product videos need models, credits, and a pipeline you can trust — not one more loose prompt.

    This article is a map, not a partnership announcement. Grok Bot facts come from public pages on x.ai and docs.x.ai, checked on 11 November 2026 (Asia/Saigon, UTC+7). Orauria facts come from Orauria’s own site, including the MCP page, What is Orauria, and Orauria là gì. We describe how the two systems can fit together on paper. We do not claim an official partnership with xAI, and we do not claim that Orauria MCP has already been verified end-to-end inside Grok Bot. A connection tutorial will come only after that test.

    Key takeaways. Grok Bot is an AI teammate with a persistent cloud computer, skills, routines, and Connect apps — including a documented way to add a custom MCP server. Orauria already ships Studio plus an MCP server whose tools generate images and video and bill a credit wallet. The cleanest intended path is to add that server as a Remote HTTPS connector with an Authorization header; a second path is to open Studio in the Bot’s browser when you need a visual UI. Until the connector is tested, treat the first path as documented design, not a finished how-to.

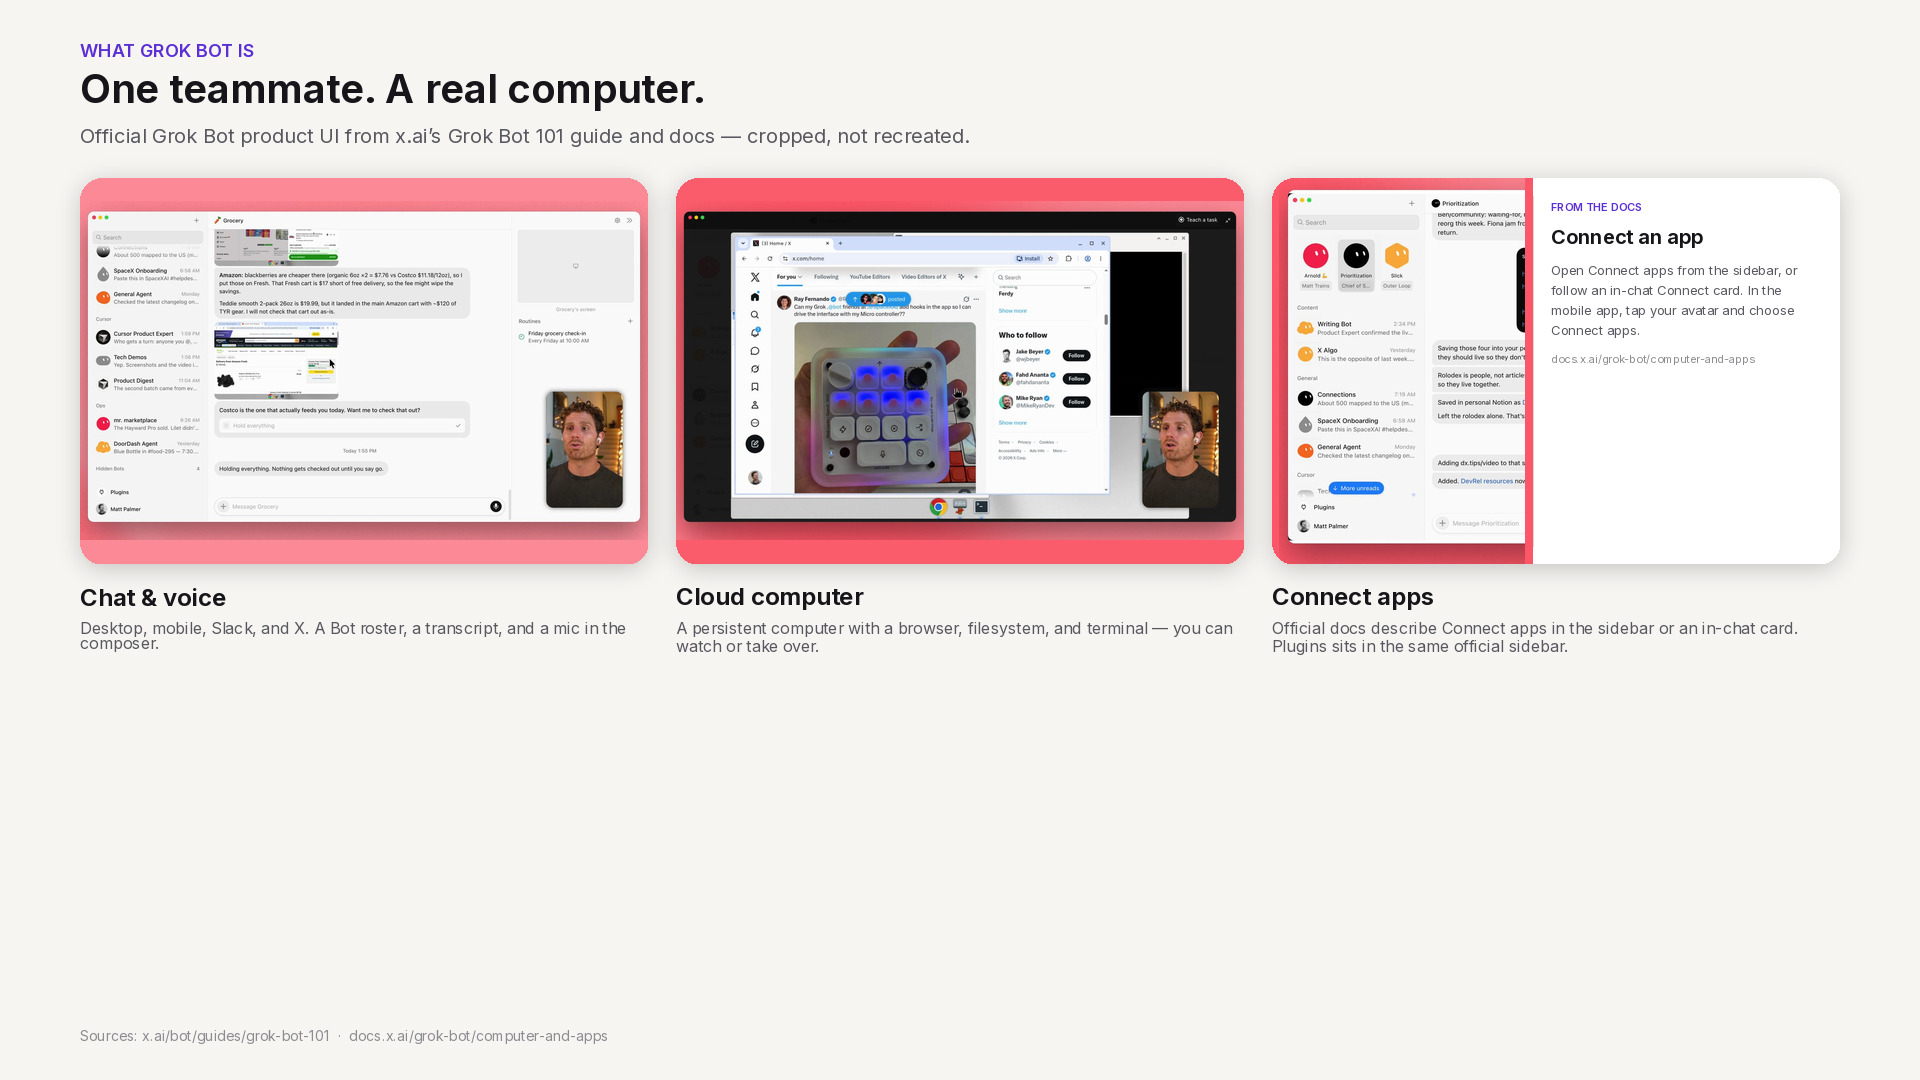
    Official Grok Bot interface in three panels: chat and voice, the shared cloud computer, and Connect apps as described in xAI documentation.

    What Grok Bot is — public facts only

    xAI describes Grok Bot as a proactive AI teammate: an agent with access to a real computer in the cloud, so it can do the kinds of work a person can do on a machine. The overview is on x.ai/bot and in the Grok Bot documentation. Chat is the main interface. You can also start a voice call or send a voice note. The same docs say you can work with Bots on desktop, on mobile, in Slack, or on X.

    That combination is the useful starting point for ecommerce teams. You are not only asking a model for copy. You are handing work to an agent that can keep going after you close the laptop.

    A shared cloud computer and a team of Bots

    Under the hood, your Bots share a persistent cloud computer with a browser, a filesystem, and a terminal. Files, sign-ins, and browser sessions persist between tasks, and work continues while your own laptop is closed. The documentation on using the computer and apps is explicit about the sharing model: every Bot on your account uses the same computer. Browser cookies, signed-in sessions, files, and command-line credentials are visible to every Bot you run. The computer is assigned to your user account, not to one Bot. Each Bot gets its own screen, so several Bots can use browser and desktop tools in parallel, but those screens are separate work surfaces, not separate security boundaries. Durable project files belong in the shared workspace at /workspace.

    You can also run more than one Bot. Official materials describe Bots that message each other, work in a group chat, hand work along, and bring you in to approve, edit, or send something back. That is the collaboration model, not a promise that every workflow is already built for your catalog.

    Skills, routines, and Connect apps

    Grok Bot turns a successful task into a repeatable process in two parts, as described in the skills and routines documentation (that page was last updated 9 November 2026). A skill is a reusable set of instructions for how to do a task: when to use it, required inputs, the sequence of work, how to validate the result, what to return, and what requires approval. A routine tells one Bot when to run a workflow — on a schedule, or when something happens, such as a Slack message, a GitHub, Linear, Sentry, or PagerDuty event, an email, or a webhook. Routines run in the cloud while your laptop is closed. They also have published rate limits: all of your routines together can run up to 300 times an hour, and each routine up to 200 times an hour.

    Bots work more reliably when they use structured app connections rather than only clicking through a website. The overview mentions everyday tools such as Slack, Notion, Drive, and Teams. The computer-and-apps documentation goes further on what a connected app can do, including Google Calendar, Sheets, Docs, Slack, Gmail, Stripe, an X plugin, 1Password, and an Email address for your Bots at mail.grokbot.com. Connected apps belong to the account you used to sign in to Grok Bot and are available to every Bot you run.

    Custom tools are part of the same picture. The official overview states that Grok Bot supports custom tooling, so it can interact with any MCP or API. The Grok Bot 101 guide (11 September 2026) says Grok Bot supports the same MCP servers, plugins, and skills as Cursor. To add a server that is not in the catalog, the computer-and-apps documentation tells you to open Connect apps, choose Add a custom connector, and pick a type: Remote HTTPS takes a server URL, with optional HTTP headers and an OAuth Client ID; Command takes a command and its arguments. You can also ask a Bot to add an MCP server by URL or by a command that runs on its computer.

    Two safety notes from the same public docs will matter later in this series. Do not paste passwords or API keys into ordinary chat; Grok Bot’s documented path is a Vault, a Secure Form, or a secret card. And because the computer is shared, a login or file you leave there is available to your other Bots.

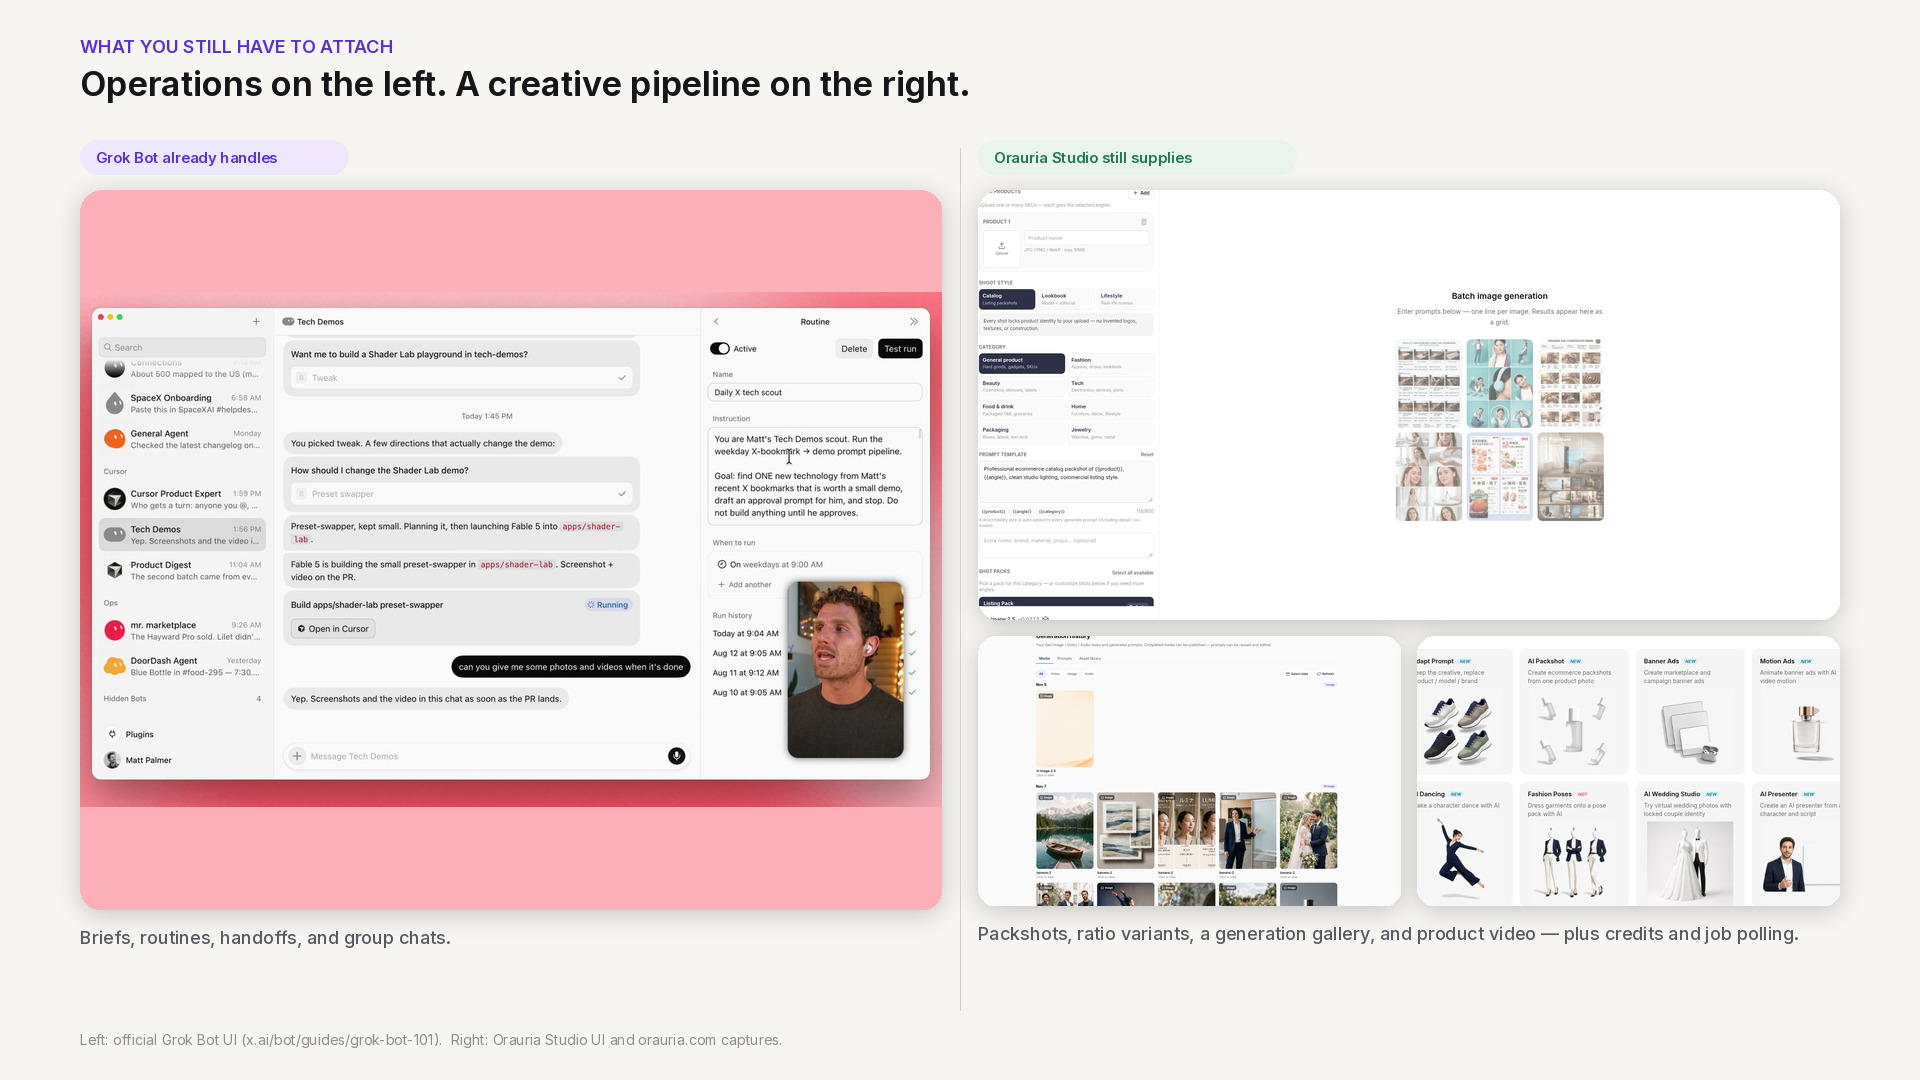
    Side-by-side: official Grok Bot chat and routines on the left, Orauria Studio packshots, generation history, and product apps on the right.

    The product-creative work you still have to attach

    None of the above makes Grok Bot a product photography studio. That is not a criticism. It is a boundary. Grok Bot is strong at intake, coordination, and repetition: a brief in chat, a routine every morning, a mention in Slack, a handoff between specialist Bots, a pause for your approval. Those are real advantages for a merchandising or marketing team.

    Selling a physical product still asks for a different layer. You need a consistent set of packshots, not one pretty frame. You need 1:1 and 9:16 variants from the same SKU. You often need a short video after the stills are clean. You need to know which model you called, whether the wallet still has credit, and how to wait for a long video job without guessing. We have written about that production mindset in pieces such as node thinking in the Workflow Builder — the point here is simply that the agent needs a tool with a contract, not only a browser window and a prompt.

    If you do not attach that layer, the Bot will improvise: scrape a site, invent a pipeline, or stop halfway. If you do attach it, the Bot can call the same capabilities you already use in a studio, then bring the URLs back for you to review.

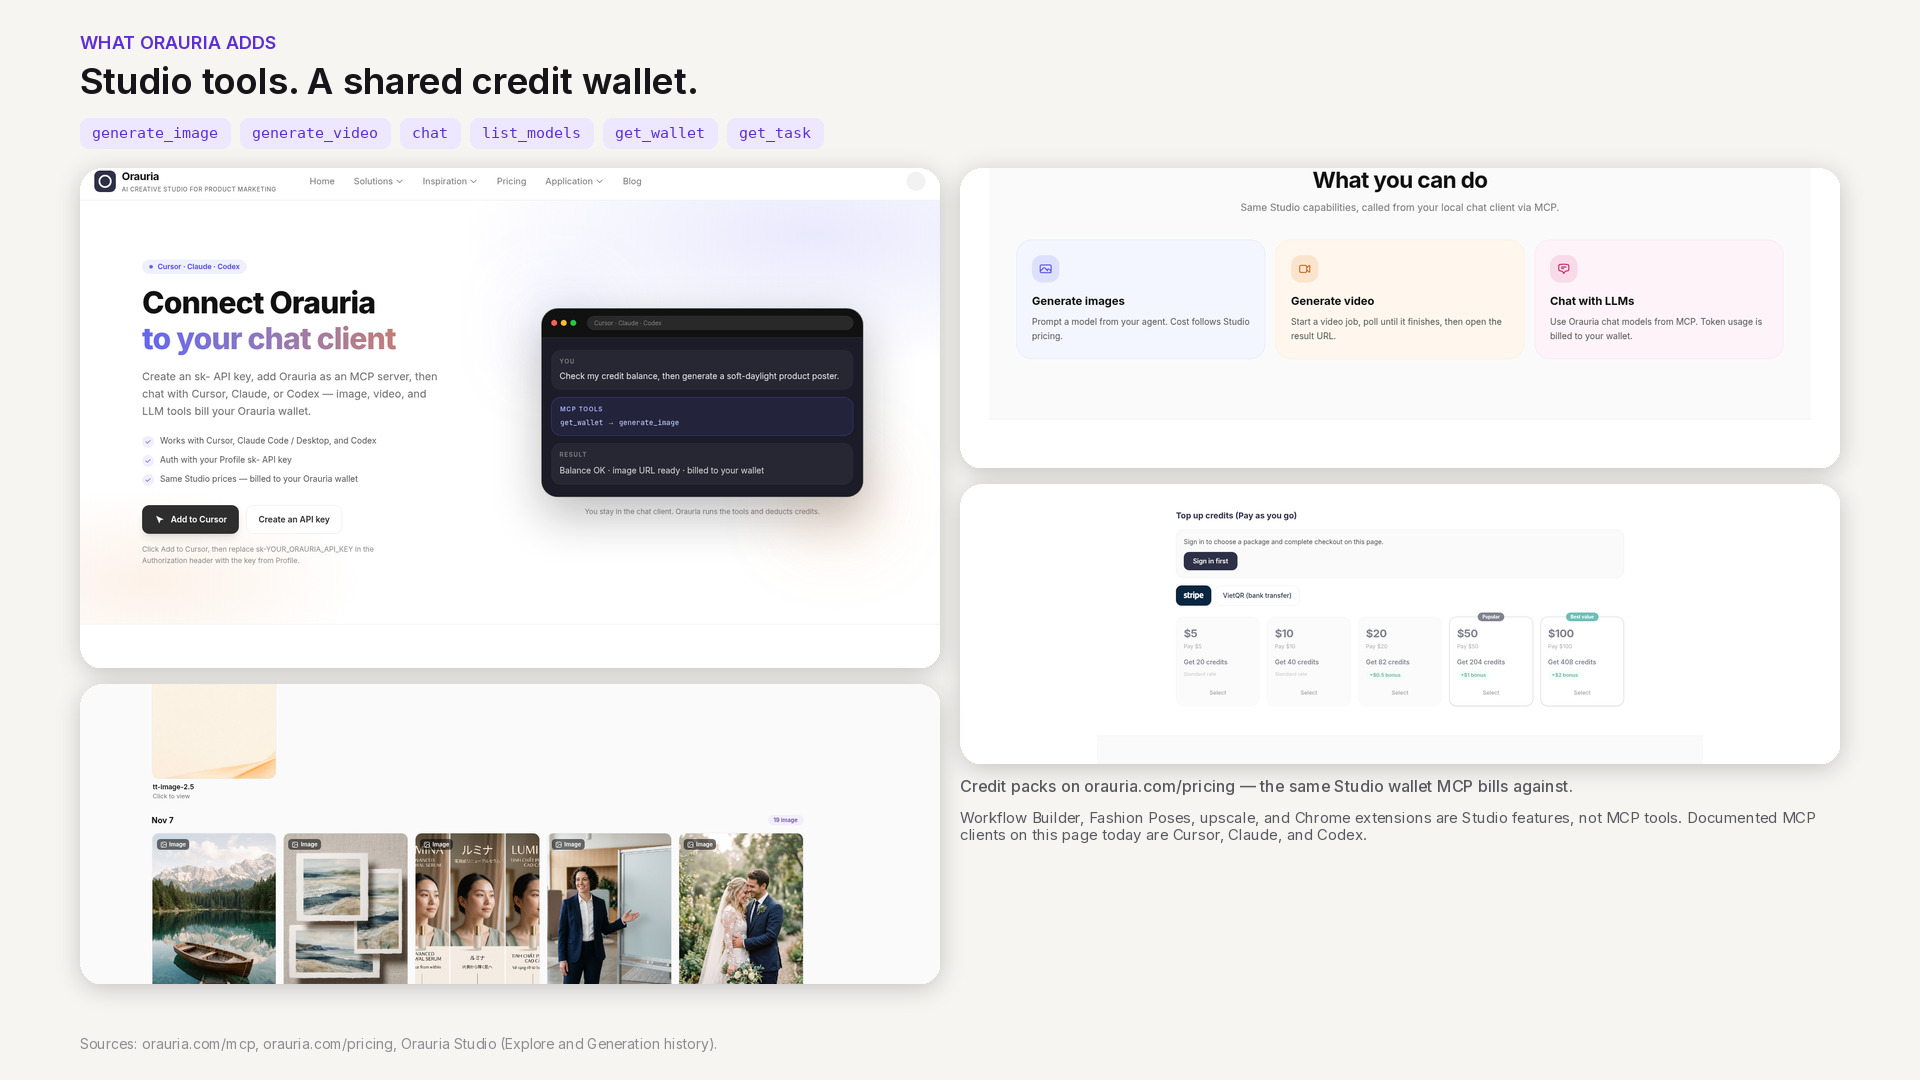
    Orauria MCP page, the six documented tools, credit packs on the pricing page, and product stills from Studio generation history.

    What Orauria adds: Studio, MCP, and a credit wallet

    Orauria is a creative production workspace for ecommerce and marketing teams — a place to generate and QA product images, video, and campaign variants. If you are new to the product, start with What is Orauria or the Vietnamese introduction Orauria là gì.

    The part that matters for Grok Bot is not only the Studio UI. Orauria also publishes an MCP server. The MCP setup page documents how to connect Cursor, Claude (Code or Desktop), and Codex with an sk-… API key in an Authorization: Bearer header. Image, video, and chat calls use the same wallet and prices as Studio; pricing is public. If credit is too low, the call returns an error rather than silently skipping a charge.

    The tools currently listed on that page are:

    • generate_image — create an image from a prompt and model; returns a result URL.
    • generate_video — start a video job.
    • chat — chat with an Orauria LLM, billed per token.
    • list_models — see available image, video, and chat models.
    • get_wallet — check remaining credits before you generate.
    • get_task — poll an image or video job until it finishes.

    That list is also a list of things the MCP server does not currently expose. The published MCP documentation does not list tools for Workflow Builder, Fashion Poses, marketplace upscale, or the Chrome extensions. Those remain Orauria products you can use on the web (for example Workflows). We will not pretend they are MCP tools until the docs say they are.

    One documentation detail to treat carefully: the MCP page currently shows the endpoint as http://orauria.com/api/mcp. A cloud agent should almost always call a public HTTPS URL. Whether Grok Bot accepts that exact URL, and whether the production endpoint you should save is the HTTPS form, still needs to be confirmed. We will not invent the answer here.

    The framing for every article in this series is the same: how to use Orauria with Grok Bot. That is a user-side integration, not a claim that xAI endorses Orauria or that the two companies have a commercial partnership.

    Architecture of two paths: a documented MCP design from you to Grok Bot to Orauria MCP to Studio, and a second path where the Bot opens orauria.com in its cloud browser.

    Two paths: MCP, and the browser on the cloud computer

    Once you put the public facts side by side, two integration paths appear.

    Path 1 — MCP, the intended default. Grok Bot’s own docs say you can add a custom Remote HTTPS connector with a server URL and optional HTTP headers. Orauria’s MCP docs say the server authenticates with an Authorization: Bearer sk-… header. Those two shapes match. In principle, a Bot could call get_wallet, list_models, and generate_image from chat or from a routine, then return result URLs for you to approve. That is the clean path: structured tools, measurable credit use, and instructions you can save as a skill.

    It is also the path we will not walk through click by click in this article. As of 11 November 2026, Orauria’s MCP page documents Cursor, Claude, and Codex — not Grok Bot. We have not published an official “it works” test of Remote HTTPS plus a Bearer header inside Grok Bot. Until that test exists, Path 1 is a design that follows both sets of public docs, not a verified recipe. If you try it yourself, keep the API key in the connector header or a secret card, never in ordinary chat.

    Path 2 — the cloud browser, for visual work. When you need a canvas, a crop, or on-screen QA, a Bot can open orauria.com in its cloud browser and use Studio or Workflow the way a person would. Grok Bot’s computer documentation is clear that browser sessions persist and that a sign-in for one Bot is available to your other Bots. That is convenient, and it is a reason not to leave extra credentials on the machine. Path 2 does not replace MCP. It is the overflow path for UI that the current MCP tool list does not cover.

    A third layer sits on top of both: skills, routines, and multiple Bots. You can imagine one Bot writing a merchandising brief and another calling image tools, then handing a pack to you. The collaboration model is documented. Wiring it to Orauria, again, waits on a verified connector and on skills we will only publish after they run for real.

    How to read the rest of this series, and what to do next

    This is the pillar for a cluster of guides and design essays around Grok Bot and Orauria. The next piece zooms in on architecture: why MCP should be the default, where the browser path belongs, and how to think about secrets on a shared computer. A step-by-step connection tutorial will follow only after we have tested the connector and updated the MCP page with Grok Bot instructions. Later articles will cover skill templates, image and video workflows, routines, and security — always with a clear label when a step is still unverified.

    If you want to use Orauria from an agent today, start where the docs are already complete: connect Cursor, Claude, or Codex with a key from your profile, check the wallet, and generate one image. If you want a connector, a skill, or a creative Bot built around your own catalog and approvals, that is a software project. Hire Orauria to build it — the same team that already shipped Studio and the MCP server.

    Use Grok Bot for the teammate layer. Use Orauria for the product-creative layer. Keep the language honest: this is how the two systems can work together, not a joint product and not a completed integration announcement.

  • What still counts as real AI product photography in 2026

    What still counts as real AI product photography in 2026

    Search AI product photography and most results sell the same fantasy: type a prompt, skip the light, publish. That is not photography. Photography — even when AI sits in the pipeline — is still about how light hits a physical object and whether a stranger on Amazon can trust what they see.

    Orauria’s job in that pipeline is not “invent a prettier bottle.” It is to help you turn a truthful capture into the rest of the commercial set. This article is about the photography half of that bargain: what you must still get right in camera (or on a phone), and what AI should never be allowed to invent.

    Key Takeaways

    • AI product photography fails when the source image has no usable light, edge, or label data — AI cannot recover truth that was never captured.
    • White-background Main Images are a discipline (specular control, soft shadow, readable type), not a background-remove button.
    • Hard categories (glass, foil, clear liquids, fine jewelry, wrinkled apparel) need a real shoot or a better source — not more prompts.
    • Use AI to expand angles, scenes, and formats after identity is locked; keep studio days for brand film and impossible materials.
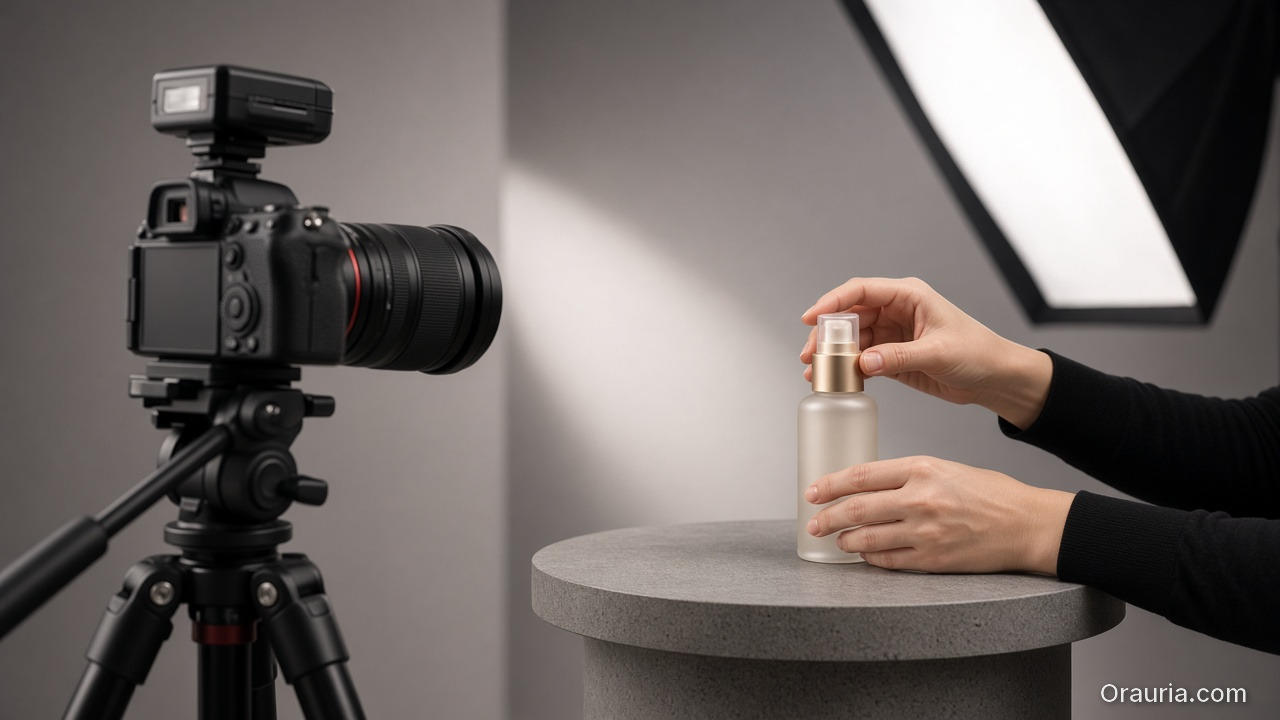
    A camera on a tripod and a softbox photographing a cosmetic bottle being adjusted by hand

    Photography intent is different from “generator” intent

    People who type AI product photography usually want one of three jobs:

    1. Replace a day rate for catalog white / three-quarter packs.
    2. Fix bad phone light without renting a softbox.
    3. Scale a proven hero shot across variants and seasons.

    Those are photography problems. They are not the same as asking a text-to-image model for “luxury skincare on marble.” If your brief still starts with a moodboard and no SKU photo, you are shopping for art direction — not product photography. For the kit / campaign framing, see AI generated product images for ecommerce. For tool-shaped search language, see AI product image generator.

    The useful question is not “Can AI shoot my product?” It is: Which photons do I still need from the real object before AI is allowed to touch the file?

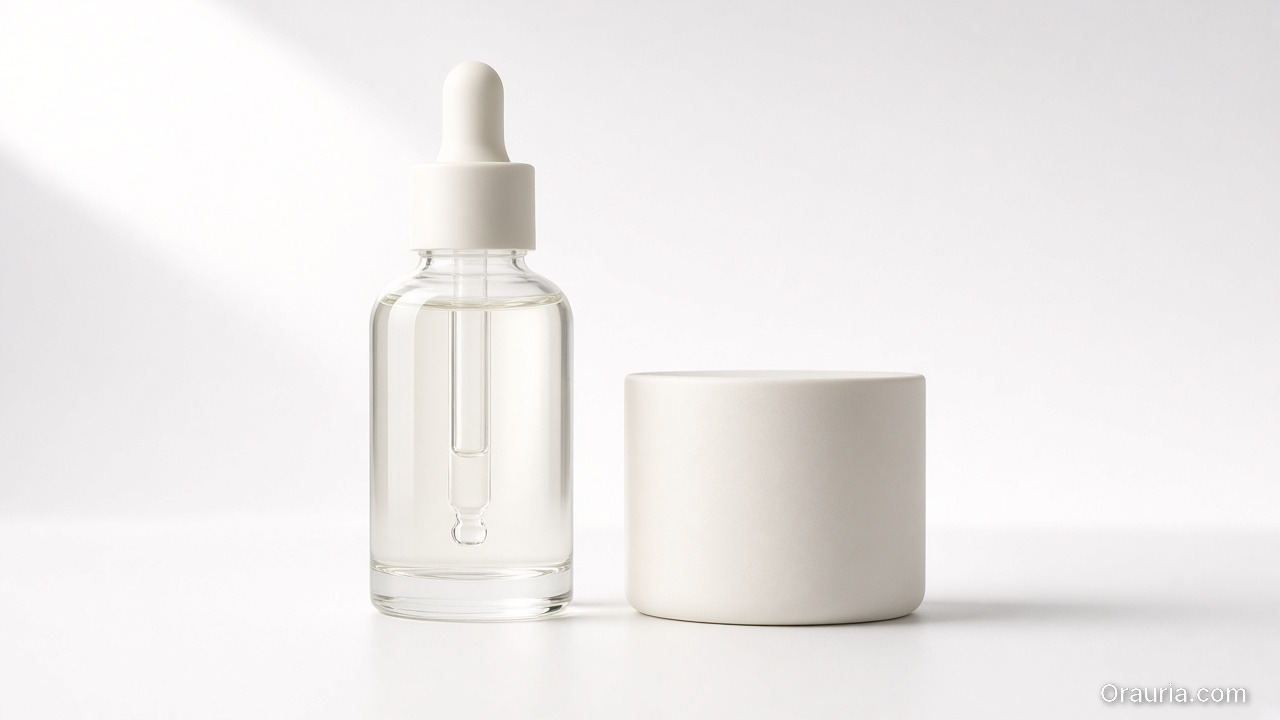
    Clear serum dropper bottle and cream jar on a seamless white background with soft contact shadows

    White background is a lighting test, not a cutout

    Amazon-style white Main Images punish three photography mistakes AI tools often hide poorly:

    Failure What the buyer sees Fix before AI
    Hard specular blowout Plastic looks wet / fake Diffuse key; kill glare on logo foil
    Contouring shadow too dark Product “sinks” into white Lift fill; keep a soft contact shadow
    Label mush at 100% zoom Returns and bad reviews Closer capture; sharper focus on type

    If your “AI white background” output still has frayed edges, gray cast, or melted barcode/type, the model is guessing. Guessing is not photography. Re-shoot or re-capture until edges and type survive a phone-screen zoom.

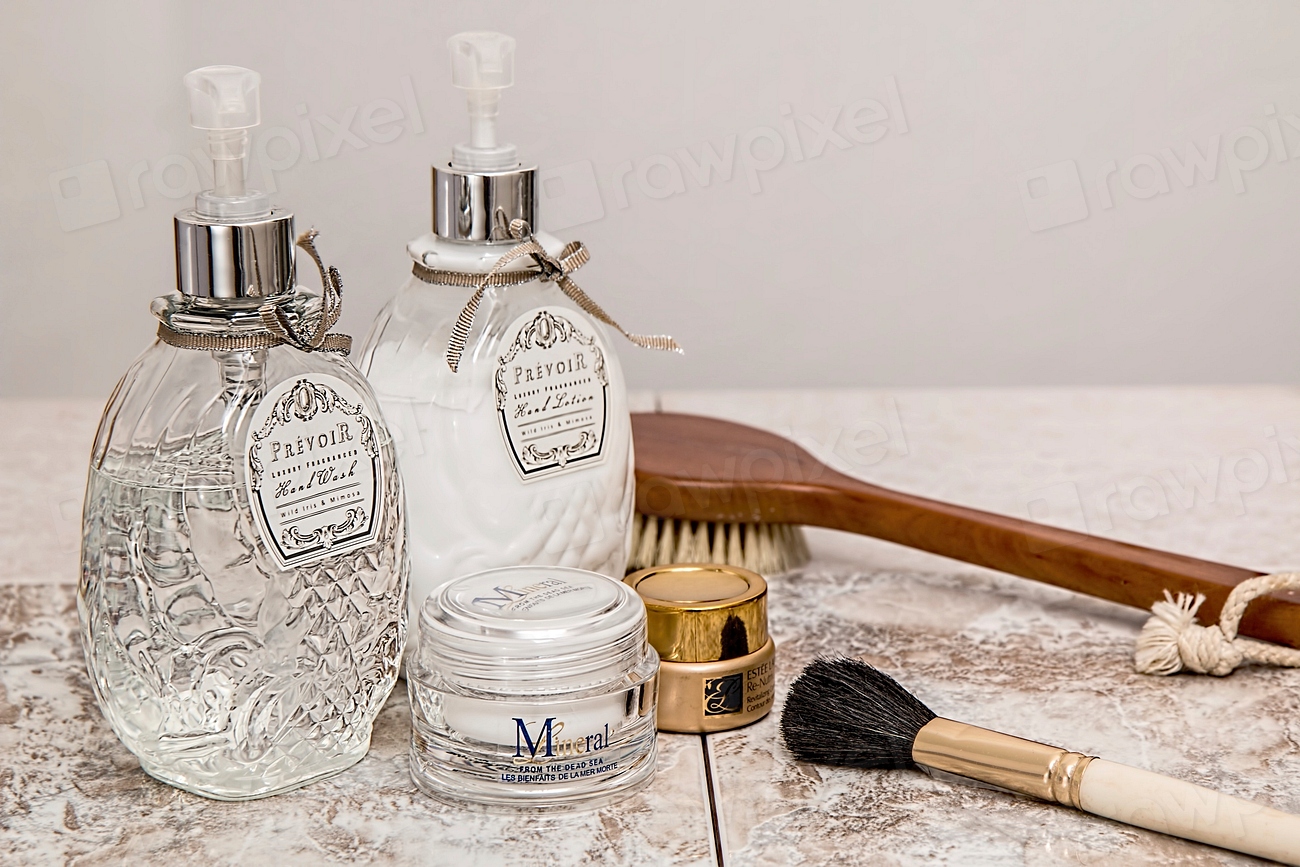
    Glass skincare bottles, a cream jar and a gold compact on a stone surface, showing typography and mixed materials

    Category difficulty: when AI expansion is honest

    Category AI expansion after one good source Still shoot for real
    Matte cartons, boxes, sachets Strong Rarely
    Opaque bottles with flat labels Strong Color-critical SKUs
    Glass / clear liquids Weak–medium Always for hero
    Metal / chrome / foil stamping Weak Always for hero
    Apparel on hanger / flat lay Medium Fit and fabric drape
    Jewelry / tiny hardware Weak Macro and sparkle

    Rule of thumb used by catalog teams: if the material’s value signal is how light moves across it (glass, metal, silk), budget a real capture. If the value signal is shape + print + color block, a clean phone packshot plus disciplined AI expansion is often enough for listing and ads.

    Apartment table by a window with foam boards, a product on a white sweep, a phone on a tripod and a diffused LED panel

    A hybrid shoot plan that respects photography

    1. One truthful hero — same angle you would approve from a studio: level, labeled side readable, no motion blur. Austin kitchen window + white foam board is fine if the physics are right.
    2. Lock identity in writing — Pantone/hex of carton, logo do-not-warp, “no extra foil,” “cap must stay matte black.”
    3. Expand only after lock — alternate angles, lifestyle tables, seasonal props, 9:16 ad crops.
    4. Refuse silent redesign — if AI invents a new lid silhouette or “improves” the logo, discard. That is not photography; that is product fraud in slow motion.
    5. Channel QA like a photographer — check white purity, soft shadow, type legibility, and mobile thumbnail recognition before Amazon or Shopify publish.

    Formats still matter commercially (1:1 · 4:5 · 3:4 · 9:16 · 16:9), but they are exports of a photographic decision — not the decision itself. Angle systems without a studio day: Packshot thinking.

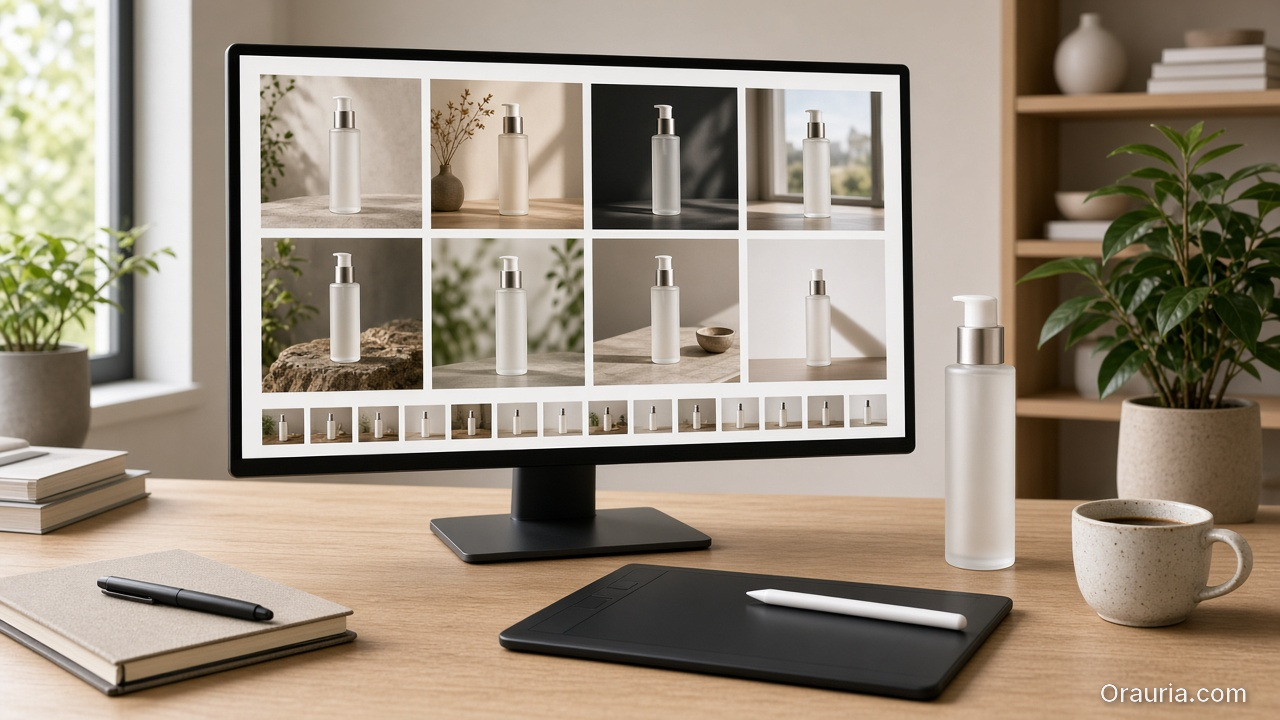
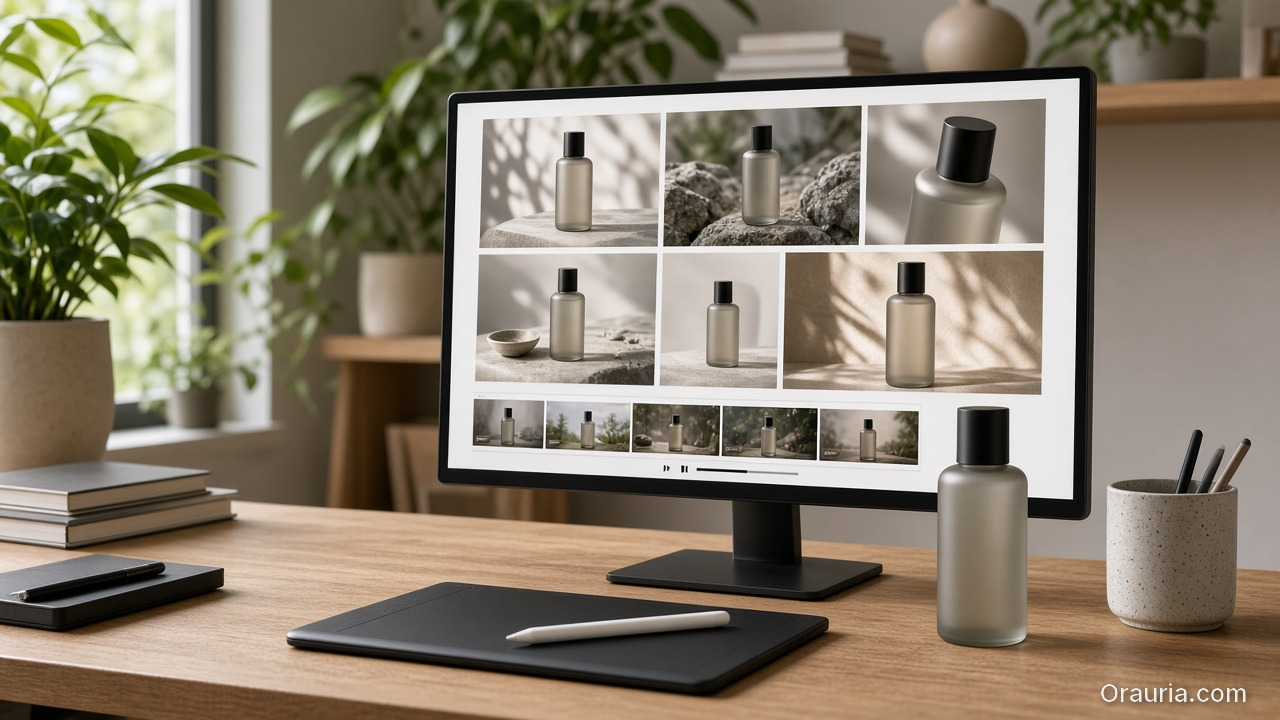
    A computer monitor showing a grid of product photos beside the physical bottle, a tablet and a coffee cup on a wooden desk

    What Orauria is for in this workflow

    Orauria is an AI Creative Studio for Product Marketing: one product image → photos, ads, social, short video → campaign pack. In photography terms: you bring the truthful capture; the system helps you build the commercial set without drifting the SKU. Soft CTA only after the craft is clear — not instead of it.

    Create Your First Product Kit →

    FAQ

    Can AI product photography replace a studio entirely?

    For matte catalog SKUs and rapid ad variants, often yes after one good source. For glass, metal, jewelry, or brand hero film, keep a real shoot. Hybrid is the adult answer.

    Why does my AI white background look “plasticky”?

    Usually speculars and edge light were wrong in the source, or the model filled missing highlight data. Fix capture geometry before regenerating.

    What should I put in the identity brief?

    Exact packaging color, logo integrity, proportion locks, materials that must not be “beautified,” and claims you refuse to imply in lifestyle scenes.

    Conclusion

    Treat AI product photography as a chain: capture truth → lock identity → expand commercial frames → QA like a photo lead. If you skip the first link, every downstream “AI photo” is cosplay.

    Create Your First Product Kit →

  • AI Product Image Generator: Build Sell-Ready Product Creatives, Not Random Art

    AI Product Image Generator: Build Sell-Ready Product Creatives, Not Random Art

    If you searched for an AI product image generator, you do not need another art toy. You need a system that turns one real product photo into listing and ad creatives that still look like your SKU.

    A useful AI product image generator for US ecommerce: upload a phone or packshot → get white-background Main Images, lifestyle frames, and Meta-ready crops — while packaging, logo, color, and shape stay locked. No Brooklyn studio day required. No “pretty but wrong bottle” returns.

    Key Takeaways

    • About 75% of shoppers rely on product photos when deciding to buy (Weebly, industry compilation 2026).
    • Moving from one image to a 5–7 image set (angles + lifestyle) is repeatedly linked to higher conversion in industry summaries (Statista / 2025–2026 compilations).
    • Tool intent fails when “generator” means Midjourney vibes forced onto Amazon Main Image rules.
    • Checklist: real source → identity lock → job-based outputs → formats 1:1 · 4:5 · 3:4 · 9:16 · 16:9.
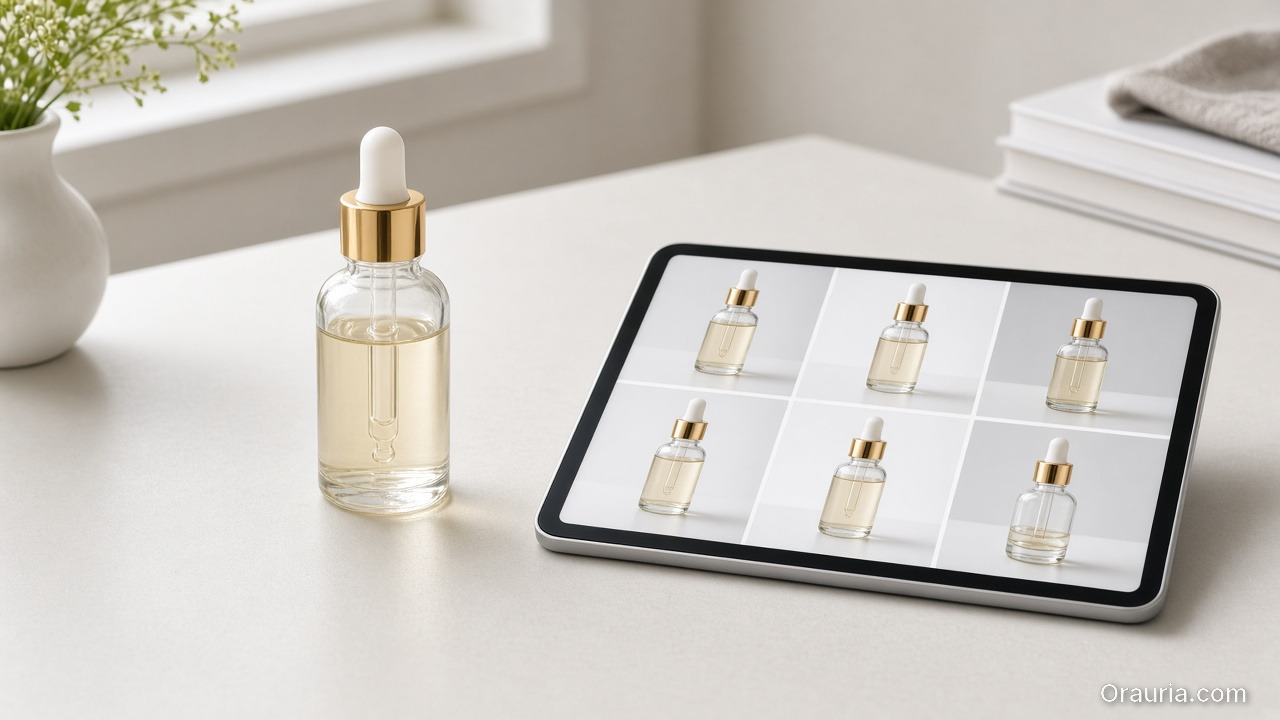
    A serum bottle on a desk beside a tablet showing a grid of consistent catalog shots of the same bottle

    What should an AI product image generator actually do?

    Art generator Ecommerce AI product image generator
    Input Text prompt Real product photo
    Output One pretty frame Channel kit (Amazon, Shopify, Meta…)
    Constraint Aesthetic Product identity
    Success Likes CTR, ROAS, fewer returns

    Related hub framing: AI generated product images for ecommerce.

    “Generator” is the wrong noun if it only generates files. The right product generates a publishable set.

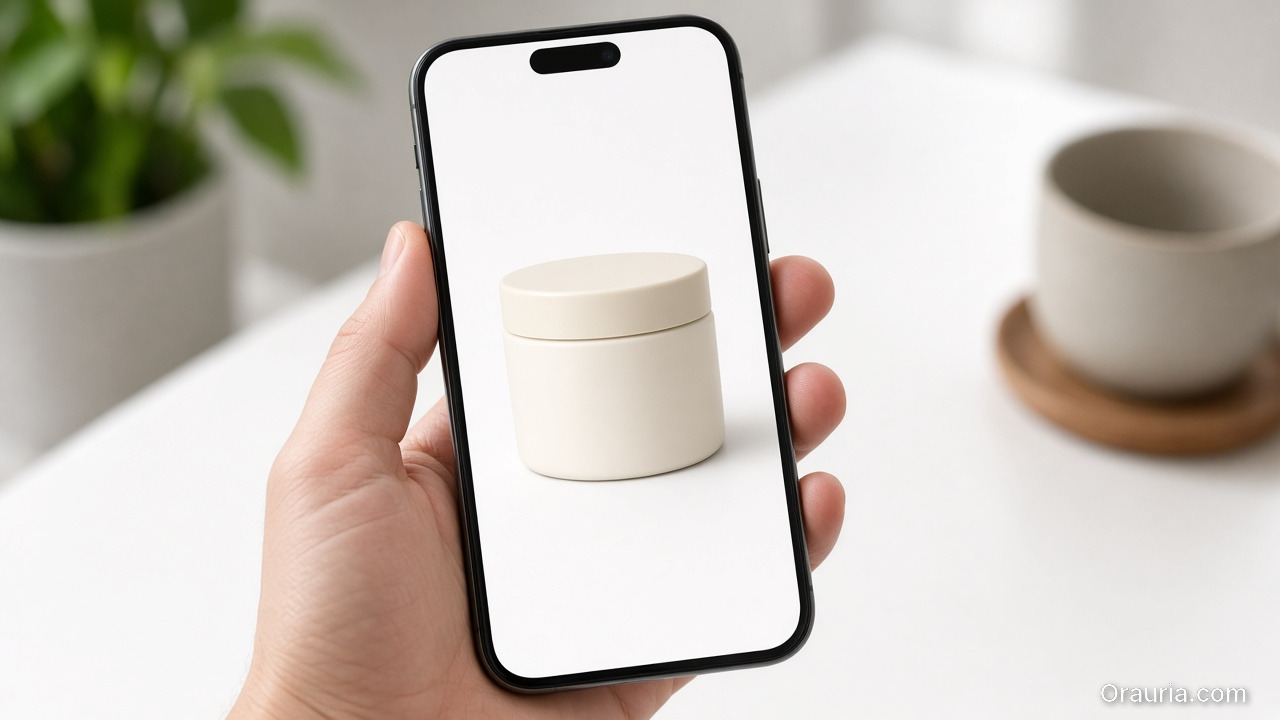
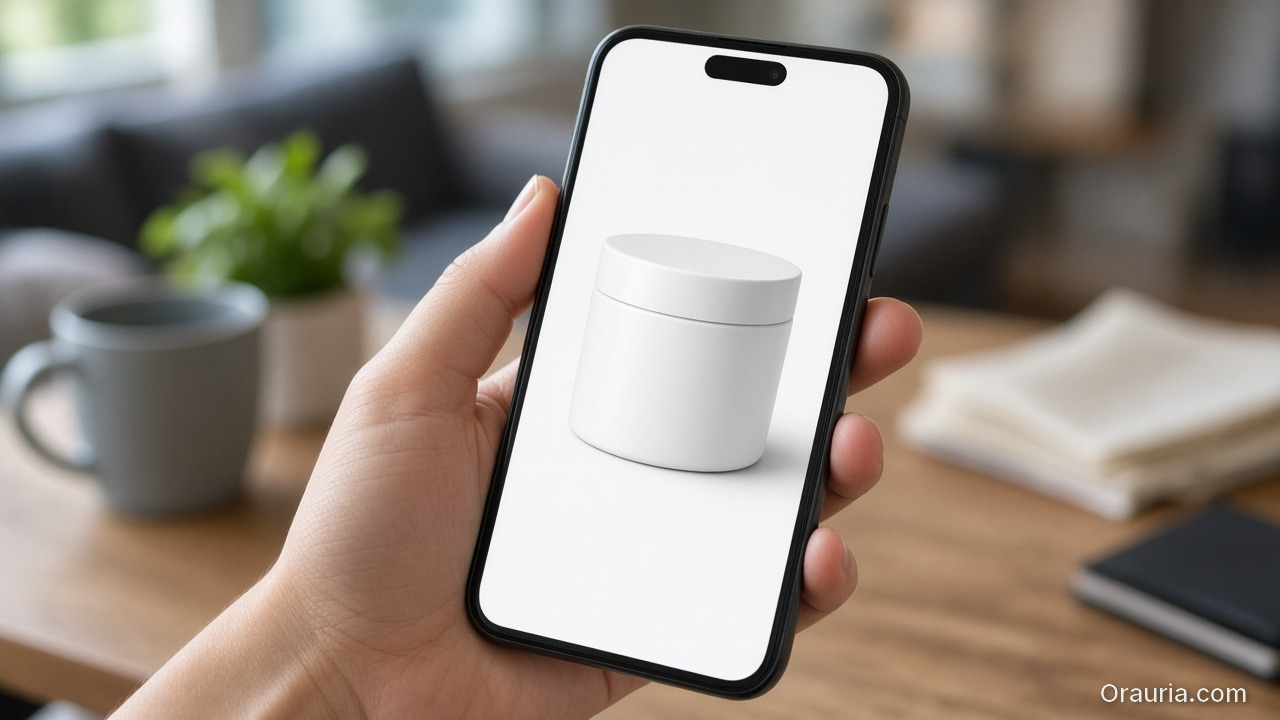
    A hand holding a phone that shows a clean white-background photo of a cream jar, as a shopper would see a listing

    Why generic generators burn Amazon and Shopify listings

    Roughly 22% of returns tie to items looking different than photos (Weebly / industry compilations). Drifted logos and wrong carton color fail Main Image trust and A+ modules.

    Lifestyle + packshot often lifts conversion about 15–30% versus white-only galleries (2026 A/B summaries). Your generator must output a set, not one hero.

    Five framed views of the same bottle as a white packshot, lifestyle scenes and a wide campaign crop

    One upload → product kit

    Stage Job Ships to
    Studio / white Clean Main Image Amazon.com, catalog
    Lifestyle Use context Shopify PDP, Meta
    Marketplace Listing rules Walmart, Etsy, eBay
    Social ad Scroll stop IG, TikTok, FB
    Campaign Seasonal Prime Day, Black Friday

    USPs under any tool landing:

    1. One Product → Multiple Creatives
    2. Keep Your Product Consistent
    3. Built for Ecommerce
    4. From Product Photo to Ad
    5. Multiple Formats — 1:1 · 4:5 · 3:4 · 9:16 · 16:9
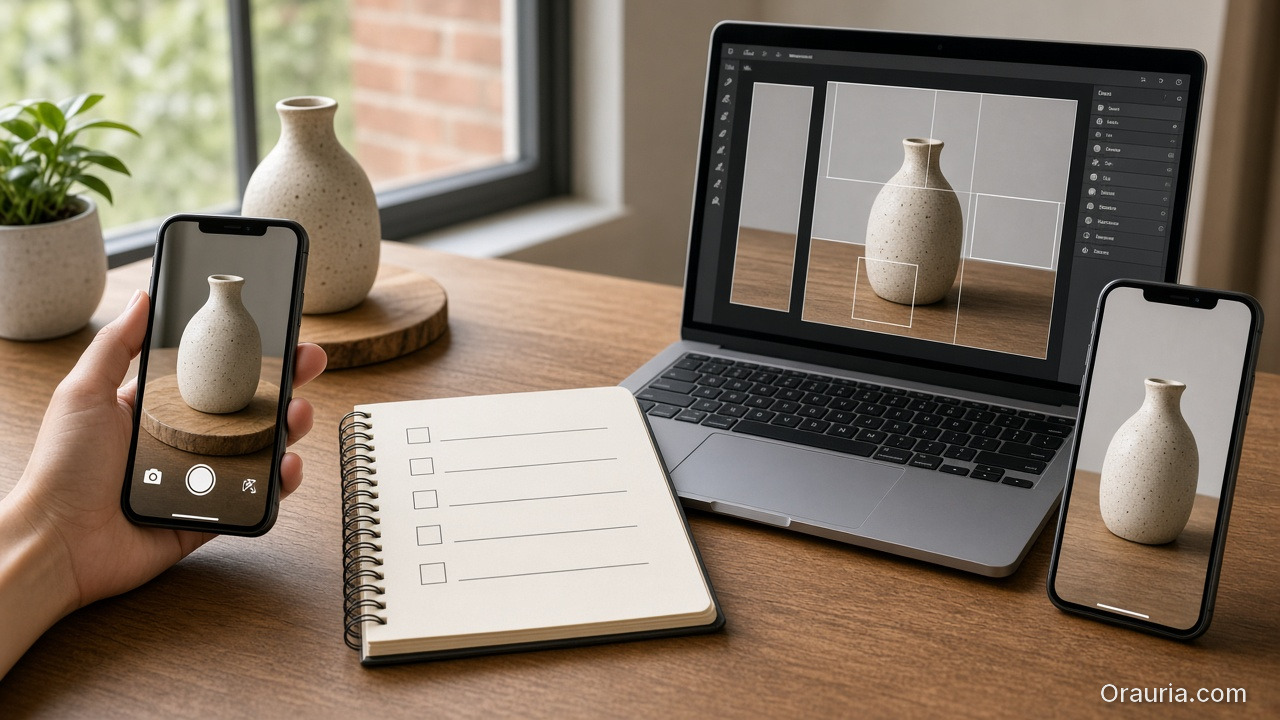
    A desk workflow with a phone capturing a vase, a checklist notebook, a laptop cropping frames and a vertical phone preview

    How to run an AI product image generator (5 steps)

    1. Honest source — even light, readable label, no watermark (LA apartment kitchen phone shot is fine).
    2. Identity lock — color, logo, proportion, hard no-gos.
    3. Generate by job — not “make it prettier.”
    4. Aspect-aware export — Amazon 1:1 white; Reels 9:16; banners 16:9.
    5. QA — mobile recognition, label fidelity, no fake claims.

    See Packshot thinking.

    A monitor showing a campaign grid of the same bottle beside the physical bottle, a tablet and a cup on a wooden desk

    Orauria

    Orauria is an AI Creative Studio for Product Marketing: one product image → photos, ads, social, short video → campaign pack. Not “another generator.” A product → ecommerce content system.

    Create Your First Product Kit →

    FAQ

    Is an AI product image generator allowed on Amazon?

    Yes if images represent the real item and follow current Amazon image policies. Prefer clean Main Images; use AI for lifestyle and secondary expansion.

    How is this different from background removal?

    Removal is one step. A real generator outputs lifestyle, ads, multi-aspect exports, and identity lock across the kit.

    Do I need advanced prompts?

    Not if the workflow is upload → pick image job → generate. The commercial brief matters more.

    Conclusion

    Pick your best Shopify or Amazon SKU, run one kit through the five jobs above, and A/B the Main Image for 7–14 days.

    Create Your First Product Kit →

  • AI Generated Product Images for Ecommerce: From One Photo to a Sell-Ready Kit

    AI Generated Product Images for Ecommerce: From One Photo to a Sell-Ready Kit

    Don’t generate random AI images. Generate product creatives that are ready to sell.

    AI generated product images for ecommerce means this: upload one real product photo → get a kit of studio packshots, lifestyle scenes, Amazon listing frames, and Meta/TikTok ads — while keeping packaging, logo, color, and product shape intact. No downtown studio day in Brooklyn. No photographer day rate in Austin. No Canva scramble every time you need a 9:16 crop for Reels.

    Key Takeaways

    • Online shoppers lean hard on visuals: about 75% say they rely on product photos when deciding to buy (Weebly, industry compilation 2026).
    • Multi-image listings typically convert better than single-image listings; industry summaries show clear lifts when you move from one shot to a 5–7 image set with angles + lifestyle (Statista / 2025–2026 compilations).
    • The 2026 failure mode for US sellers: treat Midjourney, Flux, or GPT Image like an art toy, then force-fit the output onto Amazon Main Image rules — instead of building a product → content kit.
    • Winning checklist: clean source photo → identity lock → job-based outputs (studio / lifestyle / ads / marketplace) → aspect-aware export (1:1 · 4:5 · 3:4 · 9:16 · 16:9).
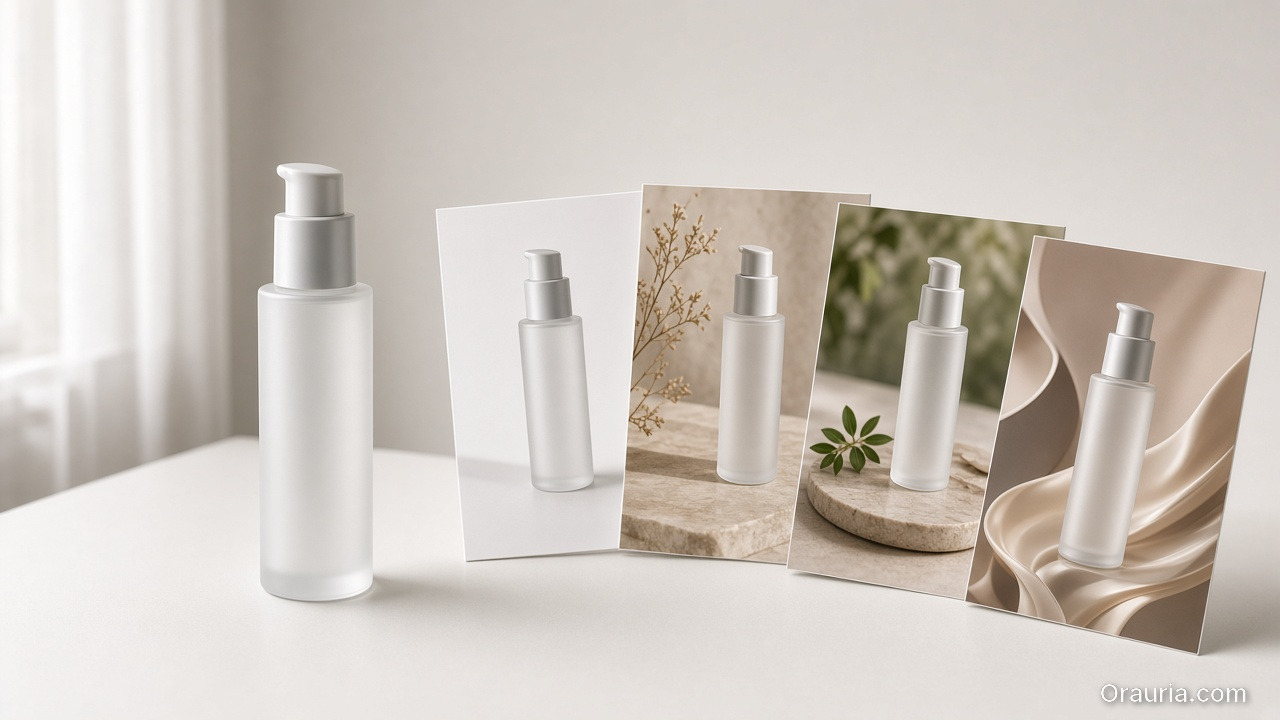
    An unlabeled pump bottle on a white table beside printed packshot and lifestyle photos of the same bottle

    What Are AI Generated Product Images for Ecommerce?

    AI generated product images for ecommerce are commercial visuals expanded from a real product photo — built for listings, paid ads, and social — not freeform text-to-image art.

    Art generator (Midjourney, Flux…) Ecommerce product imagery
    Input Text prompt / mood board Real product photo (phone or packshot)
    Goal Pretty / viral frame Sell-ready assets
    Constraints Few — aesthetics first Keep shape, label, color, proportion
    Output One-off files Channel kit (Amazon, Shopify, Meta…)
    Success metric Likes, aesthetic Listing CTR, ROAS, fewer returns

    If you need the broader frame — ecommerce design ≠ “make an AI image” — read AI Ecommerce Design Is Not AI Image.

    US brands do not lack image models. They lack a publishing system: one SKU in → many channel creatives out, same product identity.

    A shopper holding a smartphone that shows a clean white-background photo of an unlabeled cream jar

    Why “Beautiful” AI Images Still Fail on Amazon and Shopify

    A gorgeous render that drifts from the real SKU burns trust and drives returns. Roughly 22% of returns tie to items looking different in person than in photos (Weebly / industry compilations).

    Three failure modes US teams hit every week:

    1. Identity drift — melted logos, off-brand carton color, warped bottle proportions (fatal on Amazon Main Image and A+ modules).
    2. One file for every channel — a square that looks fine on Etsy dies when cropped for Instagram Reels or TikTok Shop.
    3. No angle system — one hero beauty shot, no detail, no scale, no lifestyle, no proof.

    Lifestyle plus packshot commonly lifts conversion about 15–30% versus white-background-only galleries (2026 A/B industry summaries). You need a set, not one “premium” render.

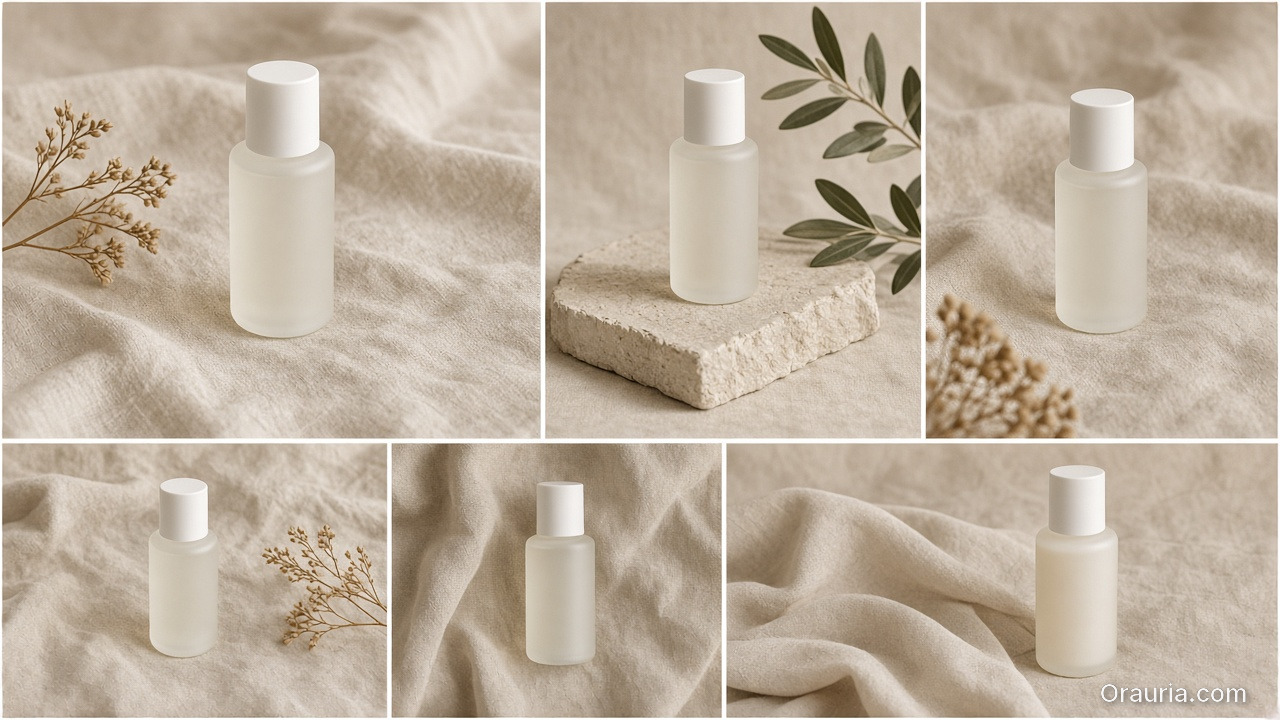
    A six-frame grid of the same frosted bottle styled on beige linen with botanicals and stone

    One Product. An Entire Content Kit.

    Orauria’s positioning — and the right brief for any US DTC or Amazon seller:

    AI Product Photography, Built for Ecommerce.

    Or the sharper line:

    Don’t generate random AI images. Generate product creatives that are ready to sell.

    Pipeline: upload once, sell everywhere

    Pipeline stage Job of the image Where it ships
    Studio / Packshot Clean, premium, controlled background Amazon Main Image, Shopify PDP hero, catalog
    Lifestyle Scene Product in a believable US home / use context PDP gallery, Meta ads, email
    Marketplace Image Listing-optimized frames Amazon, Walmart Marketplace, Etsy, eBay
    Social Ad Scroll-stopping creative Instagram, Facebook, TikTok, Pinterest
    Campaign Creative On-brand promo / seasonal Prime Day, Black Friday, A+ Content, landing pages

    Put these USPs under any hero for this keyword:

    1. One Product → Multiple Creatives — one SKU photo becomes a full selling set.
    2. Keep Your Product Consistent — packaging, logo, color, and shape stay true.
    3. Built for Ecommerce — Amazon, Shopify, Etsy, TikTok Shop, Walmart, your site, and social.
    4. From Product Photo to Ad — packshot → lifestyle → promo banner → social ad.
    5. Multiple Formats — 1:1 · 4:5 · 3:4 · 9:16 · 16:9.
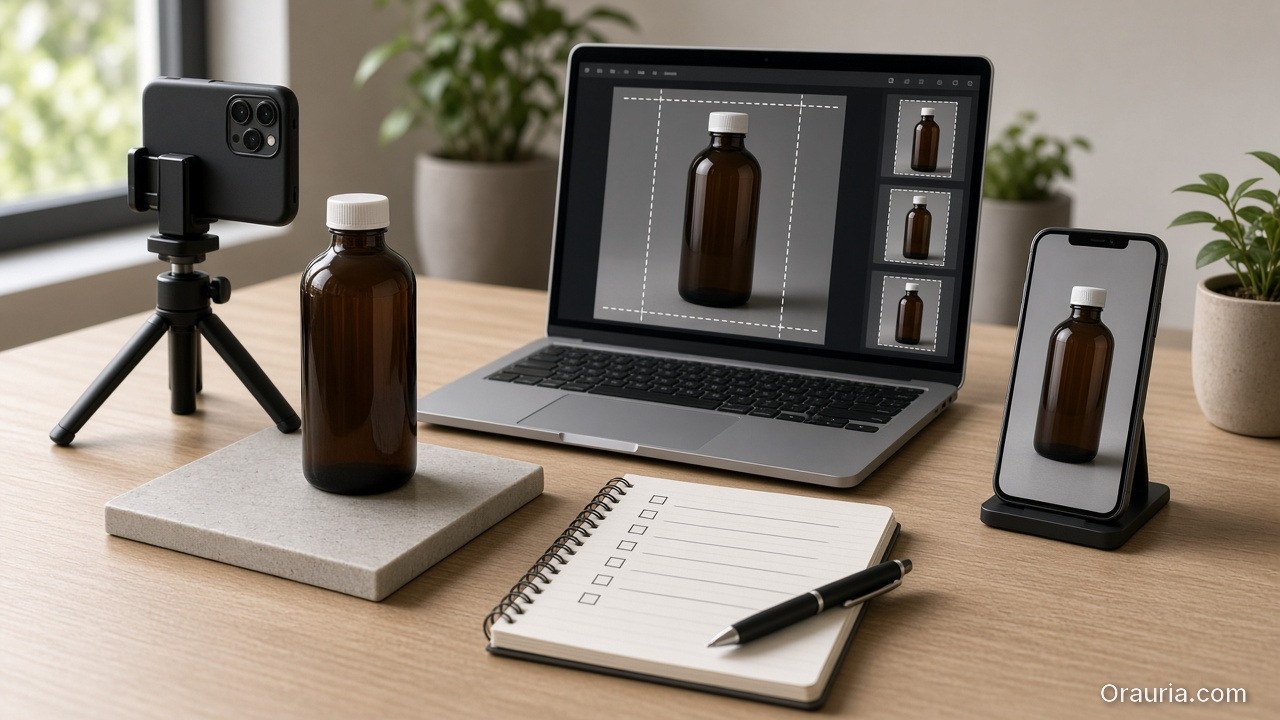
    A desk with a phone on a tripod, an amber bottle, a laptop showing crop frames, and a phone preview

    How to Create AI Generated Product Images for Ecommerce (5 Steps)

    Step 1: Start with an honest source photo

    Source quality sets the ceiling. Aim for:

    • Even light — no blown highlights on the label
    • Front angle + optional 45°
    • No watermark, no heavy Instagram filter
    • Simple background (white seamless, craft paper, clean desk)

    A clean phone photo from a Los Angeles apartment kitchen or a Chicago warehouse shelf is enough. A studio day is optional. Packshot thinking is not. See Packshot Thinking: Enough Angles Without a Studio Day.

    Step 2: Lock product identity before you “beautify”

    Before lifestyle or ads, freeze:

    • Brand / packaging color
    • Logo and on-label text (do not invent claims)
    • Shape, proportion, material (matte, gloss, glass)
    • Hard no-gos (variant SKU, restricted claims, regulated badges)

    No identity lock = every generation is a slightly different product — a policy and return risk on Amazon.com.

    Step 3: Generate by job, not by vibe

    Per SKU, ship at least:

    1. 1–2 studio / pure white frames (Amazon Main Image friendly)
    2. 2–3 lifestyle scenes (how Americans actually use it — bathroom vanity, backyard patio, desk setup)
    3. 1 detail / texture crop
    4. 1 social ad frame with safe space for headline + CTA
    5. 1 marketplace / banner crop for seasonal pushes (Prime Day, Black Friday, Cyber Monday)

    Do not ask AI to “make it prettier.” Ask: which purchase question does this frame answer? (What does it look like? How do I use it? How big is it? Why not the cheaper listing?)

    Step 4: Export aspect-aware for US channels

    Channel Suggested ratio Notes
    Amazon Main Image 1:1 (white background) Product fills most of the frame; follow current Amazon image rules
    Amazon secondary / A+ 1:1 or 16:9 modules Infographic + lifestyle; keep claims accurate
    Shopify PDP 1:1 or 4:5 Hero + gallery
    Etsy listing 1:1 or 4:5 Lifestyle often wins for handmade / home
    Instagram / Facebook feed 1:1 or 4:5 Lifestyle + ad variants
    Reels / TikTok / Stories 9:16 Protect UI safe zones
    YouTube / site banners 16:9 Seasonal campaign heroes

    Blind-cropping one master file usually wrecks composition. Generate aspect-aware from the start. For multi-crop systems, see One Product: Feed, Story, Cover, Marketplace Banners.

    Step 5: QA before you hit Publish (return firewall)

    Sixty-second checklist:

    • [ ] Product is recognizable in one second on mobile
    • [ ] Logo / label readable, not warped
    • [ ] Color matches the physical SKU (no “sales filter”)
    • [ ] No fake claims in-frame (free gifts, % off, FDA-style badges you do not have)
    • [ ] File weight sane for mobile PDP load
    • [ ] Lighting family matches the rest of the gallery

    For Amazon-specific gallery structure, pair this with Amazon Listing Image System.

    Where US Sellers Actually Ship These Images

    American brands usually need the same SKU across:

    • Amazon.com — white Main Image + secondary angles + A+ modules
    • Shopify / WooCommerce — PDP hero, lifestyle gallery, trust shots
    • Etsy — lifestyle-forward galleries for home, craft, apparel
    • Walmart Marketplace / eBay — clean catalog frames + variant consistency
    • TikTok Shop (US) — listing stills + vertical creatives for ads and live
    • Meta Ads + Google — angle and background variants for creative testing

    One kit keeps the brand from “changing face” between Amazon and Instagram. Seasonal refreshes — back-to-school in August, Halloween in October, holiday in November–December — should remix the same identity, not reinvent the product.

    Lifestyle scenes that read “US” without feeling fake

    Use believable American contexts, not generic stock fantasy:

    • Skincare on a bright bathroom vanity (not a European château marble cliché)
    • Coffee gear on a Brooklyn apartment counter or a Portland cafe-style wood table
    • Outdoor gear on a Colorado trailhead or Austin backyard patio
    • Home goods in a Midwest living room with soft afternoon window light

    The scene sells aspiration. The product identity still has to match what ships from your 3PL in New Jersey or California.

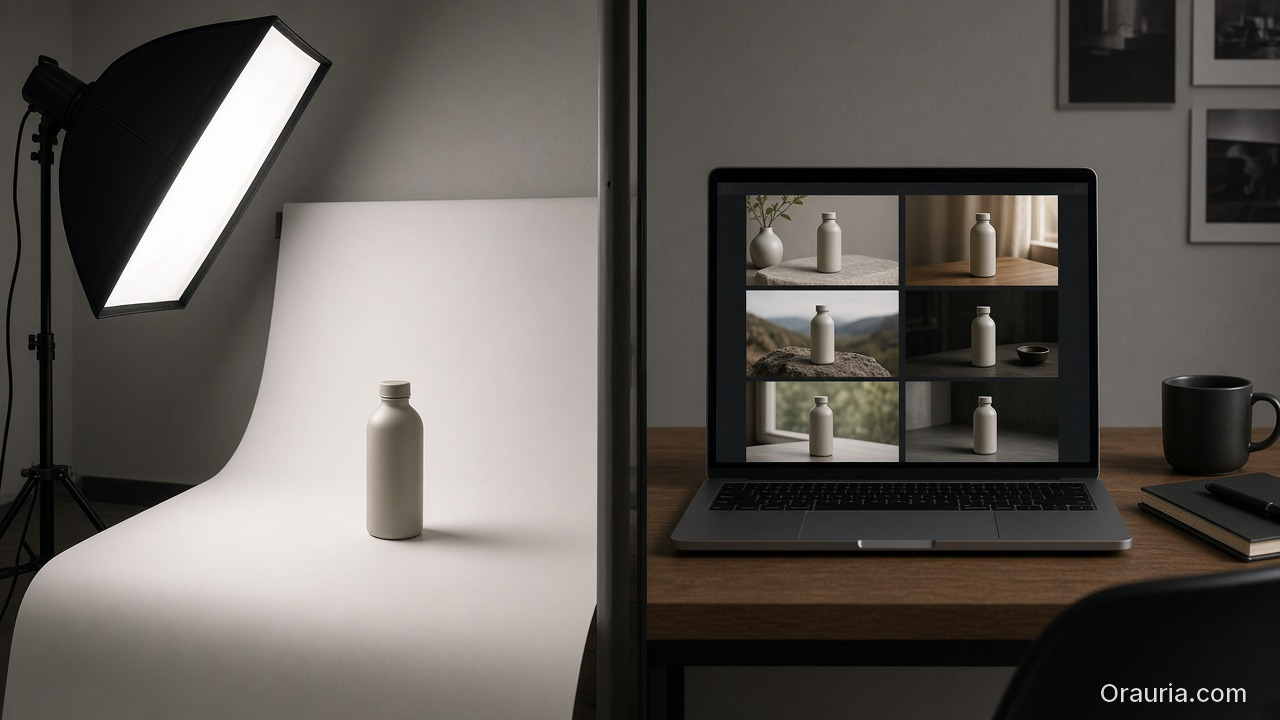
    A real product studio with a softbox and sweep next to a laptop showing a grid of generated bottle scenes

    When to Use a Real Studio vs AI

    Situation Do this
    Launching 30–100 SKUs on a lean budget AI product imagery + clean phone/packshot sources
    Prime Day / Black Friday creative refresh AI variants of lifestyle + banners from locked packshots
    National brand campaign, tricky materials (chrome, glass, sheer fabric) Hybrid: shoot a few hero stills, AI-scale the rest
    Claims that must be photographically true (texture, fill level, size) Real photo for truth; AI only for context — never invent details

    AI does not replace every shoot in Los Angeles or New York. It replaces the scale bottleneck: creatives × SKUs × channels that a three-person DTC team cannot hand-build before the sale calendar.

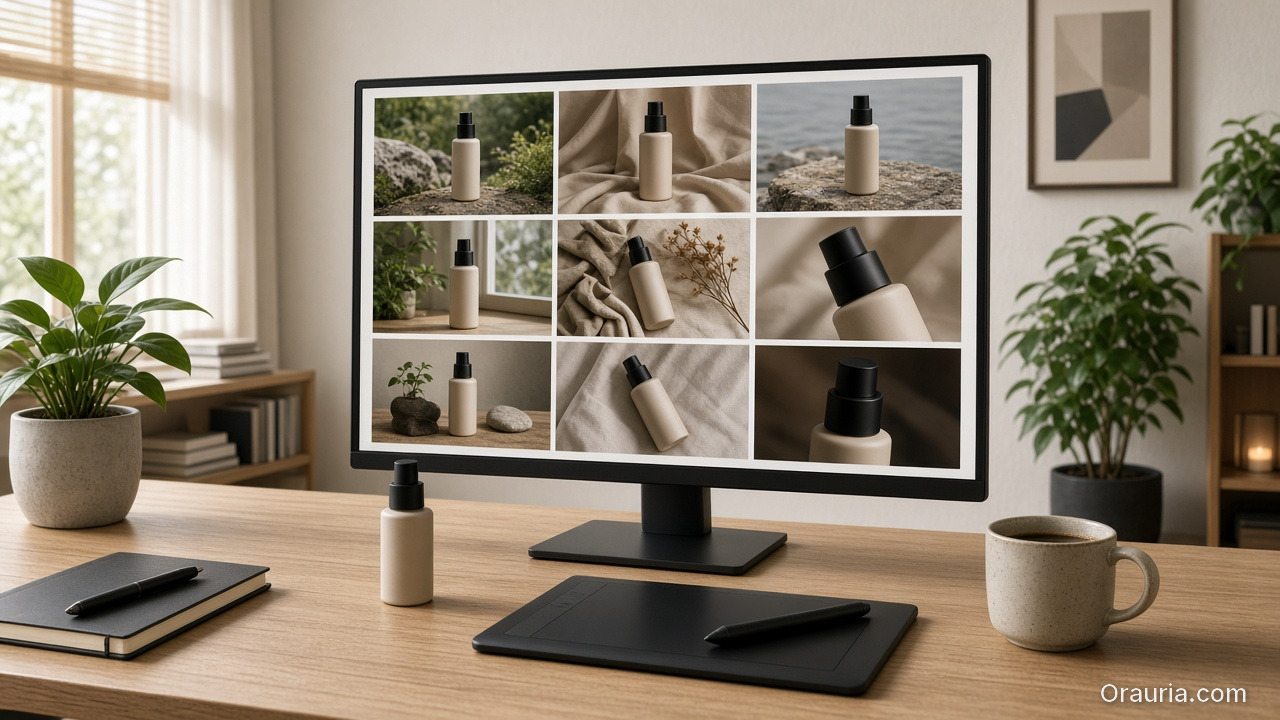
    A creative studio desk with a large monitor showing a campaign grid of the same beige bottle

    Orauria: From Product Photo to Campaign Pack

    Orauria is an AI Creative Studio for Product Marketing: upload one product image → generate product photos, ads, social posts, and short videos — then export a campaign pack for Shopify, Amazon, TikTok Shop, and more.

    We are not selling “another AI image generator.” We sell a product → ecommerce content system:

    • One upload → many consistent creatives
    • Product identity held across listing and ads
    • Formats ready for US selling channels

    CTA: Create Your First Product Kit →

    Want the workspace framing? What Is Orauria? AI Creative Workspace for Ecommerce.

    FAQ — AI Generated Product Images for Ecommerce

    Can I use AI product images on Amazon?

    Yes — if they still represent the real item and follow Amazon’s current image and AI-disclosure policies. Keep truthful Main Image standards (typically pure white background, product as the focus). Use AI to expand lifestyle, secondary angles, and A+ visuals — not to invent a different product.

    How is this different from background removal?

    Background removal is one step. AI generated product images for ecommerce also means lifestyle, ads, banners, multi-aspect exports, and identity lock across the whole kit.

    How many images should each listing have?

    In practice, 5–7 images (angles + detail + lifestyle) often balances better than a single hero or a 12-image decision-fatigue gallery. Measure on your own Amazon and Shopify traffic.

    Do I need advanced prompting?

    Not if the tool is ecommerce-native (upload product → pick image job → generate). The commercial brief matters more than prompt poetry: channel, job, identity lock, format.

    Is Midjourney enough for Amazon and Shopify?

    It can produce beautiful frames. It usually lacks identity lock + multi-format + marketplace pipeline. Treat art models as an engine layer; you still need a product kit / selling workflow on top.

    Conclusion

    AI generated product images for ecommerce win when you measure sell-through and listing trust — not how “AI-looking” a single frame feels on Behance.

    Remember three moves:

    1. Lock identity from a real source photo
    2. Generate by job (studio → lifestyle → marketplace → social ad)
    3. Export the right formats and QA before publish

    Next step: pick your best-selling SKU on Amazon or Shopify, build one product kit with the five image jobs above, then A/B the Main Image or PDP hero for 7–14 days.

    Create Your First Product Kit →

  • Image-to-Video: How to Compare Models by Bottleneck (Minimax vs Veo vs Others)

    Image-to-Video: How to Compare Models by Bottleneck (Minimax vs Veo vs Others)

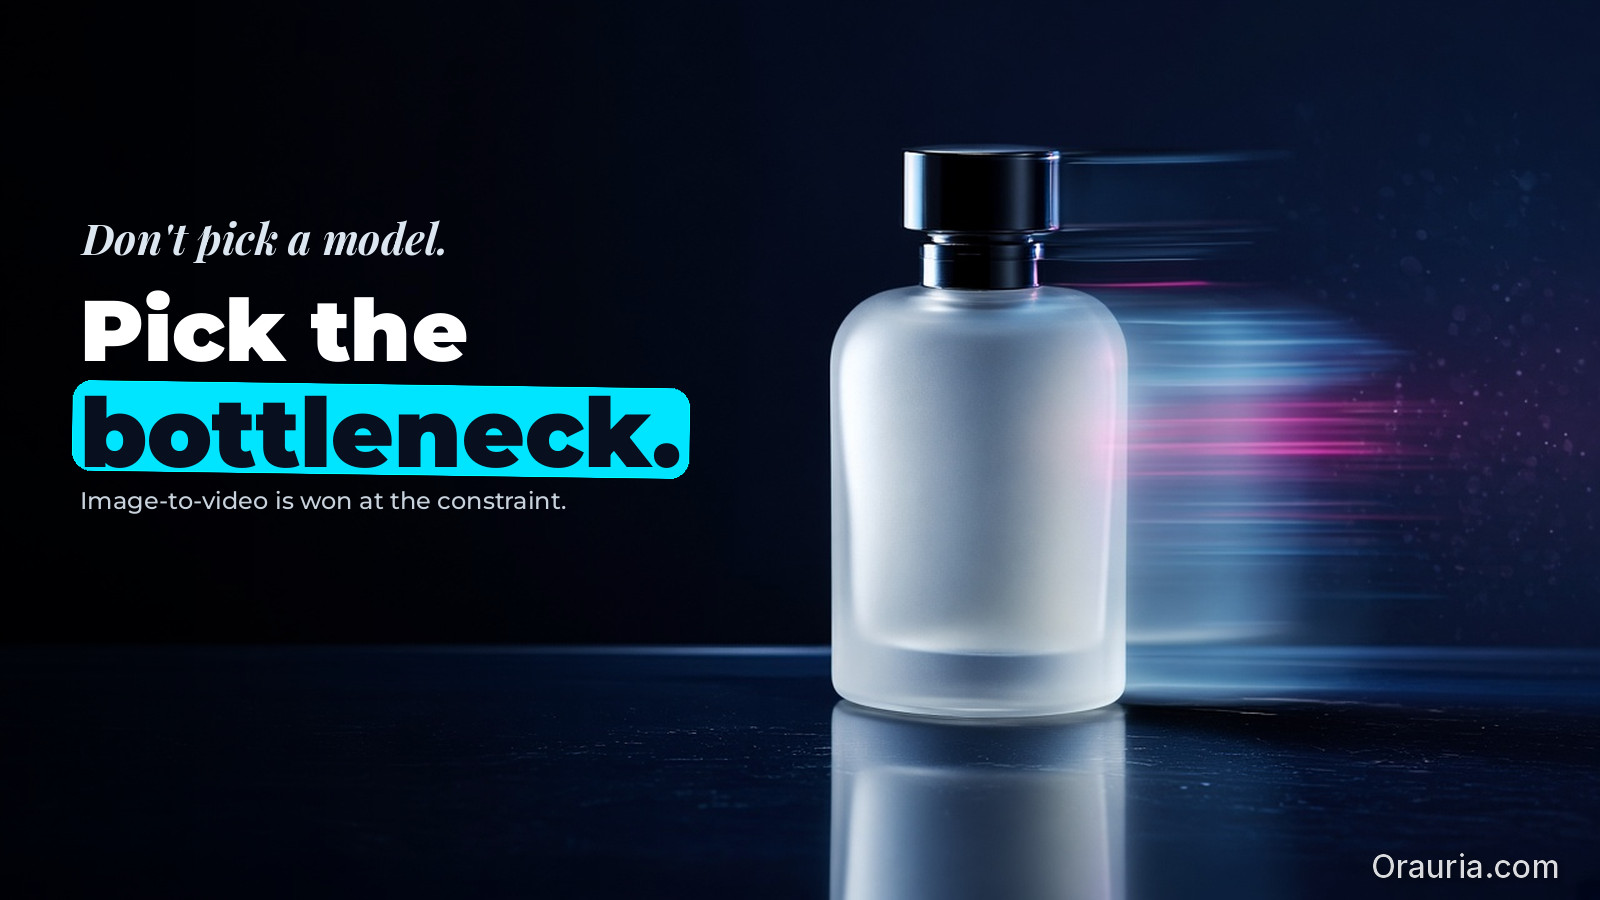
    Most image-to-video “bake-offs” fail before the first frame renders. Teams rank models by taste — cinematic glow, smooth camera, social vibes — then ship clips that warp the bottle, melt the label, or break the brand shadow family on a 9:16 crop.

    In ecommerce creative, you should compare production truth, not vibes.

    Pick one product direction. Lock one kit. Run Minimax, Veo, Kling, Seedance, Hailuo — or whichever stack you use — through the same QA gates. The winner is the model that preserves the bottleneck you actually care about on the formats you actually publish.

    Key Takeaways

    • Stop ranking by hype; compare by bottleneck: geometry, texture, label readability, shadow/world continuity.
    • One direction kit + one QA checklist across every model — or the test is theater.
    • A model that wins 1:1 and fails 9:16 is not your winner.
    • Direction comes first; model choice second — same rule as choosing a video model after creative direction.
    A real unlabeled perfume bottle on a dark desk beside a monitor showing a more glamorized cinematic version of the bottle

    Why taste rankings break ecommerce video

    Taste is cheap to argue and expensive to ship.

    Debate you keep havingGate that decides the money
    “Which model looks more cinematic?”Does the SKU stay geometrically true for 3–6 seconds?
    “Whose motion feels premium?”Can buyers still read the label after crop?
    “Who has the softest camera?”Do shadows and materials stay in the same brand world?
    “Who is trending this week?”Do your export variants pass QA without re-prompting?

    Image-to-video inherits every failure mode of still product AI — then adds time. Edges drift. Textures shimmer. Labels smear when the camera eases in. A beautiful fail still fails when the channel is a Shop card or a PDP loop.

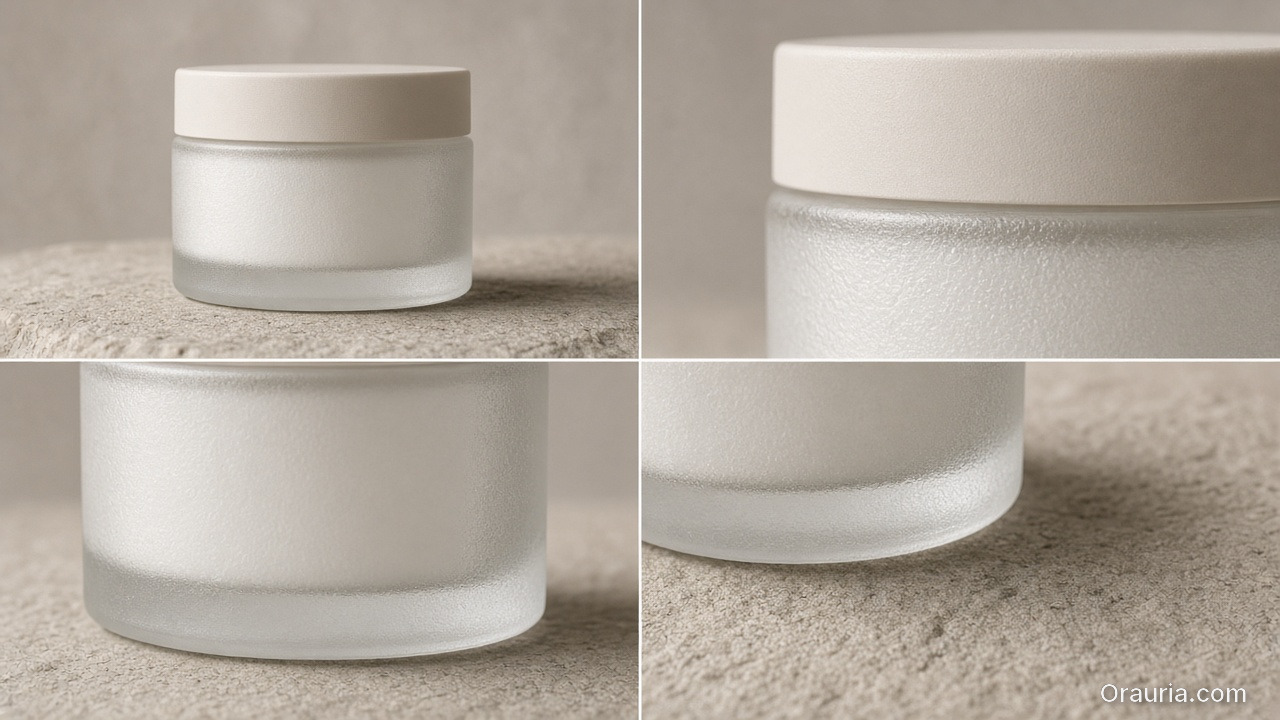
    A 2x2 grid of a frosted cream jar showing silhouette, glass texture, a blank label panel, and a contact shadow

    The four bottlenecks that matter

    Name your bottleneck before you name a model. Most ecommerce image-to-video tests collapse into one of these:

    1. Geometry truth

    Edges, proportions, and silhouette must hold across motion. Watch for bottles that fatten, boxes that skew, straps that thicken, logos that slide off the plane.

    Fail signal: you would not approve a still freeze-frame as a listing hero.

    2. Texture fidelity

    Materials must stay believable while they move — glass refraction, fabric weave, matte plastic, metal specular. “Off” texture during motion reads as fake faster than a static render.

    Fail signal: the product looks cheaper in motion than in the source still.

    3. Label / text readability

    Pack copy, claims, and brand marks must survive motion, resize, and crop. This is the silent killer of beauty, F&B, and supplement ads.

    Fail signal: at feed size or Shop thumbnail, the label becomes mush.

    4. Shadow family and world continuity

    Light direction, contrast range, and environmental tone should stay in the same brand world as the still kit. A random softbox swap mid-clip breaks recognition across listing + social + banner.

    Fail signal: the clip looks like a different brand than the packshot set.

    Secondary bottlenecks (only after the four above are stable): native audio need, duration cost, variant throughput, hand/face consistency if talent appears.

    Three side-by-side monitors in a dark studio, each showing the same clear bottle at a slightly different angle

    Minimax vs Veo vs others — compare by job, not brand loyalty

    Model names change. Bottlenecks do not. Treat the names below as role archetypes, not eternal rankings. Re-run the same kit when versions ship.

    BottleneckWhat “winning” looks likeTypical risk pattern to stress-test
    Geometry truthSilhouette and label plane hold through push-in / orbitAggressive camera path that “looks cool” but warps edges
    Texture fidelityMaterials stay stable under micro-motionSoft cinematic grade that dissolves fabric/plastic detail
    Label readabilityPack text remains legible at export sizesBeauty close-ups that prioritize glow over type
    World continuityShadow family matches the still kitGeneric lifestyle lighting that abandons your packshot world
    Fast ad variantsMany short hooks from one master stillHero-film models that burn credits for one take
    Cinematic continuitySmooth camera language for brand filmSoft motion that hides product truth

    How to use the table: pick the row that matches this week’s job. Run Minimax, Veo, and at least one “others” candidate (Kling / Seedance / Hailuo / your stack default) against that row only. Do not crown a universal winner.

    If your bottleneck is direction alignment more than motion engines, start with Choosing an AI Image Model by Creative Direction — still direction often decides whether video QA can even pass.

    A clean lab desk with a pinned source photo of a bottle, an open notebook of empty checkboxes, and three small preview screens

    Experiment design (one kit, many models)

    Step 1 — Lock the direction kit

    Write it once. Reuse it for every model:

    1. World promise (one sentence): what world is this product living in?
    2. Identity anchors: palette family, light family, logo/label rules, geometry no-gos.
    3. Scene job: hook / truth / demo / proof / offer — one primary job.
    4. Motion budget: what may move (camera ease, subtle product turn) vs what must not (label plane, silhouette).
    5. Source still: one approved master image — not a random phone snap.

    Step 2 — Run each model with identical inputs

    Same still. Same brief. Same duration target. Same negative constraints. Change only the model (and its required syntax).

    Step 3 — Apply the same QA gates

    Score pass / fail — not “vibes /10”:

    GatePass criteria (example)
    GeometryFreeze-frames at 0%, 50%, 100% would clear listing QA
    ReadabilityLabel legible at 1080×1920 and at 50% scale
    TextureNo shimmer / melt on primary material for full clip
    World continuityShadow direction and contrast match kit still
    Offer alignmentClip still sells the intended job (hook vs demo vs proof)

    Step 4 — Export the real channel set

    Compare end results on the formats you ship, not the model preview pane:

    • 1:1 feed
    • 4:5 feed
    • 9:16 story / reel / Shop
    • wide banner or PDP loop if you use it

    If a model passes gates on 1:1 and fails 9:16, it is not your winner for that campaign spine. Crop is part of production truth — same idea as the image-to-video efficiency workflow.

    Over-the-shoulder view of a person marking an empty grid while five white-bottle freeze frames sit in a row

    A simple scoring sheet you can reuse

    Run three models × one kit. Mark P / F only.

    ModelGeometryTextureLabelWorld9:16 exportNotes
    A (e.g. Minimax)
    B (e.g. Veo)
    C (other)

    Decision rule:

    1. Any F on your primary bottleneck → eliminate.
    2. Among remaining, prefer the model that passes export gates without a second prompt stack.
    3. If two pass, pick the cheaper / faster path for variant volume — taste is the tie-breaker, not the opener.
    Split photo: a sharp cinematic water-bottle still with droplets on the left, a motion-smeared freeze-frame of the same bottle on the right

    Common false winners

    • Preview winner: looks great in the model UI, collapses after crop.
    • Hero-film winner: one gorgeous 6s clip, zero reusable variants.
    • Soft-light winner: hides geometry errors until you freeze-frame.
    • Trending winner: last week’s Twitter thread, this week’s label mush.

    False winners burn credits and teach the team the wrong lesson: that “better models” fix missing kits. Kits fix models.

    What to do next

    Build the comparison as a workflow, not a vibe debate: Orauria Workflow · Studio Guide

    Frequently Asked Questions

    How do I compare image-to-video models fairly?

    Lock one product still, one direction kit, one duration, and one QA checklist. Change only the model. Score pass/fail on geometry, texture, label readability, world continuity, then re-check on real export crops.

    Is Minimax better than Veo for ecommerce ads?

    Neither is universally better. Pick by bottleneck: product-locked motion and label truth vs cinematic continuity vs variant speed. Re-test when model versions change — keep the kit constant.

    How many models should I test?

    Three is enough for a weekly decision: your default, one premium cinematic candidate, and one fast-variant candidate. More than five without a kit is prompt sprawl.

    What if a model wins on desktop preview but fails on mobile 9:16?

    Treat it as a fail. Ecommerce ships crops, not previews. Export gates are part of the comparison.

    Should I pick the model before or after creative direction?

    After. Model choice is a bottleneck decision. Direction defines which bottleneck matters — see choose the video model after creative direction.

  • How to Use Image to Video with AI: Direction → Gates → Export

    How to Use Image to Video with AI: Direction → Gates → Export

    Image-to-video is deceptively easy.

    You convert one image, and you get motion. But production quality depends on one question:

    Did the direction preserve product truth?

    If yes, motion becomes proof. If no, motion becomes distortion.

    Key Takeaways

    • Image-to-video is efficient when you lock direction first.
    • Gates decide winners: geometry truth, identity stability, and caption/offer alignment.
    • Export variants should follow the same gate logic across channels.
    A desk with a printed still of an amber dropper bottle, a laptop timeline of clips, and two phones showing vertical and horizontal previews

    The 3-part workflow

    A matte beige bottle on a soft sweep beside a grid of stone, fabric and light swatches and a blank card

    1) Direction kit (lock what must stay true)

    Define:

    • what moves (pose/camera feel),
    • what stays true (geometry, label readability, character identity cues),
    • what the scene must communicate (hook, proof, offer).

    This is the “creative direction” layer. Not another prompt.

    A person at a light wood table sliding one print of a glass bottle away from a row of similar candidate stills

    2) Generate candidates (then filter, fast)

    Generate multiple candidates under the same direction kit. Reject early with gates:

    • warped edges / warped proportions,
    • unstable identity cues,
    • text/label unreadability after resize.

    This prevents spending time on polish for failures.

    Three wood-framed stills of the same clear bottle lined up on a pale desk with a laptop in the background

    3) Export channel-safe variants (without rework)

    Export with rules:

    • correct aspect ratio,
    • stable safe zones for text and CTA,
    • consistent shadow family and background logic.

    Now your output becomes a reusable creative asset, not a one-off clip.

    What to do next

    If you want the deeper version of the same workflow, read:

    And if your bottleneck is “not enough angles”:

  • How to Convert Text to Videos with AI: Bottleneck-First Workflow

    How to Convert Text to Videos with AI: Bottleneck-First Workflow

    The common failure pattern in text-to-video is the same:

    People generate early, then discover late. They refine prompts while the world already drifted.

    The production fix is simple: stop treating text-to-video as a “prompt task”. Treat it as a workflow with gates.

    Key Takeaways

    • Text-to-video works when you lock direction before you generate.
    • The right QA gates prevent world drift (tone, shadow family, and identity continuity).
    • Efficiency improves when you route by bottleneck: geometry vs readability vs offer tone.
    A clear unlabeled bottle beside a blank card and a small board of stone and fabric swatches in soft daylight

    Step 1: Turn text into direction (not a prompt)

    Start with one compressed direction brief:

    • World: the setting + light family + tone
    • Roles: what each scene must do (hook, proof, offer)
    • Constraints: what cannot drift (product truth, identity anchors, claim safety)

    If your direction brief can’t be spoken in 20–30 seconds, your video will splinter.

    A contact sheet of the same glass bottle in twelve lighting setups, with a hand holding a smaller sheet of two rejected frames

    Step 2: Generate under gates (batch, then filter)

    Generate more than you need. But do not “pick the best-looking”.

    Filter by pass/fail gates:

    1. World gate: does the light/tone stay consistent?
    2. Identity gate: does the character/product identity stay in range?
    3. Offer gate: does the visual imply the same promise as your copy?

    Any failure means you update the direction kit—not your luck.

    Three light-wood frames of the same serum dropper bottle on stones, lined up on a pale oak shelf

    Step 3: Export variants channel-safe

    Text-to-video videos often die at export:

    • captions get cut
    • safe zones break
    • aspect ratio changes product proportions

    So export with the same gate logic:

    ChannelGate focus
    Reels (9:16)first-second readability
    Storiescaption timing and proof hold
    Feed (1:1 / 4:5)product truth center framing
    A triptych of a dark glass bottle: a black silhouette, a tight blank-label texture, and a moody lit full bottle

    Routing: which bottleneck decides your workflow?

    Use bottleneck-first routing:

    • if geometry is failing → choose direction/scene constraints that preserve edges and proportions,
    • if readability is failing → adjust label/typography rules before generation,
    • if offer tone is failing → align caption gate with scene roles.

    Model choice is downstream.

    What to do next

    If you want the workflow mindset: