This post continues Orauria’s practical Grok Bot series. Earlier posts covered scheduling posts and filtering research, a research workflow with sources and verification, and teaching a Bot a browser task by showing it once. This one starts where a lot of work actually begins: in a thread on X. It shows how tagging @bot in a reply hands that thread to your Grok Bot as a task, so the reading, sorting and drafting happen in the Grok Bot app while you keep scrolling. The story is an illustrative example, not a client case, and Orauria has no official partnership with xAI, X or Grok Bot.
What follows about Grok Bot comes from the public docs at docs.x.ai: Tag @bot on X, Skills and routines and Approvals, security, and privacy, plus X’s own About @bot page, checked on November 12, 2026. Tagging is not yet available for X accounts based in Australia, the United Kingdom, the European Union, Iceland, Liechtenstein or Norway. We have not run this exact workflow end to end; the GitHub and Slack steps are described from the docs, not tested. The laptop screens are example compositions built on the Grok Bot app layout, with invented posts and accounts.
Key takeaways. Reply to a post on X with “@bot” and a request, and your main Bot gets your post, the post you replied to and any quoted posts, including still photos. @bot replies on X only with a short confirmation; the work and the results stay in your Bot’s conversation in the app. You need your X account connected on grok.com, Grok Bot access and a Bot of your own. Remember that your tag is a public post, so keep private instructions in the app, and keep anything that posts, files or sends behind an approval.

Two hundred replies and one real bug
Meet Kenta. He is an example character: a game developer in his late twenties in Osaka who also runs the community for a small indie studio. The studio has just released a demo. Players post clips, screenshots, praise, complaints and, buried somewhere in the replies, real bug reports.
When a popular streamer posts “the demo crashed twice on the boss fight”, the thread fills up fast. Two hundred replies later, Kenta knows there is useful information in there: which platform, which graphics settings, which step triggers the crash. He also knows there are memes, duplicate reports, unrelated feature requests and a few people arguing with each other.
Reading it properly takes an hour. Turning it into tickets the programmers can use takes another. And it is never just one thread: there is the patch announcement, the Steam page share, the Discord screenshot someone posted, and the “is this a bug or a feature?” quote post that went viral.
He tried bookmarking threads to read later. Later never came. He tried copying replies into a document. It became a document nobody read.
The “after” he wants is simple to say. When he sees a thread that matters, he wants to hand it off in the moment, from the X app, without breaking his flow. Something should read the whole thing, group the reports, separate bugs from opinions, link each claim back to the post it came from, and prepare a draft ticket for the programmers. Then it should wait for him to check before anything is filed or posted to the team.
That is exactly what tagging @bot is for. The docs describe it as a way to “hand that post to your Grok Bot as a task”, with the work done on the Bot’s cloud computer and results kept in the app.

What effective looks like, and how to measure it
It would be easy to promise “never miss a bug report again”. We will not, because the Bot only receives the post you reply to, your own post and any quoted posts. Whether it can read the rest of a long thread depends on its access to X, and some posts, such as those with video or GIFs, stop @bot from replying at all. What we can describe is what a good result looks like and how to check it.
A thread hand-off is working when:
- The hand-off is confirmed. @bot replies with a short confirmation, and the task appears in your Bot’s conversation.
- The summary is grounded. Every bug or claim in the summary links to the post it came from, so you can check it in a click.
- Bugs and opinions are separated. Reproducible reports, duplicates, feature requests and noise are in different groups.
- Nothing is filed or posted without you. Tickets, Slack posts and replies wait for your approval.
- Your triage time drops. You spend minutes checking a grouped list instead of an hour reading a thread.
To measure it, keep a simple log for the first ten hand-offs:
- Did @bot reply? If not, which cause from the docs applied?
- Reports the Bot grouped versus reports you would have picked out yourself.
- Claims in the summary with no source link, or a wrong one.
- Draft tickets accepted as-is, edited or rejected by the programmers.
- Minutes from tag to a ticket the team can use, compared with doing it by hand.
- Anything the Bot posted, filed or sent that it should not have (this column should stay at zero).
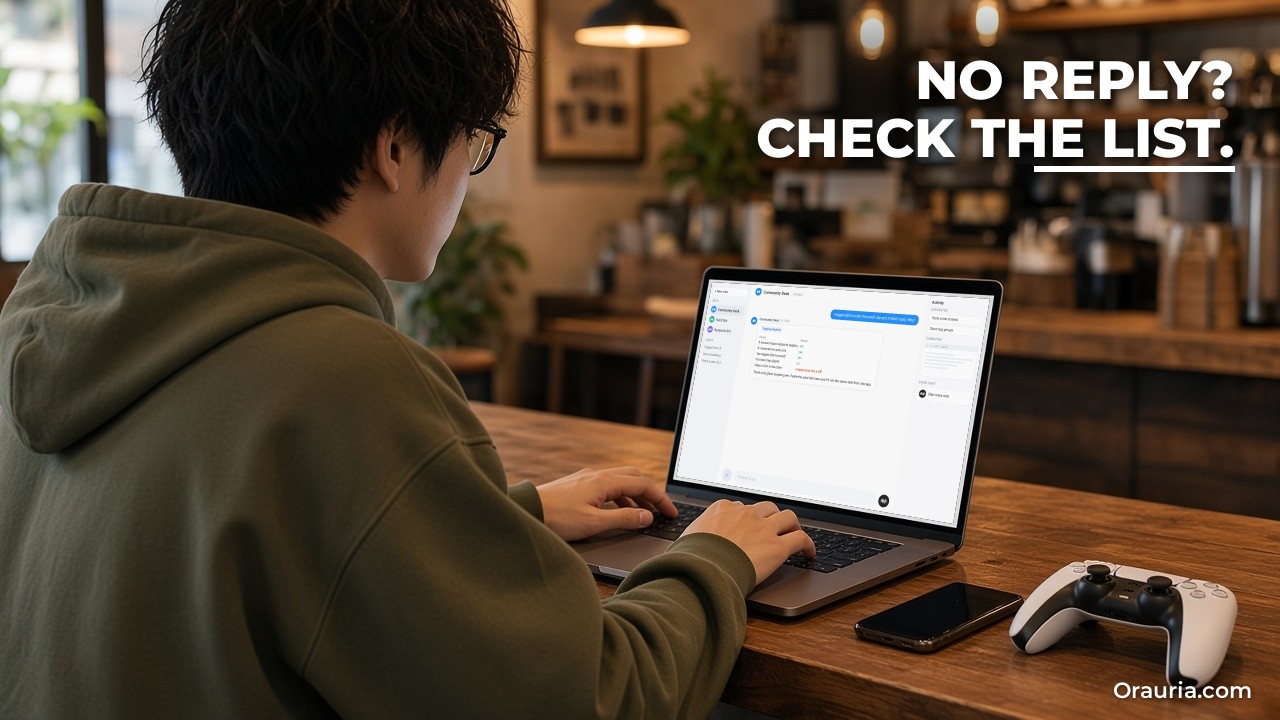
The first column is more useful than it looks. When @bot stays quiet, the docs list the common causes: your region, a thread that already includes @bot where you did not tag it yourself, a post that also tags @grok, a video or GIF in the chain, moderation, or used-up weekly usage. Writing down which one applied saves you from guessing next time.
The fourth column is the one your programmers care about. If they keep rewriting the draft tickets, the skill needs better rules: what a reproducible report must include, how to name tickets, and what to leave out.
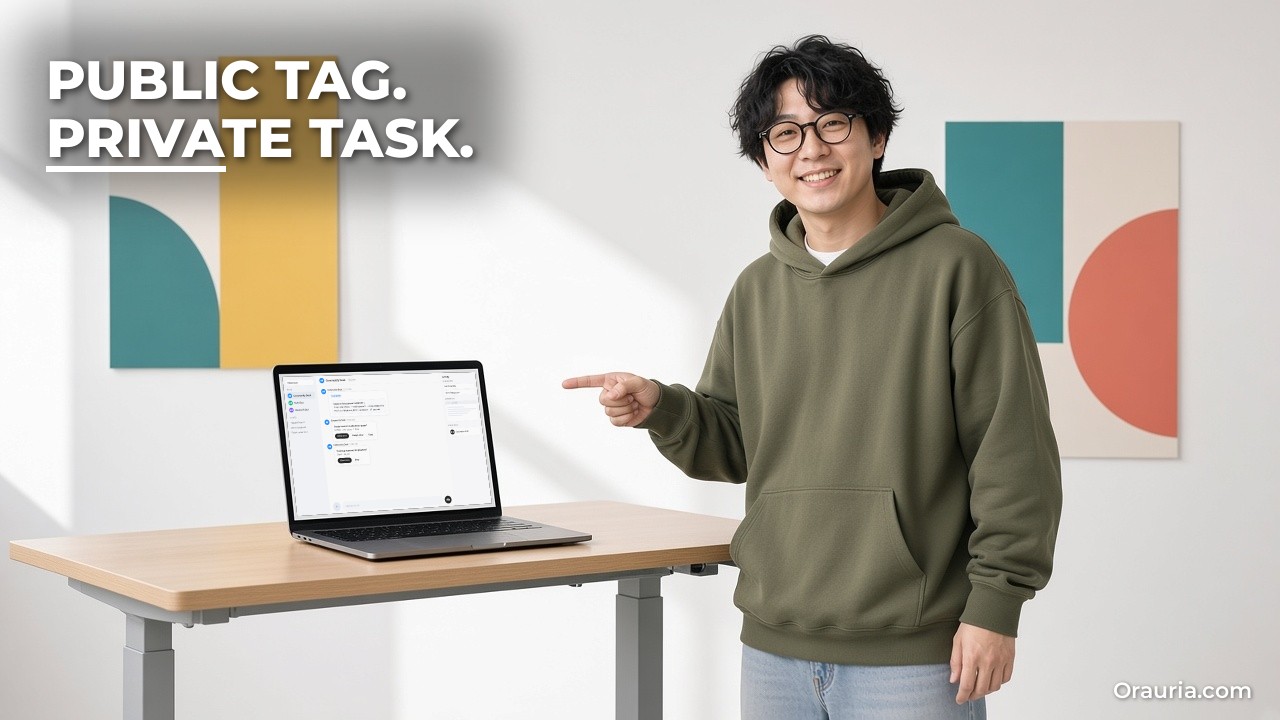
How it works: a public tag, a private task
The mechanism is simple, but the split between what happens on X and what happens in the app matters.
What your Bot receives
According to the docs, when you tag @bot, your main Bot receives your post, the post you replied to, and any post either of them quotes, including still photos. The first time a request goes through, X sends you a notification that tagged requests start work automatically and use your Grok Bot usage.
What happens on X
@bot answers on X with a short reply confirming that your Grok Bot has the request. That is all it posts. The docs list two other replies: “Sign up for Grok Bot” means no Grok account is connected to the X account you posted from, and “Grok Bot isn’t set up yet” means your accounts are connected but you do not have a Bot of your own. If @bot does not reply at all, your Bot did not get the request.
What happens in the app
Your main Bot starts working on its cloud computer, and the work and its results stay in that Bot’s conversation in the Grok Bot app. That is where you read the summary, approve actions and ask follow-up questions.
Your tag is public
This is the part people forget. Your reply with “@bot” is an ordinary public post. Anyone can read the request you wrote, and the confirmation reply is public too. So keep the public request short and neutral, such as “@bot summarize this thread”, and put anything private, like internal ticket rules, customer names or what you plan to do, in a skill or in the app chat.
What you need first
The docs list four things: a Grok account with your X account connected (on grok.com, Settings, Account, Connect next to X Account), Grok Bot access on that same account, at least one Bot of your own (shared Bots cannot take tagged requests), and an X account based in a region where tagging is available. @bot goes by the country X has on record, so your current location or a VPN makes no difference.
The optional X plugin
The X for Grok Bot plugin is optional. It lets your Bot search posts, read timelines, check mentions and use trends and bookmarks. The docs also note that Bots can search and read public X content without connecting an account. Either can help the Bot read more of a thread than the posts @bot forwards. @bot forwards requests with or without the plugin.
Skills make the result consistent
A short public request works best when your Bot already knows what to do with it. A skill such as “Thread to bug list” holds your rules: how to group reports, what counts as reproducible, the ticket format, and that nothing is filed or posted without approval. Your tag then only needs to name the job.
When to use the app instead
Tagging is for the moment you are already on X and want to hand something off without switching apps. It is not the only way in. If the thread is sensitive, if it contains a video or GIF, if your account is in a region where tagging is not available yet, or if you simply do not want a public trace of the request, paste the post link into your Bot’s chat in the Grok Bot app and use the same skill. The result is the same kind of task; only the entry point changes. Many people end up using both: a quick public tag for routine threads, and the app for anything that needs context or discretion.
Approvals for anything outward
Creating a GitHub issue, posting in Slack or sending an email are actions with consequences. The docs describe Auto Review checking actions before they run and showing an approval card when it needs you. Keep those actions behind approval in the skill, at least until the results are proven.
Setup: your first thread hand-off in seven steps
Here is how Kenta sets it up, following the docs. First, check that your X account is based in a country where tagging is available.
Step 1: Connect X on grok.com
On grok.com he opens Settings, then Account, and chooses Connect next to X Account. He uses the same Grok account that has Grok Bot access.
Pitfall: connecting a different X account from the one you post with. @bot looks at the account that posted the tag.
Step 2: Make sure you have your own main Bot
His main Bot is named “Community Desk”. Tagged requests go to your main Bot, so he gives that Bot the community skills.
Step 3: Write the skill before the first tag
In the app he asks Community Desk to save a skill called “Thread to bug list”: group reports by symptom, mark each as reproducible, duplicate, feature request or noise, link every item to its post, include platform and settings when given, and draft tickets in the studio’s format. Never create issues, post in Slack or reply on X without approval.
Step 4: Tag @bot on a real thread
Under the streamer’s post he replies: “@bot use Thread to bug list on this thread.” He checks for the confirmation reply.
Pitfall: writing private details in the public tag. Keep the tag short; the rules live in the skill.
Step 5: Read the result in the app
In Community Desk’s conversation he finds the grouped list with links. He opens three of the linked posts to check the grouping is right.
Step 6: Approve one ticket
The Bot proposes a GitHub issue for the most-reported crash and shows an approval card. He edits the title, approves once, and declines the Slack post for now.
Pitfall: choosing “always allow” on day one. Approve once until you trust the format.
Step 7: Note what went wrong
On a later thread @bot stays quiet. He checks the docs’ list and finds the original post had a GIF. He notes it in his log and hands that one off from the app instead, by pasting the link.

The optimization journey: from v1 to v3
v1: summaries on demand
In the first week Kenta only tags “@bot summarize this thread.” The summaries arrive in the app while he moves on. That alone ends the bookmark pile. But the summaries mix bugs and opinions, and he still writes tickets himself.
His lesson: handing off in the moment is the real win. The format comes next.
v2: the skill with his rules
He tightens “Thread to bug list”:
- One group per symptom, with a count of distinct accounts reporting it.
- Reproducible only if a post gives steps or settings; otherwise “needs info”.
- Every item links to the post it came from; no claim without a link.
- Feature requests go to a separate list for the design team, not into bug tickets.
- Draft tickets use the studio’s template: title, steps, expected, actual, platform, source links.
- Never reply on X, never create issues or post in Slack without approval.
Now each tag produces a list the programmers can read in two minutes, with draft tickets ready to approve.
His lesson: links on every claim are what make a summary trustworthy.
v3: replies he can post himself
Once the bug list is stable, he adds one more rule: for each confirmed bug, draft a short, friendly reply to the original reporter that he can copy and post himself, thanking them and saying it is being looked at. He also adds a Friday routine that lists open bug groups from the week’s hand-offs. It posts in the app and messages no one.
We describe these steps from the docs, not from testing this setup. Creating GitHub issues and posting in Slack depend on those apps being connected, and the Friday routine depends on the Bot being able to see the week’s hand-offs.
His lesson: the community notices when someone answers. The Bot drafts the answer; he chooses to post it.
And the order matters. He did not start with automatic tickets. He started with a summary and a public tag that gave nothing away.
What to try this week
Check that your X account is based in a country where tagging is available. Connect X on grok.com with the same Grok account that has Grok Bot access, and make sure you have a Bot of your own. Write a skill for the job you hand off most, with source links on every claim and approval for anything outward. Then find a thread that matters and reply with a short, neutral tag such as “@bot summarize this thread”. Check for the confirmation, read the result in the app and open a few links to verify it. When @bot stays quiet, look up the cause in the docs and note it. After ten hand-offs, compare the Bot’s grouping with your own and tighten the skill.
For more on skills and research, read the research workflow with sources and verification, how to teach Grok Bot a browser task by showing it once, and Grok Bot tips for scheduling posts and filtering research. If your team needs social feedback connected to a ticketing system or internal tools, send Orauria a brief and we will help you design it.
Leave a Reply