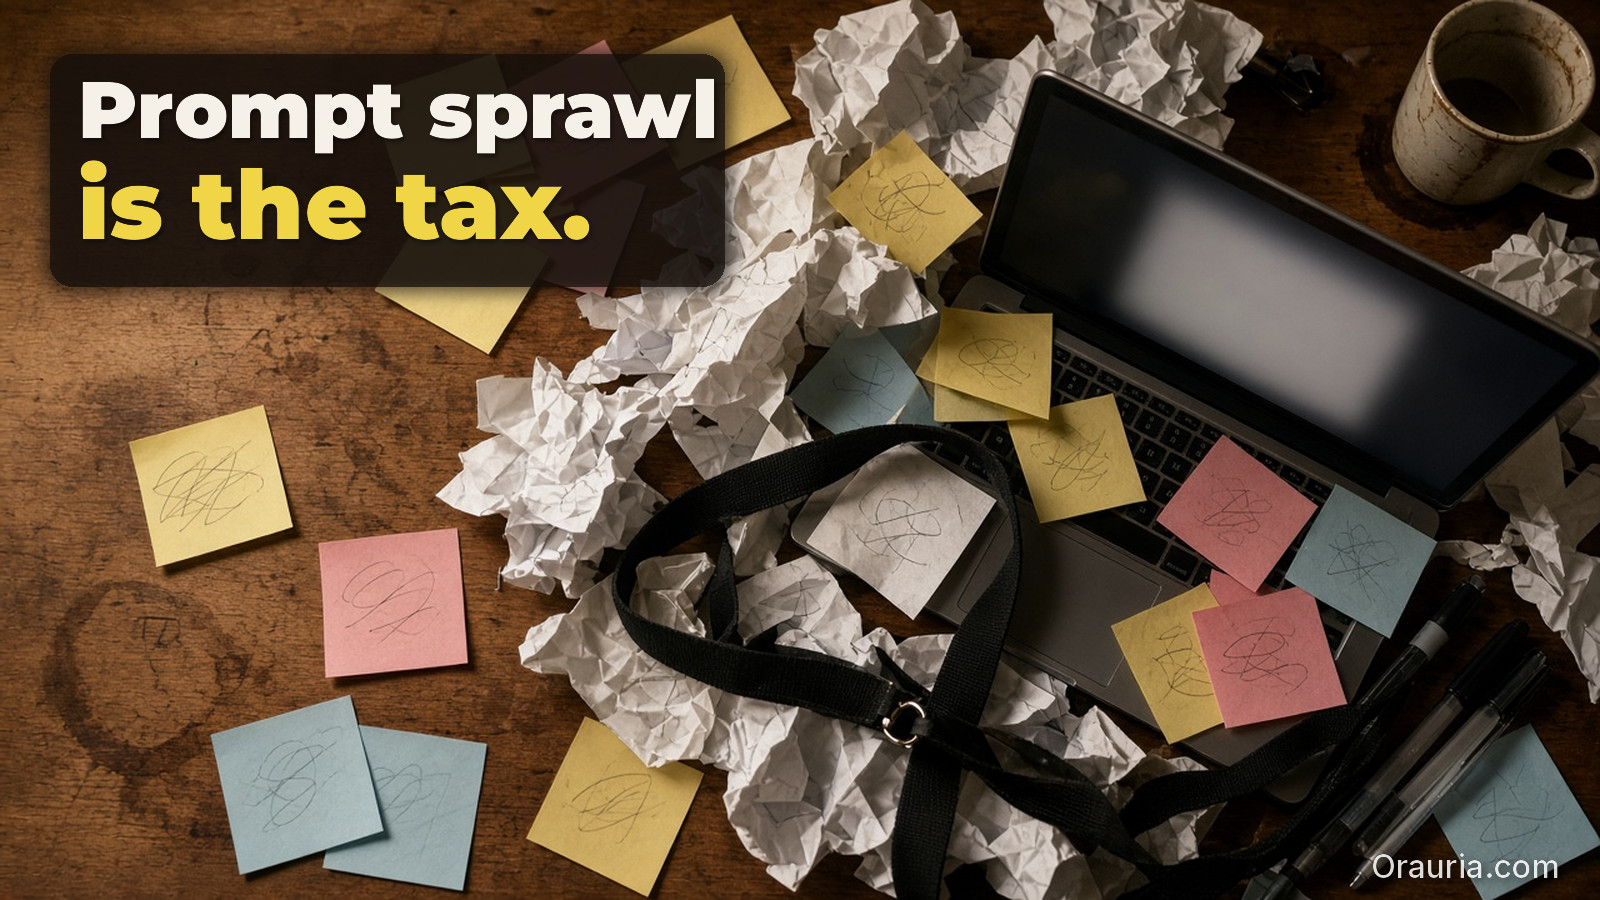
Most teams treat image-to-video like an exploration playground.
That’s fun, but expensive.
In production, you need efficiency: direction first, then gates, then export variants.
Key Takeaways
- Prompt sprawl kills efficiency. Fix it by creating a reusable direction kit.
- The workflow is 3 steps: Direction → Generation → Crop/Resize QA.
- “Looks good” is not QA. Product truth is QA.
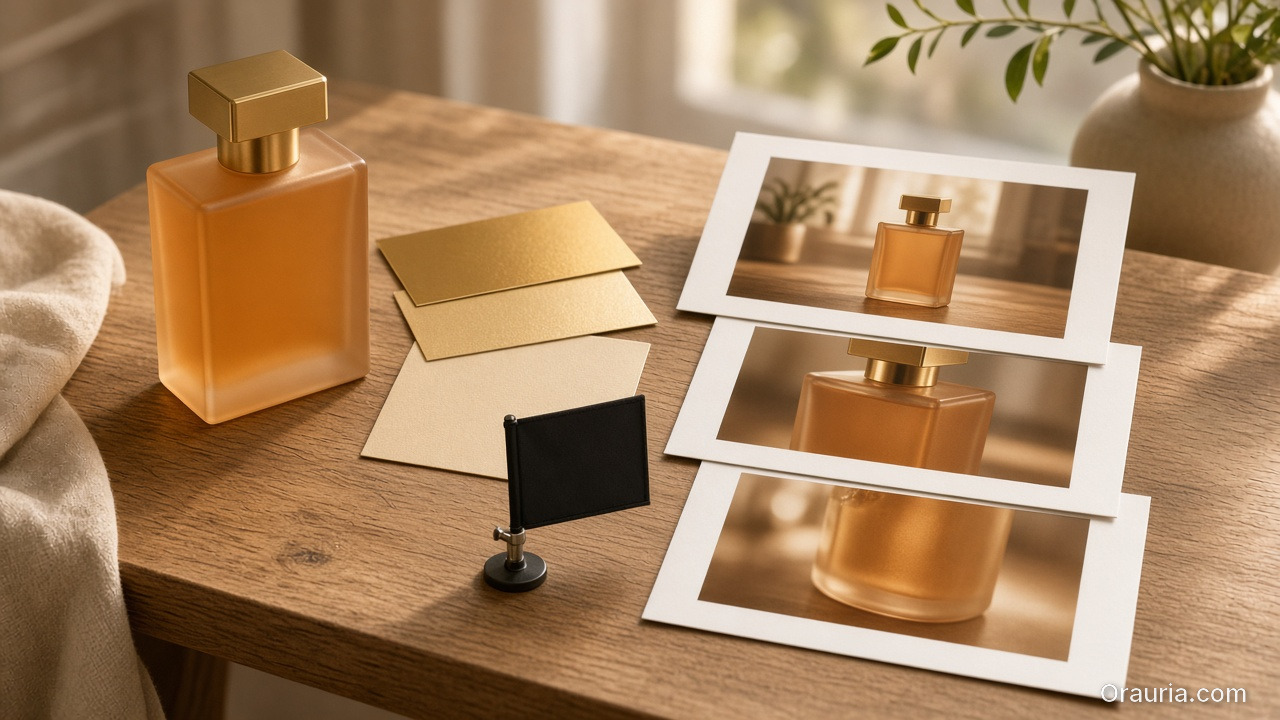
Step 1 — Direction (lock what must not change)
Before you generate, decide your creative direction in one sentence:
- what moves (pose, camera, light),
- what stays true (geometry, label readability, brand palette),
- what the ad outcome is (hook, proof, offer).
Then attach constraints as rules (your kit):
- color family (no palette drift),
- typography rules (if text appears on frame),
- “geometry no-go”: avoid warped edges and moving shadows that rewrite the product.
This is the same upstream thinking as Choose the video model after creative direction.
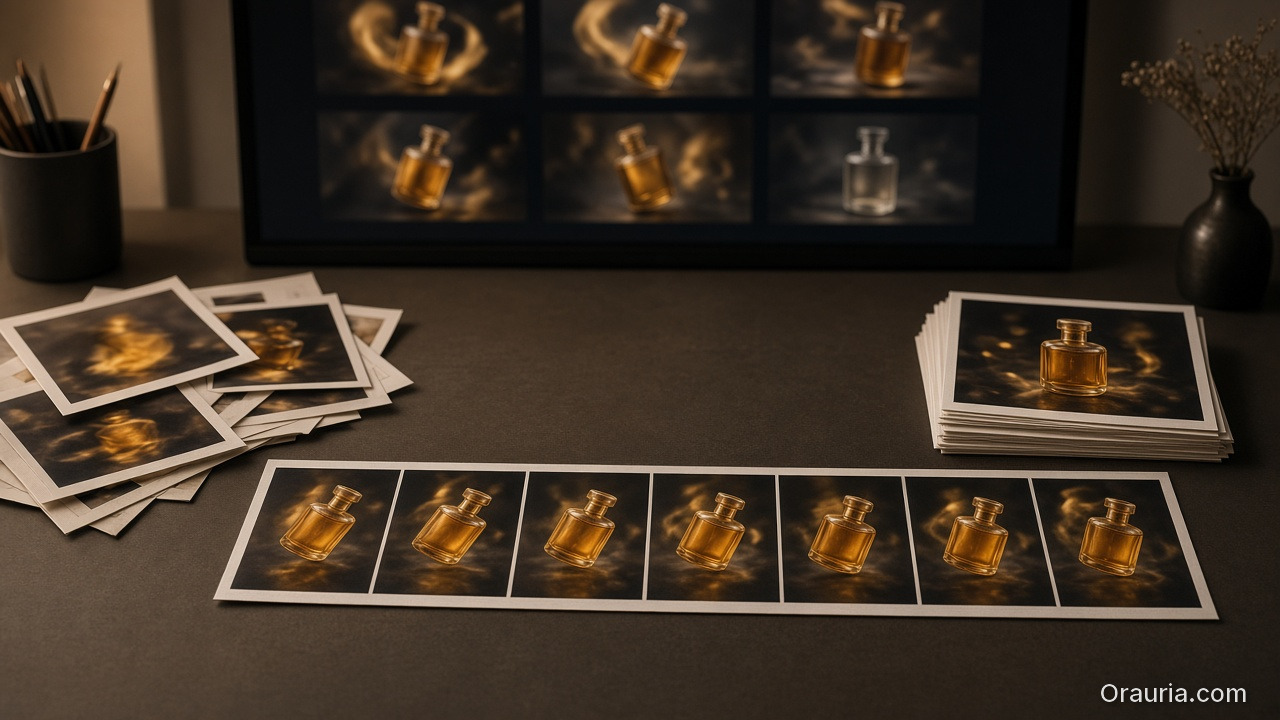
Step 2 — Generation (batch once, route outputs)
Generate multiple variations, but route them immediately:
- Keep the best direction match candidates.
- Reject frames that break product truth early (don’t upscale first).
- Only after direction passes, upscale/correct resolution for the winners.
Efficiency comes from rejecting failures before you spend compute and time on polish.
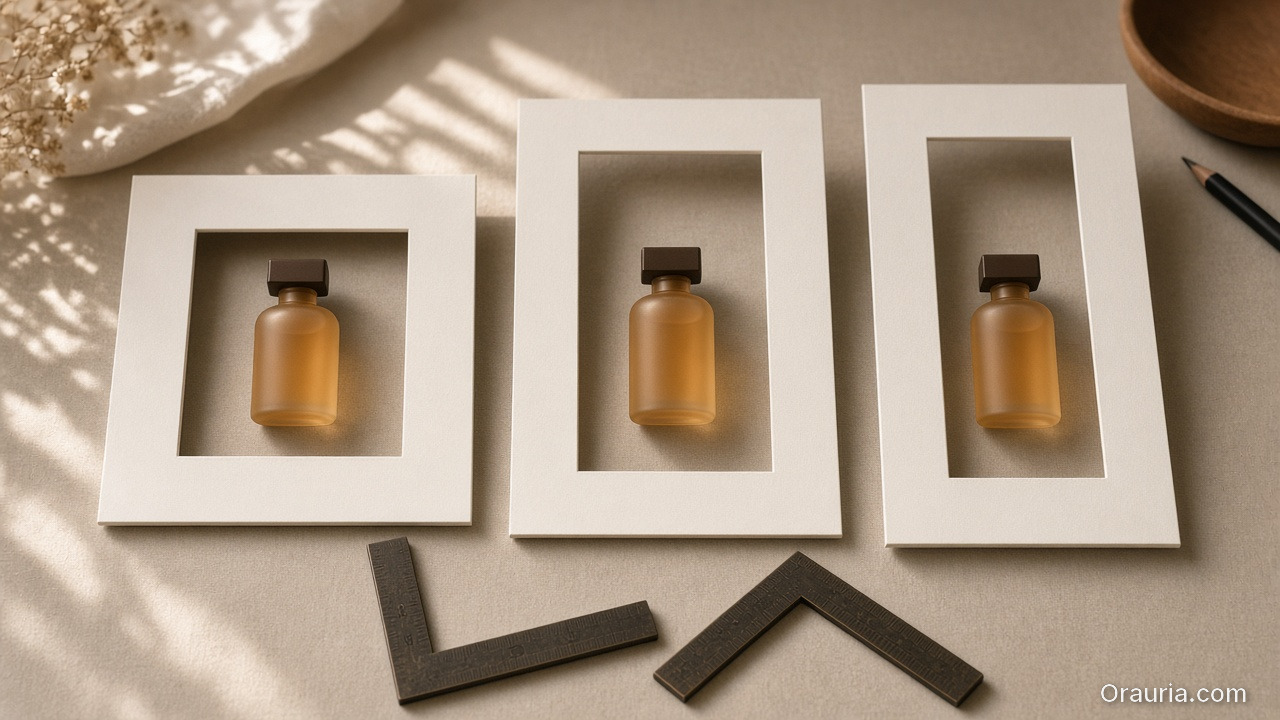
Step 3 — Crop/Resize QA (make it channel-safe)
Most wasted hours happen after generation:
- wrong safe zones,
- CTA text cropped out,
- aspect ratio causing the product to “float”.
So treat export like a gate:
| Channel | QA focus |
|---|---|
| 1:1 / 4:5 feed | readable product center + stable shadows |
| 9:16 reels | hook frame clarity before motion noise |
| Stories | text safe zones + proof frame hold time |
This is where your workflow moves from “video experiment” to “ad system”.

A practical mini-checklist (fast, repeatable)
For each winner clip, verify:
- label/brand element still readable,
- product silhouette stable across frames,
- motion doesn’t destroy the geometry (no stretching artifacts),
- caption promise matches the first 1–2 seconds.
If any item fails, don’t rewrite the whole prompt. Update the direction kit and regenerate only the affected part.
Where to start
If you’re already doing packshot angle planning, you’re ready.
Start here:
Then use this 3-step efficiency workflow for your weekly drops.
Your goal is simple: ship a reusable graph, not a one-off video.
Leave a Reply